How to Clean and Maintain Intricate Ursula Earrings
Discover expert cleaning and maintenance tips for Ursula earrings. Learn how to safely clean enamel, pearls, and oxidized metals without causing damage.

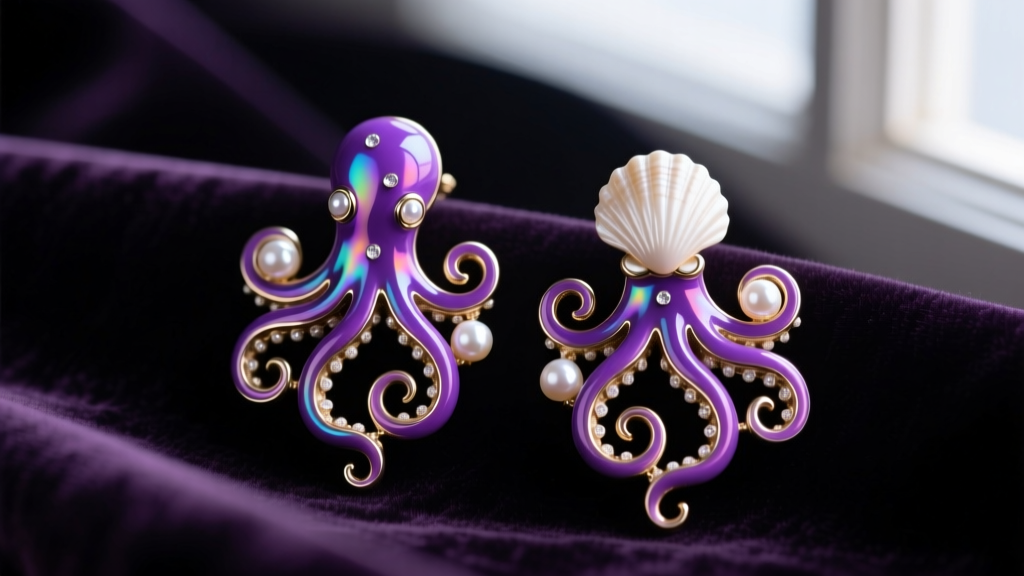
Ursula earrings—characterized by their dramatic oceanic motifs, sweeping tentacle dangles, deep purple and black color palettes, and iridescent pearl accents—are a staple of statement, alternative, and cosplay jewelry collections. Whether you own a high-end artisan pair crafted from oxidized sterling silver and vitreous enamel, or a trendy resin-cast set from a boutique maker, these pieces demand specialized attention. Standard jewelry cleaning methods are not just ineffective for Ursula earrings; they are actively destructive.
In this comprehensive care guide, we break down the exact material science behind your favorite sea-witch-inspired jewelry and provide a meticulous, step-by-step maintenance protocol to preserve their dark magic for decades.
The Anatomy of Ursula Earrings: Why Standard Cleaners Fail
To understand how to clean these statement pieces, you must first understand their complex material composition. Unlike simple gold hoops or diamond studs, Ursula-themed earrings typically rely on a mixed-media approach to achieve their textured, otherworldly aesthetic.
- Oxidized Sterling Silver (Ag925): Many premium pairs use oxidized silver to create dark, recessed crevices that mimic the shadows of the ocean floor. Standard silver dips strip this intentional oxidation, leaving the piece looking flat and overly bright.
- Vitreous and Cold Enamel: The signature deep purples and sea-foam greens are often achieved through enameling. Vitreous enamel is glass fused to metal, while cold enamel is essentially a hardened resin. Both are highly susceptible to micro-scratches and chemical etching.
- Faux and Freshwater Pearls: Whether coated glass or genuine nacre, pearls are organic (or semi-organic) and incredibly porous. Ammonia-based cleaners will dissolve a pearl's luster in seconds.
- Cold-Cast Resin: Used for lightweight but bulky tentacle or shell structures, resin can become cloudy when exposed to alcohol or ultrasonic vibrations.
"The biggest mistake collectors make with mixed-media statement jewelry is treating it like solid gold. The moment you submerge an enameled, pearl-set Ursula earring in an ultrasonic bath, the high-frequency vibrations will shatter the glass enamel and strip the pearl's nacre." — Master Bench Jeweler
Material Vulnerability Matrix
| Component | Primary Vulnerability | Safe Cleaning Agent | Tools to Use |
|---|---|---|---|
| Oxidized Silver | Loss of patina, scratching | Distilled water, mild dish soap | Microfiber cloth, soft baby toothbrush |
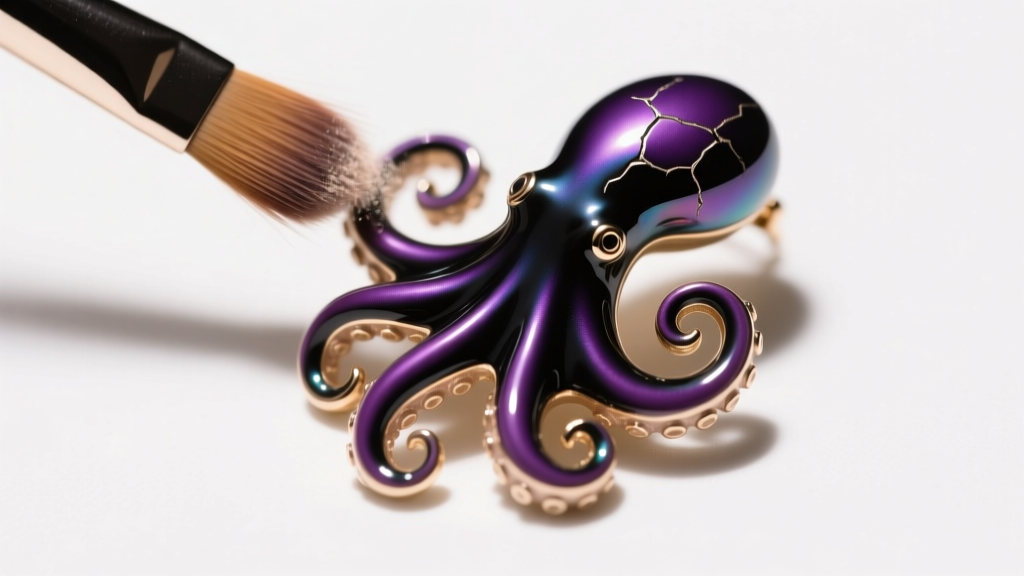
| Vitreous Enamel | Chipping, thermal shock | Dry dusting only | Soft goat-hair makeup brush |
| Freshwater Pearls | Acid etching, dehydration | Damp cloth (no soap) | Lint-free cotton wipe |
| Cold-Cast Resin | Clouding, solvent melting | Distilled water only | Cotton swab |
The Step-by-Step Cleaning Protocol
Forget the ultrasonic cleaners and chemical baths. Cleaning Ursula earrings requires a surgical, localized approach. According to conservation guidelines from the Gemological Institute of America (GIA), mixed-media jewelry must be cleaned in stages to protect the most delicate components.
Step 1: Dry Dusting and Debris Removal
Before introducing any moisture, remove surface dust, skin cells, and makeup residue. Use a clean, soft-bristled goat-hair makeup brush to gently sweep the crevices of the tentacles, shell ridges, and pearl settings. This prevents surface grit from turning into an abrasive paste when wet.
Step 2: Localized Metal Cleaning
If the metal posts or hooks have accumulated sebum and tarnish, isolate the metal. Dip a cotton swab in a solution of warm distilled water and a single drop of pH-neutral dish soap (like Dawn). Gently roll the swab over the silver or brass findings. Never let this soapy solution pool around the enamel or pearl settings. Wipe immediately with a damp, clean swab, and dry thoroughly with a microfiber cloth.
Step 3: Pearl and Resin Revival
Pearls absorb oils from your skin, which can degrade their nacre over time. As noted by the GIA's Pearl Care Guide, pearls should be wiped with a soft, damp cloth after every wear. For resin components that have lost their shine, a tiny drop of mineral oil applied with a microfiber cloth can restore depth and gloss without damaging the material.
Lobe Care: Managing the Weight of Statement Earrings
Care and maintenance extend beyond the jewelry itself; you must also care for your earlobes. Authentic, high-quality Ursula earrings featuring solid metals and glass pearls can weigh anywhere from 15 to 35 grams per earring. Standard ear piercings are typically done at 20-gauge (0.81mm) or 18-gauge (1.02mm), which is entirely insufficient to support this weight over time without causing the dreaded 'cheese-cutter' effect.
Preventing Lobe Elongation and Tearing
- Upgrade Your Posts: If you are commissioning custom Ursula earrings, request 16-gauge (1.29mm) or 14-gauge (1.63mm) posts. The thicker metal distributes the weight across a wider surface area of the piercing fistula.
- Use Ear Support Patches: Products like Blotix or Lobe Wonder are invisible adhesive patches that reinforce the back of the earlobe, preventing heavy dangles from pulling the piercing downward.
- The Two-Hour Rule: Never wear heavy, mixed-media statement earrings for more than 4-6 hours at a time. Remove them immediately upon arriving home to allow the lobe tissue to recover its elasticity.
- Silicone Backings: Discard standard butterfly backs, which dig into the neck and fail to support heavy pieces. Use flat, wide silicone or rubber friction backs that provide a larger surface area against the ear.
Troubleshooting Common Ursula Earring Issues
Issue: The Metal Posts Are Turning Your Earlobes Green
This is a common issue with more affordable, brass-based Ursula earrings. The green discoloration is a harmless chemical reaction between the copper in the brass alloy and the acidity of your skin. The Fix: Coat the earring posts in a thin layer of clear nail polish or a specialized jewelry barrier like JewelSkin. Reapply every few weeks. Alternatively, upgrade to titanium or niobium ear wires, which are completely hypoallergenic and non-reactive.
Issue: The Resin Tentacles Have Become Sticky or Cloudy
Cold-cast resin can suffer from 'blooming' or surface degradation when exposed to high humidity, UV light, or certain skin lotions. The Fix: Gently wipe the resin with a microfiber cloth lightly dampened with distilled water. If cloudiness persists, a jewelry-safe plastic polish (like Novus Plastic Clean & Shine) can buff out micro-scratches and restore optical clarity without harming the surrounding metal.
Long-Term Storage and Environmental Protection
How you store your Ursula earrings is just as critical as how you clean them. The oceanic motifs often feature protruding elements (like tentacle suckers or shell spikes) that easily snag on other jewelry, leading to bent metal or chipped enamel.
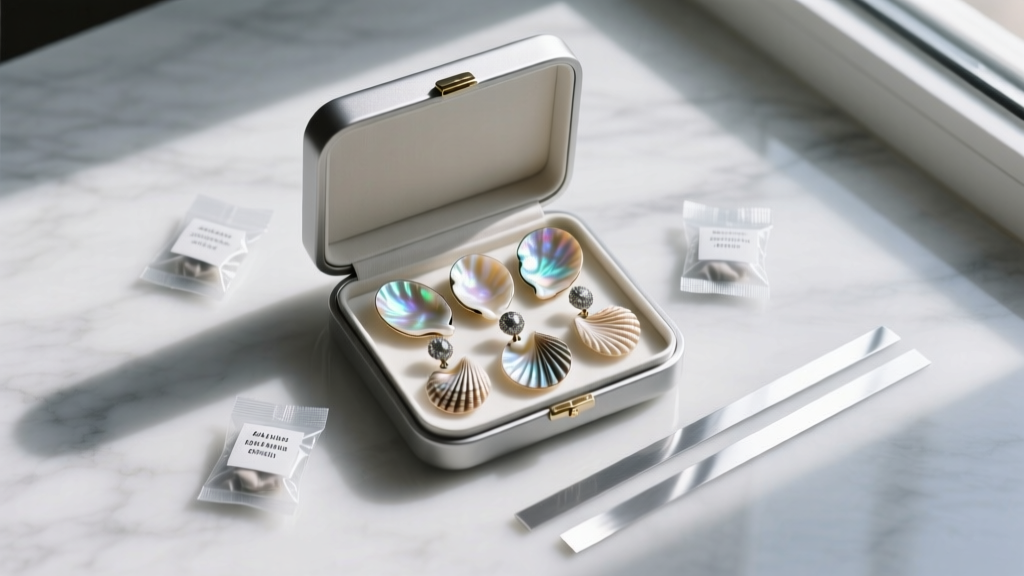
- Individual Compartmentalization: Store each earring in its own soft flannel pouch or a dedicated compartment in a lined jewelry box. Never toss them into a communal jewelry dish.
- Climate Control: Resin and enamel can become brittle in extreme cold and warp in extreme heat. Store your pieces in a climate-controlled room (ideally between 65°F and 75°F), avoiding bathrooms where humidity fluctuates wildly.
- Anti-Tarnish Strips: Place 3M anti-tarnish strips in your storage containers. These strips absorb sulfur compounds from the air, preventing the silver findings from developing unintentional, patchy tarnish that ruins the deliberate oxidized finish.
When to Seek Professional Restoration
Despite your best efforts, accidents happen. If a vitreous enamel section chips, or a resin tentacle snaps, do not attempt to glue it back together with standard cyanoacrylate (Super Glue). Super glue emits fumes that cause a permanent white 'frosting' on surrounding enamel and pearls. Instead, take the piece to a jeweler who specializes in laser welding and cold-enamel color matching. Professional restoration typically costs between $45 and $120, depending on the complexity of the motif, but it is the only way to salvage a beloved, intricate piece without compromising its structural integrity.


