How to Weave Native American Beaded Earrings Patterns Step-by-Step
Learn to weave authentic Native American beaded earrings patterns using brick and peyote stitches. Step-by-step guide on materials, tension, and finishing.

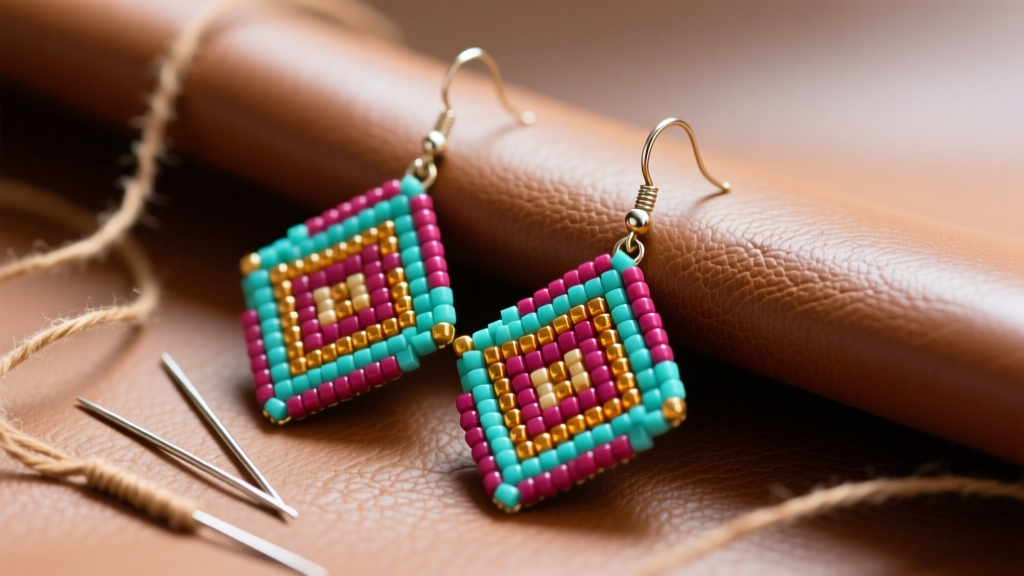
Understanding the Heritage and Geometry of Indigenous Beadwork
The art of creating Native American beaded earrings patterns is deeply rooted in centuries of indigenous craftsmanship. Before the introduction of European trade goods, Native artisans meticulously crafted intricate designs using dyed porcupine quills and natural pigments. The transition to glass seed beads in the 19th century allowed for an explosion of color and geometric precision, particularly among the Plains and Southwestern tribes. According to the archives at the National Museum of the American Indian, these beaded patterns were never merely decorative; they often conveyed tribal affiliation, spiritual beliefs, and personal achievements.
When studying traditional Native American beaded earrings patterns, you will notice a distinct reliance on symmetry, bold color blocking, and geometric motifs such as diamonds, chevrons, and step-pyramids. Mastering these patterns requires a firm grasp of the brick stitch and peyote stitch techniques, which allow the beads to lock together like a tightly woven fabric. This guide will walk you through the exact technical process of weaving a traditional geometric diamond dangle earring, from selecting the correct cylinder beads to finishing the edges with a picot bind.
Essential Materials: Selecting Beads, Thread, and Backing
To achieve the sharp, uniform lines characteristic of authentic geometric patterns, your material selection is critical. Unlike round seed beads, which can cause warping in flat brick stitch, Japanese cylinder beads provide the structural integrity needed for rigid, flat beadwork. Furthermore, your thread choice dictates the drape of your fringe and the tension of your base.
| Material | Specification | Purpose in Pattern | Est. Cost |
|---|---|---|---|
| Miyuki Delica | 11/0 Cylinder | Main geometric body & base | $6-$9/tube |
| Toho Treasure | 11/0 Cylinder | Alternative uniform base | $5-$8/tube |
| Nymo Thread | Size D (Waxed) | Weaving base & binding | $3-$5/spool |
| Fireline | 6 lb Braided | Stiff fringe drops | $8-$12/spool |
| Ultra-Suede | 1.2mm thickness | Structural earring backing | $10-$15/sheet |
| Beading Needles | Size 10 or 12 | Passing through 11/0 beads | $4/pack |
When sourcing materials, it is highly recommended to purchase from specialized suppliers like Fire Mountain Gems to ensure you are getting genuine, uniformly sized Japanese seed beads. Cheap, mass-market beads often vary in size by fractions of a millimeter, which will severely distort a precise geometric pattern over a 2-inch drop.
Step 1: Creating the Foundation with Brick Stitch
Every Native American beaded earrings pattern built on a loom-less technique begins with a ladder stitch foundation. This base row acts as the 'warp' threads of your beadwork.
- Pick up two 11/0 Delica beads on your waxed Nymo D thread. Leave a 6-inch tail for weaving in later.
- Pass the needle back through the first bead, then pull tight so the two beads sit side-by-side, parallel to each other.
- Pick up one more bead, pass the needle back through the second bead from the top, and then pass forward through the newly added third bead.
- Repeat this process until your ladder base matches the widest point of your intended pattern (usually 11 to 15 beads for a standard earring).
Pro Tip: The ladder stitch naturally wants to curl. To force it flat, run your needle back and forth through the top of the entire row two or three times, pulling the thread taut to align the beads perfectly.
Step 2: Weaving the Geometric Pattern (Brick Stitch Decreases)
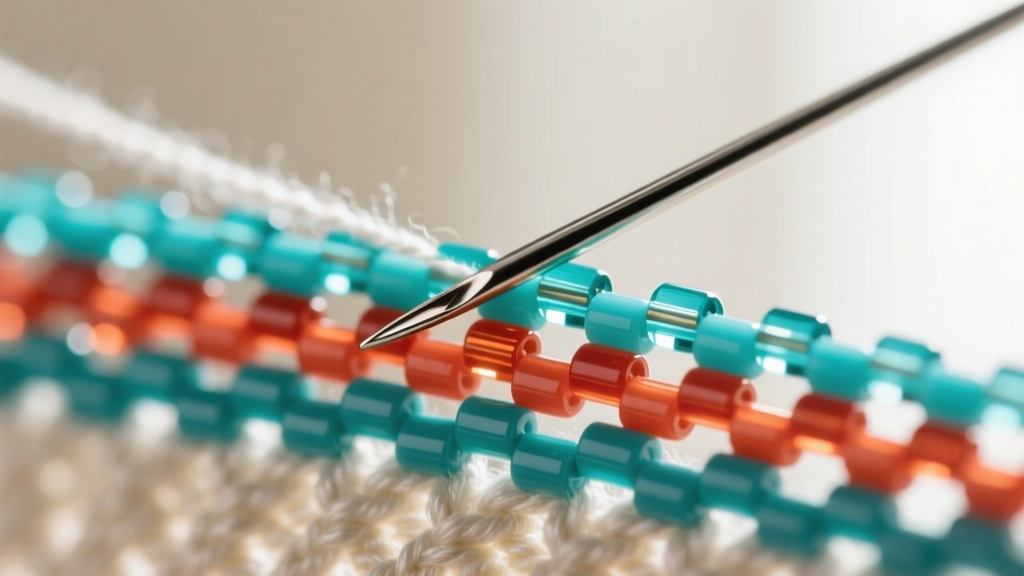
With your base row established, you will now work the brick stitch to create the iconic diamond or triangle shapes. Brick stitch is worked by hooking the thread *under* the bridge of thread between the beads of the previous row, rather than passing through the beads themselves.
Reading the Pattern Grid
Most traditional patterns are charted on a grid where each square represents one 11/0 bead. To create a diamond shape that tapers to a point, you must execute controlled decreases at the beginning and end of each row.
- To Decrease at the Start: Pick up only one bead, hook under the *second* thread bridge from the edge, and pass back through the bead. This pulls the new row inward by half a bead width.
- To Decrease at the End: Simply stop adding beads one bridge short of the previous row's edge.
- Maintaining Color Blocks: Follow your chart strictly. When switching from a turquoise border to a coral center, pick up the corresponding color bead. The cylinder beads will snap together tightly, hiding the thread and creating a solid mosaic of color.
Maintain a firm, but not suffocating, tension. If you pull the Nymo thread too tightly, the beadwork will warp and pucker. If it is too loose, the thread will show between the beads, ruining the crisp lines of the pattern.
Step 3: Adding Traditional Fringe and Dangles
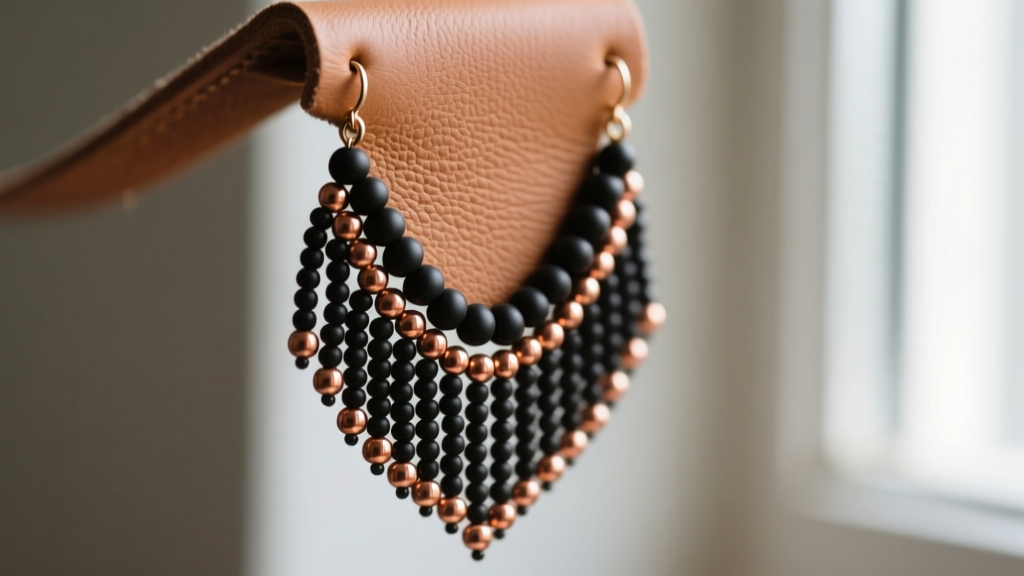
Fringe is a hallmark of Plains and Woodland beadwork, adding movement and sound to the earrings. For the fringe, switch from the flexible Nymo thread to a 6 lb Fireline braided line. This prevents the fringe from tangling and gives it a beautiful, weighted drape.
- Exit your needle from the bottom edge bead of your completed geometric body.
- Pick up your fringe sequence: typically a mix of 11/0 seed beads, 6mm bugle beads, and a single 15/0 seed bead or crystal drop at the very end.
- Skip the final drop bead, and pass your needle back up through the entire column of fringe beads, anchoring back into the main beadwork body.
- Repeat across the bottom edge, varying the lengths of the bugle bead columns to create a V-shape or U-shape fringe silhouette.
Step 4: Sealing, Backing, and Attaching Ear Wires
Raw beadwork is fragile and must be backed to protect the threadwork from oils, sweat, and snagging. Traditional artisans used brain-tanned buckskin, but modern beaders frequently use Ultra-Suede or Lenci felt for a clean, durable finish.
- Trace and Glue: Lay your finished beadwork face-up on a piece of Ultra-Suede. Trace around it with a fine-tipped fabric pen. Apply a thin, even layer of flexible adhesive (like E6000 or Gem-Tac) to the back of the beadwork and press it onto the suede. Never use cyanoacrylate (Super Glue), as it dries brittle and will shatter when the earring bends.
- Trim the Edges: Once dry, use sharp, dedicated fabric scissors to trim the Ultra-Suede as close to the beadwork edge as possible without snipping your outer thread bridges.
- The Picot Edge Bind: To finish the edge, thread a new piece of Nymo. Pass up through the suede and out between two edge beads. Pick up three 15/0 seed beads, skip one edge bead, and pass down through the suede. This creates a beautiful, beaded scalloped border that locks the front and back together.
- Attach the Hardware: Use a heavy-duty jump ring to connect a leather loop or a metal French ear wire to the top of the earring. If using a leather tie, ensure the knot is secured with a microscopic drop of flexible glue.
Troubleshooting Tension and Warping
Even experienced beaders encounter issues when executing complex Native American beaded earrings patterns. Here is how to solve the most common technical failures:
- Warping/Curling: This is almost always caused by pulling the working thread too tightly during the brick stitch hook. Consciously relax your grip. If the piece is already warped, lay it face-down on a padded ironing board, cover with a damp pressing cloth, and lightly steam it with an iron. Let it dry under a heavy book.
- Thread Fraying: If your Nymo thread keeps snapping, check the eye of your beading needle. Size 12 needles can sometimes have sharp metal burrs from the manufacturing process. Rub the eye of the needle on a piece of denim to smooth it out before threading.
- Muddy Color Transitions: When executing sharp geometric angles, ensure you are using opaque or silver-lined beads for the borders. Transparent beads can allow the backing thread color to bleed through, softening the sharp lines of the pattern.
A Note on Cultural Respect and Sourcing: While learning to weave these patterns is a wonderful way to appreciate the technical mastery of indigenous art, it is vital to respect the origins of these designs. The Indian Arts and Crafts Board emphasizes the importance of supporting authentic Native artisans. When purchasing finished beadwork, always buy directly from verified Indigenous creators to ensure fair compensation and the preservation of traditional arts.


