When Can I Switch My Earrings? Healing & Care Guide
Discover exactly when can i switch my earrings based on placement, material grades, and healing timelines. Expert aftercare and cleaning tips.

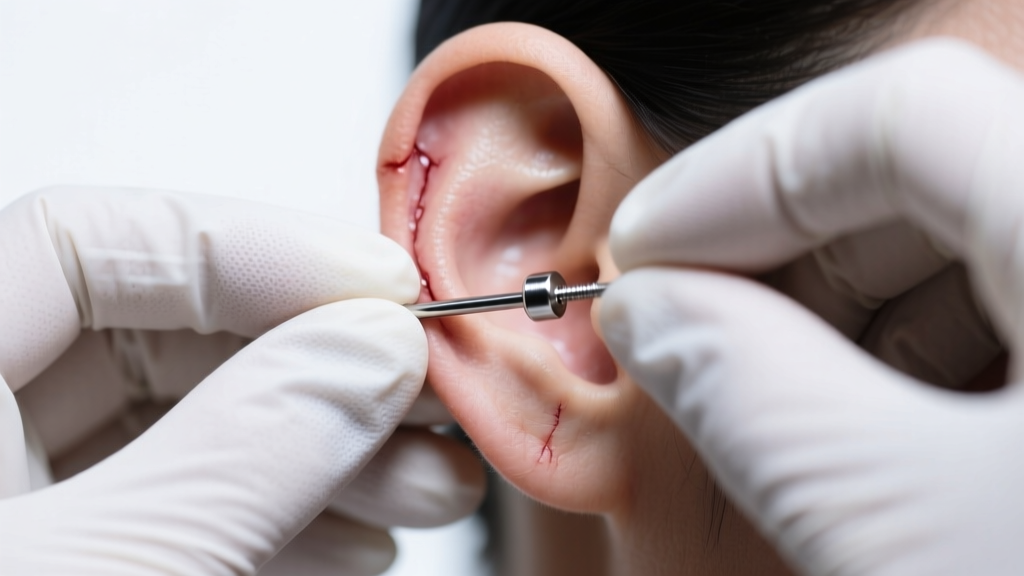
Getting a new piercing is thrilling, but the aftercare phase requires serious patience and biological understanding. One of the most common questions we receive at Jewel Style Radar is, "when can i switch my earrings?" The answer is never a simple number of days; it depends entirely on the piercing's anatomical placement, the jewelry's material grade, and the biological formation of the fistula. Rushing this process is the leading cause of hypertrophic scarring, contact dermatitis, and piercing rejection. In this comprehensive guide, we break down the exact timelines, material requirements, and clinical cleaning protocols you need for a safe jewelry transition.
The Biology of Piercing Healing: Why Rushing Causes Rejection
When a hollow needle punctures your ear, it creates a controlled, cylindrical wound. Your body responds by sending macrophages to clear cellular debris and fibroblasts to lay down a collagen matrix. This eventually forms a fistula—a permanent, flexible tube of scar tissue that lines the piercing channel. According to the Association of Professional Piercers (APP), a fistula takes significantly longer to mature and stabilize than the surface skin takes to close. If you swap your jewelry before this collagen tube is fully structured, the micro-tears invite bacterial infections, trigger localized swelling, and can cause the immune system to reject the foreign object entirely.
Exact Timelines: When Can I Switch My Earrings by Placement?
Healing is not uniform across the ear. Highly vascular tissue (like the earlobe) heals much faster than avascular cartilage, which relies on slow perichondrial blood flow. Below is a clinical breakdown of minimum wait times and standard gauge sizes before your first jewelry switch.
| Piercing Placement | Standard Gauge | Minimum Switch Time | Full Fistula Maturation |
|---|---|---|---|
| Standard Earlobe | 20g - 18g | 6 - 8 Weeks | 3 - 6 Months |
| Upper Lobe / Mid Lobe | 18g - 16g | 8 - 10 Weeks | 4 - 8 Months |
| Helix / Forward Helix | 16g | 6 - 9 Months | 9 - 12 Months |
| Tragus | 16g | 6 - 8 Months | 9 - 12 Months |
| Conch | 16g - 14g | 6 - 9 Months | 12+ Months |
| Daith / Rook | 16g | 8 - 10 Months | 12 - 18 Months |
| Industrial | 14g | 9 - 12 Months | 12 - 24 Months |
Note: These are minimum thresholds. If your piercing still exhibits tenderness, localized heat, or lymph fluid secretion, the tissue is actively inflamed and not ready for a jewelry change.
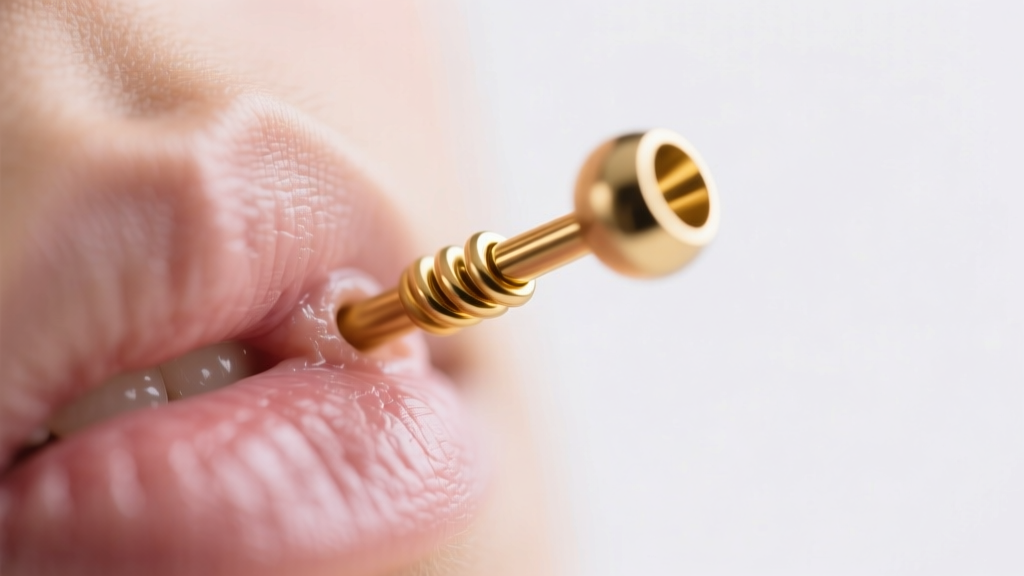
Material Grades for Your First Switch: Avoiding Contact Dermatitis
The first time you ask "when can i switch my earrings," you must also critically evaluate what you are switching into. The fresh fistula is highly porous, micro-abraded, and reactive. The Cleveland Clinic explicitly warns against introducing porous metals, plated alloys, or nickel-containing jewelry into healing channels.
- Implant-Grade Titanium (ASTM F-136): The absolute gold standard for fresh and newly healed piercings. It is entirely nickel-free, highly polished to a mirror finish, and biocompatible. Brands like NeoMetal and Intrinsic Body offer precision-machined options that won't snag delicate tissue.
- Niobium: Another excellent, hypoallergenic choice that can be anodized to various colors using electrical currents, avoiding the need for toxic paints or chemical platings.
- Solid 14k or 18k Gold: Must be nickel-free and specifically alloyed for biocompatibility (avoid white gold, which often contains nickel). Ensure it is solid, not gold-plated or gold-filled. The friction of insertion will strip thin platings into the wound, causing heavy metal irritation.
- Avoid "Surgical Steel": This is a marketing term, not a metallurgical standard. Most commercial "surgical steel" contains 8-12% nickel, which leaches into the healing fistula and causes severe contact dermatitis and migration.
Pre-Switch Preparation: Sterilizing Your New Jewelry
Even if you purchase high-quality titanium or solid gold, the jewelry has been handled, packaged, and shipped. Before insertion, it must be properly sanitized. While professional piercers use medical autoclaves, at-home preparation requires a different approach.
- Ultrasonic Cleaning: An entry-level ultrasonic cleaner ($30-$50) uses high-frequency sound waves to cavitate water, blasting microscopic debris and manufacturing oils off the jewelry. Run your new earrings in a mixture of distilled water and a drop of mild dish soap for 5 minutes.
- Chemical Disinfection: If you lack an ultrasonic cleaner, submerge the jewelry in a 70% isopropyl alcohol solution for 10 minutes. Do not use rubbing alcohol on the piercing itself, as it destroys healthy cellular regeneration, but it is safe for sterilizing the metal hardware prior to insertion.
The Safe Switching Protocol: Step-by-Step Insertion
Once your timeline is met, your jewelry is prepped, and you have the correct material grade, follow this clinical protocol to prevent micro-trauma during the physical switch.
- Prep the Environment: Wash your hands thoroughly with unscented antibacterial soap. Do not attempt a jewelry switch in a humid, bacteria-rich environment like a steamy bathroom immediately after a shower. Move to a clean, dry, well-lit room.
- Soften the Tissue: Apply a sterile saline compress (0.9% sodium chloride with zero additives) to the piercing for three minutes. This softens any microscopic lymph crusts hiding inside the channel.
- Lubricate the New Jewelry: Use a water-based, piercing-safe lubricant or a microscopic drop of sterile saline on the post of the new earring. Never use petroleum jelly, Neosporin, or coconut oil, which trap anaerobic bacteria and block oxygen flow.
- Insert with Tension Control: Hold the ear taut to straighten the fistula. Insert the new jewelry following the exact angle of the original puncture. If you meet resistance, stop immediately. Forcing jewelry creates false passages, blowout trauma, and immediate swelling.
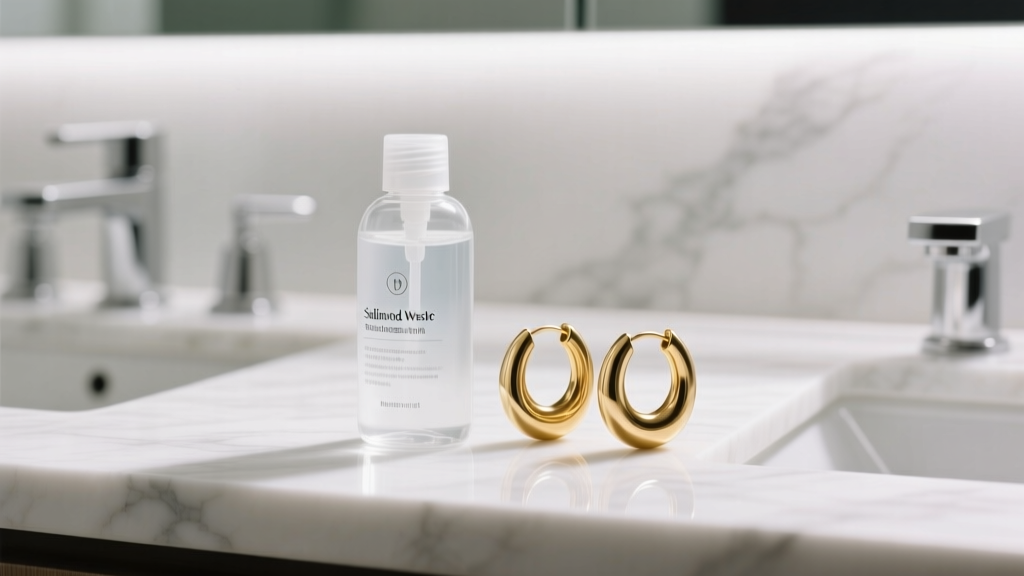
Troubleshooting: What to Do If Your Piercing Closes or Bleeds
Even when you wait the appropriate amount of time, fistulas can shrink rapidly—sometimes within minutes—once the original jewelry is removed. If you cannot reinsert the earring, do not use brute force.
Using an Insertion Taper
For cartilage piercings (16g or 14g), professional piercers use medical-grade steel or acrylic tapers. A taper gradually stretches the shrunken tissue back to its original gauge without tearing. If you experience a sharp pain or a "pop" followed by bleeding, you have torn the immature fistula. Immediately revert to your original implant-grade titanium jewelry, clean the area with sterile saline, and leave it alone for another 4 to 6 weeks to allow the internal laceration to heal.
Dealing with Swelling Post-Switch
It is completely normal for a piercing to experience a mild "flare-up" after its first jewelry change due to mechanical irritation and the introduction of a new metal surface. To manage this, switch to a longer post (e.g., moving from a 6mm to an 8mm labret post) to accommodate the swelling. Apply a cold compress to the outside of the ear for 5-minute intervals to constrict blood vessels and reduce localized heat.
Long-Term Maintenance After the First Switch
Successfully changing your earrings is just the beginning of long-term ear curation and maintenance. To preserve the health of your lobes and cartilage over the years, adopt these daily habits:
- Nighttime Care: Avoid sleeping in heavy dangle earrings, large rigid hoops, or butterfly-back studs. The mechanical pressure of your pillow can cause the fistula to migrate, stretch unevenly, or lead to the dreaded "cheese-cutter effect" where the jewelry slowly slices through the bottom of the earlobe.
- Routine Cleaning: Even fully healed piercings accumulate sebum, dead skin cells, and hair products, leading to the notorious "piercing cheese" odor. Clean your earrings and the piercing channel weekly using a mild, fragrance-free glycerin soap and a soft cotton swab.
- Threaded vs. Threadless: When upgrading to high-end jewelry, always opt for internally threaded or threadless (push-pin) mechanisms. Externally threaded earrings feature screw threads on the post itself, which act like a cheese grater on the delicate fistula lining every time you insert or remove them.
Ultimately, knowing when can i switch my earrings is about listening to your body's biological cues rather than adhering to an arbitrary calendar date. When in doubt, consult an APP-certified professional piercer who can assess your fistula's maturity, verify your jewelry's metallurgical grade, and safely perform the first jewelry change for you.


