Wire Wrapped Earrings Tutorial: Expert Cleaning & Care Guide
Master post-crafting care with our wire wrapped earrings tutorial. Learn expert cleaning, maintenance, and storage tips for handmade jewelry.

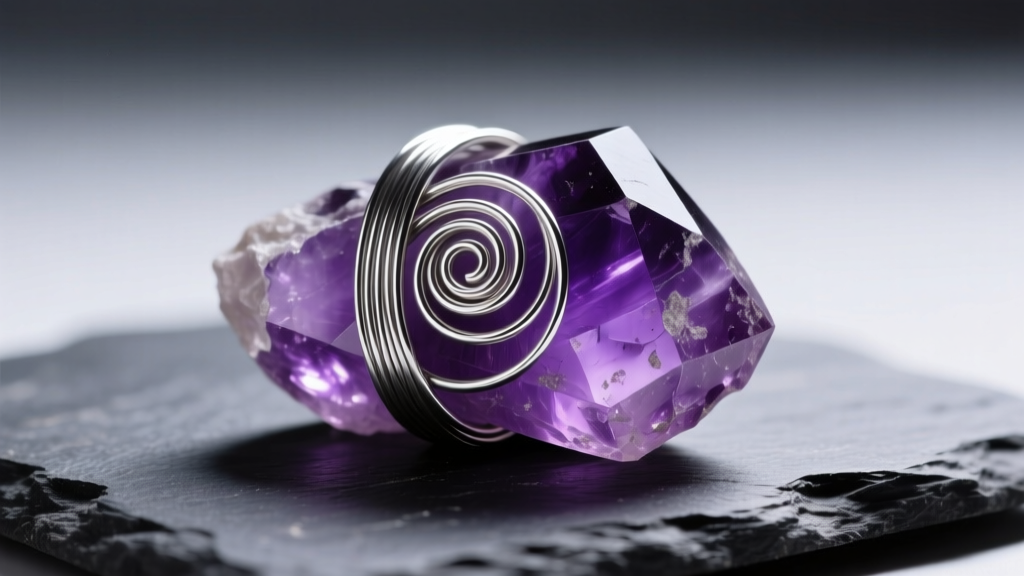
Creating handmade jewelry is a rewarding endeavor, but the lifecycle of a piece does not end when the final wire is tucked and filed. For artisans and collectors alike, understanding the metallurgy and structural integrity of wire-wrapped pieces is paramount. While most crafting guides focus on the initial assembly, this comprehensive wire wrapped earrings tutorial shifts the focus to post-creation care, maintenance, and professional-grade cleaning protocols. Whether you are working with 20-gauge base wires or delicate 26-gauge weaves, the way you maintain these pieces dictates their longevity, brilliance, and structural soundness in 2026 and beyond.
The Hidden Vulnerabilities of Wire Wrapped Jewelry
Unlike cast jewelry, which relies on the uniform density of a solid metal mass, wire wrapping depends on mechanical tension and work-hardening. When you bend, twist, and weave wire—particularly sterling silver (.925), copper, or 14/20 gold-filled alloys—you alter its crystalline structure. This process, known as work-hardening, increases the metal's tensile strength but also introduces microscopic stress points.
The primary failure modes in wire-wrapped earrings include:
- Wire Fatigue at Stress Points: The loops connecting the ear wire to the main dangle, or the top bail of a drop earring, endure repetitive kinetic stress. Over time, this can lead to metal fatigue and snapping.
- Tarnish Accumulation in Crevices: Intricate weaves create micro-environments where skin oils, cosmetics, and atmospheric hydrogen sulfide pool, accelerating oxidation in hard-to-reach areas.
- Thermal Expansion Loosening: Fluctuations in temperature can cause the metal wire and the enclosed gemstone to expand and contract at different rates, potentially loosening a tight bezel wrap.
Essential Cleaning Toolkit for Wire Artisans
Before submerging your handmade earrings in any solution, you must assemble a toolkit that respects both the metal alloy and the gemstone's physical properties. Commercial jewelry dips often contain thiourea, a toxic chemical that can strip the natural patina from copper or permanently etch porous stones.
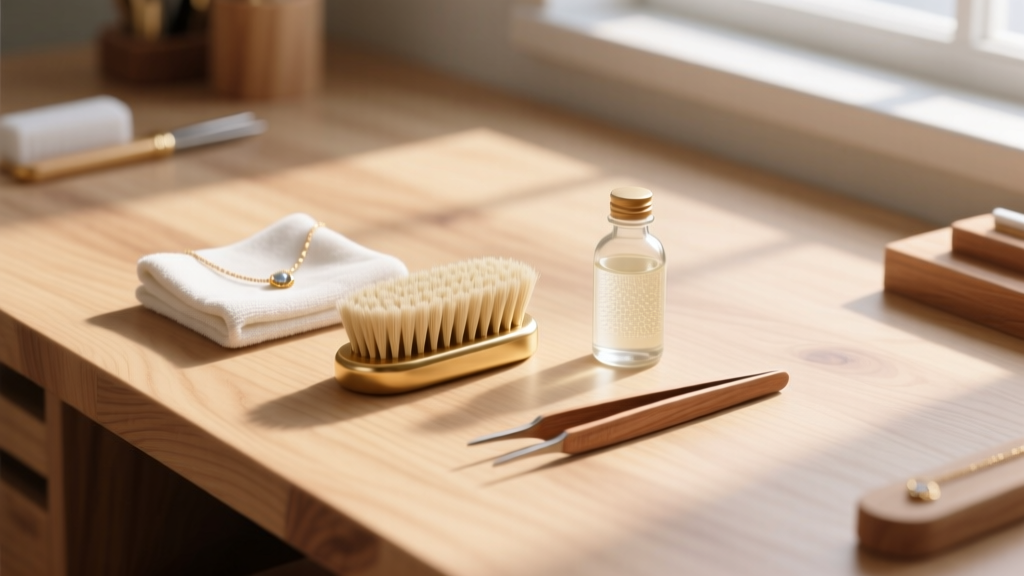
The Safe Cleaning Arsenal
- Nylon-Jaw Pliers: Essential for re-tightening loose wraps without marring the metal or scratching soft stones like fluorite or malachite.
- Ultra-Soft Brass Brush: Used with a drop of mild dish soap (like Dawn) to gently agitate dirt out of 24-gauge and 26-gauge woven crevices without scratching sterling silver.
- Lint-Free Microfiber Polishing Cloths: Treated with modern 2026 nanotechnology anti-tarnish compounds, these cloths lift oxidation without the need for abrasive pastes.
- Wooden or Bamboo Tweezers: Metal tweezers can slip and scratch wire; bamboo provides a high-friction grip for handling wet, delicate earring components.
Step-by-Step Wire Wrapped Earrings Tutorial: The Deep Clean
When your earrings have accumulated heavy buildup from daily wear, a systematic deep clean is required. Follow this protocol to restore brilliance without compromising the structural tension of your wraps.
Step 1: The Dry Agitation
Before introducing moisture, use a clean, dry, ultra-soft makeup brush or a specialized jewelry dusting brush to dislodge loose particulate matter. Moisture can turn cosmetic powders and dead skin cells into a cement-like paste deep within your wire weaves.
Step 2: The Surfactant Bath
Mix a few drops of phosphate-free, mild liquid dish soap into a bowl of distilled water. Distilled water is critical; tap water contains chlorine and dissolved minerals that can leave hard water spots on high-polish wire or react with copper alloys. Submerge the earrings for no more than 3 to 5 minutes.
Step 3: Targeted Crevice Cleaning
Remove the earrings and gently scrub the woven sections with your soft brass brush. Always brush in the direction of the wire wrap to prevent catching and lifting the ends of your 26-gauge weaving wire. For tight spaces around the gemstone's girdle, use a wooden toothpick to gently scrape away compacted debris.
Step 4: The Rinse and Dry
Rinse thoroughly under a gentle stream of distilled water. Immediately pat dry with a lint-free microfiber cloth. To ensure no moisture remains trapped under the wire wraps—which could lead to localized corrosion or gemstone degradation—use a hairdryer on the lowest, coolest setting to blow out residual water droplets.
Gemstone & Crystal Safety Matrix
One of the most critical aspects of any wire wrapped earrings tutorial on maintenance is understanding gemstone chemistry. What cleans a brilliant-cut diamond will destroy a raw turquoise cabochon. The Mohs scale of mineral hardness and a stone's porosity dictate your cleaning methodology. Always consult resources like the Gemological Institute of America (GIA) when dealing with rare or unfamiliar inclusions.
| Gemstone Type | Mohs Hardness | Porosity / Sensitivity | Safe Cleaning Method | Strictly Avoid |
|---|---|---|---|---|
| Turquoise (Raw/Polished) | 5.0 - 6.0 | Highly porous; sensitive to chemicals | Dry microfiber cloth only | Water, ultrasonic, soap, dips |
| Amethyst (Faceted/Cab) | 7.0 | Low porosity; heat sensitive | Mild soap, distilled water, soft brush | Steam cleaners, extreme heat |
| Moonstone (Cabochon) | 6.0 - 6.5 | Cleavage planes; shock sensitive | Damp cloth wipe down | Ultrasonic cavitation, harsh scrubbing |
| Labradorite | 6.0 - 6.5 | Moderate sensitivity to acids | Mild soap, quick rinse, immediate dry | Commercial silver dips, vinegar |
| Quartz (Clear/Rutilated) | 7.0 | Durable; fracture sensitive if included | Warm soapy water, soft brush | Thermal shock (steam to cold water) |
Preventative Maintenance & Storage Protocols
Proactive care significantly reduces the need for aggressive cleaning. Silver alloys, particularly standard .925 sterling, are highly reactive to sulfur compounds in the air. While modern Argentium silver offers superior tarnish resistance due to its germanium content, standard sterling and copper require strict environmental controls.
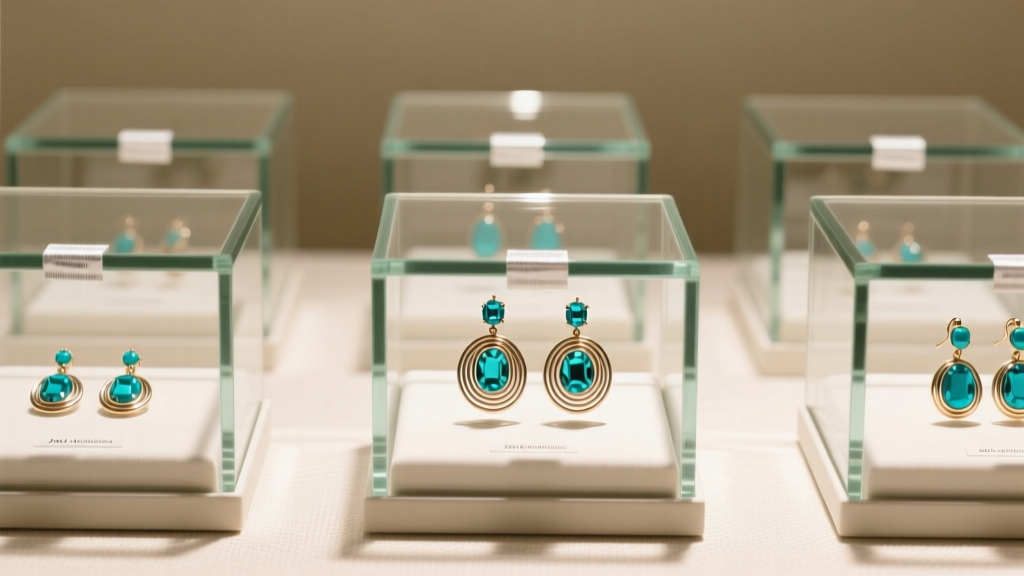
The Anti-Tarnish Storage System
Never store wire-wrapped earrings in open-air displays or standard cardboard boxes, which off-gas sulfuric compounds. Instead, utilize a multi-tiered storage approach:
- Individual Polybags: Place each pair of earrings in a ziplock bag made from anti-tarnish polyethylene. Standard plastic bags trap humidity and accelerate oxidation.
- VCI Technology: Insert a Vapor Corrosion Inhibitor (VCI) strip or a 3M anti-tarnish tab into each bag. These strips absorb atmospheric sulfur and neutralize corrosive gases.
- Desiccant Packets: Include a small silica gel packet to maintain a relative humidity (RH) below 40%, preventing moisture-assisted galvanic corrosion, especially in mixed-metal wraps.
Troubleshooting Common Wire Fatigue Issues
Even with meticulous care, mechanical wear is inevitable. As part of your ongoing maintenance routine, perform a 'tension check' on your earrings every six months.
Re-Tightening a Loose Bezel Wrap
If the stone rattles or shifts within its wire frame, the tension has relaxed. Do not use metal chain-nose pliers, as the hardened steel teeth will gouge your silver or gold-filled wire. Instead, use nylon-jaw pliers to gently compress the outer structural frame. Apply pressure evenly across the north, south, east, and west axes of the wrap to re-seat the stone without warping the overall geometry.
Addressing Ear Wire Loop Fatigue
The loop where the ear wire hooks into the earring dangle is the highest stress point. If this loop begins to pull open, it must be re-closed and re-hardened. Use two pairs of flat-nose pliers to twist the loop closed (never pull the ends apart laterally, as this weakens the wire). Once closed, lightly burnish the loop with a steel burnisher to smooth out micro-fractures and restore surface hardness.
"The true mark of a master wire artist is not just in the complexity of the initial weave, but in the foresight applied to the piece's structural longevity and ease of long-term maintenance." — Master Jewelry Artisan Principle
By integrating these advanced care, cleaning, and maintenance protocols into your routine, you ensure that your wire-wrapped creations remain as structurally sound and visually captivating as the day they were finished. For further education on metal alloys and gemological properties, suppliers like Rio Grande offer extensive technical guides that complement the practical skills developed in this wire wrapped earrings tutorial.


