How to Make Wire Jewelry Rings: An Expert's Technical Guide
Master how to make wire jewelry rings with our expert technical guide. Learn precise gauge sizing, metal hardness, and advanced coiling techniques.

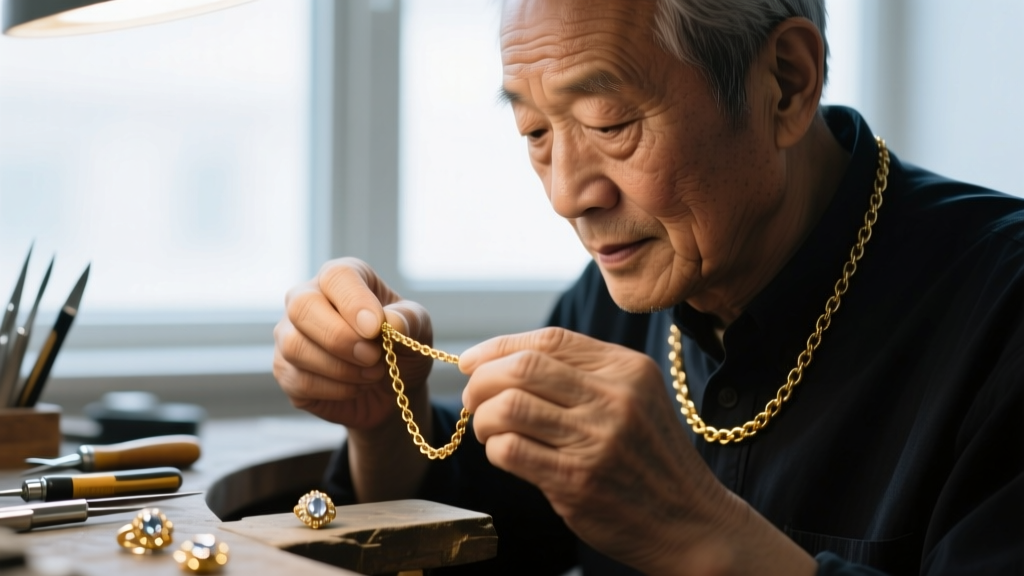
Learning how to make wire jewelry rings is a foundational skill in metalsmithing, but transitioning from amateur crafting to professional-grade fabrication requires a deep understanding of metallurgy, structural mathematics, and tension control. Unlike cast rings, wire rings rely entirely on the mechanical properties of the metal and the precision of the artisan's hand. This expert deep dive bypasses basic craft tutorials to explore the technical realities of alloy selection, work-hardening mechanics, and precision sizing.
The Metallurgy of Wire: Choosing the Right Alloy and Hardness
The success of a wire ring hinges on selecting the correct temper (hardness) and alloy. Wire is typically sold in three primary tempers: Dead Soft, Half-Hard, and Full-Hard. When you bend wire, you disrupt its crystalline lattice structure, causing it to become harder and more brittle—a process known as work-hardening.
- Dead Soft: Fully annealed. Ideal for intricate weaving, wrapped shanks, and complex spirals. It offers zero structural rigidity on its own and must be work-hardened after forming to hold its shape.
- Half-Hard: The industry standard for simple band rings, jump rings, and structural loops. It provides a balance of malleability for bending and rigidity for maintaining a circular shape.
- Full-Hard: Extremely stiff and brittle. Rarely used for ring shanks due to the high risk of metal fatigue and snapping during the coiling process. Reserved for spring mechanisms or rigid clasps.
For high-end wire rings, Argentium Silver (.935) is vastly superior to traditional Sterling (.925). Argentium replaces some of the copper content with germanium, which dramatically increases tarnish resistance and eliminates firescale during soldering. According to technical resources from Ganoksin, Argentium also has a lower slumping temperature, meaning it requires careful heat management when soldering to avoid melting the wire's structural integrity.
Gauge Sizing and Mandrel Mathematics
A common failure point for beginners is misunderstanding the relationship between wire gauge, mandrel size, and final ring size. Wire thickness is measured in American Wire Gauge (AWG). For structural rings that will endure daily wear, 12-gauge (2.05mm) or 14-gauge (1.63mm) is mandatory. Anything thinner than 18-gauge (1.02mm) will easily deform under lateral pressure.
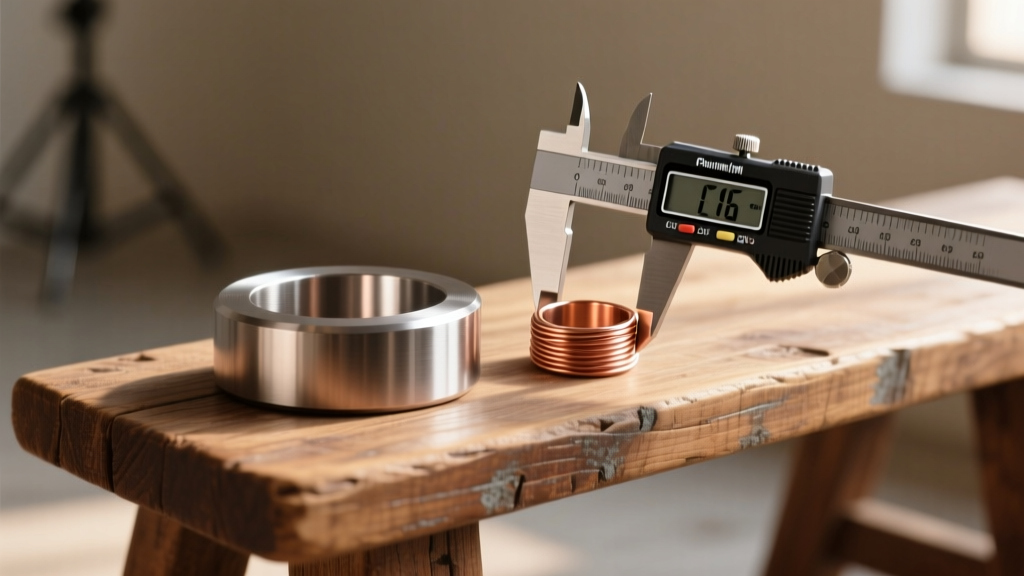
Furthermore, metal exhibits springback. When you bend a thick wire around a mandrel, it will slightly rebound away from the steel once released. To achieve a precise US ring size, you must account for both the springback and the physical thickness of the wire itself. The formula for the true inner diameter (ID) requires bending the wire on a mandrel size slightly smaller than the target ID.
| Target US Size | Target Inner Diameter (mm) | Recommended Mandrel Size (mm) | Ideal Wire Gauge (AWG) |
|---|---|---|---|
| Size 5 | 15.70 mm | 15.30 mm | 14g or 12g |
| Size 7 | 17.30 mm | 16.80 mm | 14g or 12g |
| Size 9 | 18.90 mm | 18.40 mm | 14g or 12g |
| Size 11 | 20.50 mm | 19.90 mm | 14g or 12g |
Note: Always measure the inner diameter of the finished ring using digital calipers, not a plastic ring sizer, to ensure professional tolerances of +/- 0.1mm.
Step-by-Step Fabrication: From Annealing to Work Hardening
Phase 1: Annealing and Preparation
If your wire has become stiff from previous handling or was purchased in a hard temper, it must be annealed. Coat the wire with a boric acid and alcohol solution to prevent firescale. Heat the sterling silver evenly with a reducing flame (a soft, bushy, slightly yellow flame) until the metal glows a dull cherry red (approximately 1100°F to 1200°F). Quench immediately in water. A pro-tip for temperature monitoring without a laser thermometer: color the metal with a standard black Sharpie marker. When the carbon burns off and the black mark disappears, the silver has reached the optimal annealing temperature.
Phase 2: Coiling and Tension Control
Secure the wire flush against the steel mandrel. Use a rawhide or nylon-jaw mallet to strike the wire, never a steel hammer, which will mar the surface and create stress fractures. Apply consistent, heavy tension as you wrap the wire around the mandrel. For a seamless band, the ends must meet perfectly. Use flush-cutters to snip the wire, ensuring the flat side of the cutter faces the ring and the beveled side faces the waste wire. This leaves a perfectly flat, 90-degree cut.
Phase 3: Soldering vs. Cold Connections
While wrapped rings rely on cold connections (tucking and weaving the wire ends), structural bands require soldering. File the seam perfectly flat so the two ends meet with zero light passing through. Capillary action requires a tight, clean joint. Apply a high-temperature hard solder (melting point ~1450°F) to ensure the seam is as strong as the surrounding wire. As detailed in the metallurgical guides at Rio Grande, using hard solder for the primary structural seam prevents the joint from melting if the ring requires subsequent sizing or stone-setting repairs later.
Troubleshooting Common Wire Ring Failures
Even experienced metalsmiths encounter structural failures. Here is how to diagnose and fix the most common technical issues:
- Brittle Fracture at the Seam: Caused by over-work-hardening the wire before soldering, or heating the metal too slowly, which draws the zinc out of the alloy and creates a brittle, porous joint. Fix: Anneal the wire before the final bend, and use a sharp, hot flame to reach solder flow quickly.
- Solder Balling (Refusal to Flow): Solder will not flow over dirty metal or oxidized surfaces. Fix: Ensure the seam is filed bright and clean immediately before applying flux. Use a fresh batch of flux, as old flux absorbs moisture and contaminants.
- Oval Deformation: The ring loses its perfect circle shape during wear. Fix: The wire was not sufficiently work-hardened after soldering. Place the soldered ring back on the mandrel and gently tap it with a rawhide mallet to compress the grain structure and increase tensile strength.
Finishing Protocols: Polishing and Patination
The final finish dictates both the aesthetic and the longevity of the ring. After pickling the soldered ring in a warm citric acid or sodium bisulfate solution to remove flux and oxides, the metal will have a matte, frosted white appearance.
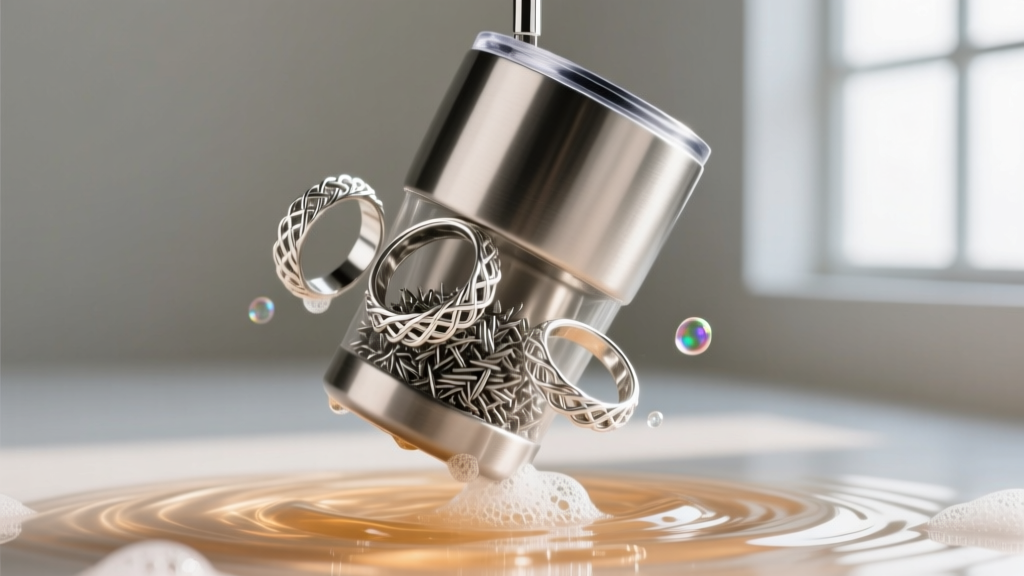
To achieve a high polish, place the rings in a rotary tumbler filled with stainless steel shot, a drop of burnishing compound, and warm water. Tumble for 45 to 60 minutes. The steel shot acts as a microscopic hammer, compressing the surface molecules of the silver, which not only creates a brilliant shine but also adds a final layer of work-hardening to the exterior skin of the ring.
Expert Insight: If you desire a high-contrast antiqued finish, apply Liver of Sulfur (potassium sulfide) to the tumbled ring. The chemical reacts with the copper in the sterling silver to create a black patina. Use a fine-grit polishing cloth or 0000 steel wool to remove the black oxidation from the high points of the wire, leaving the dark patina trapped in the recesses and woven joints. This not only highlights the architectural geometry of the wire but also provides a protective layer against future environmental tarnishing.
Mastering how to make wire jewelry rings is an exercise in applied physics and material science. By respecting the crystalline structure of your alloys, calculating springback with mathematical precision, and executing flawless solder joints, you elevate your work from simple wire wrapping to enduring, professional-grade jewelry.


