How to Layer Finger Jewelry: A Step-by-Step Guide
Master the art of stacking with our step-by-step guide to layering finger jewelry. Learn proportions, metal pairings, and sizing for a flawless look.

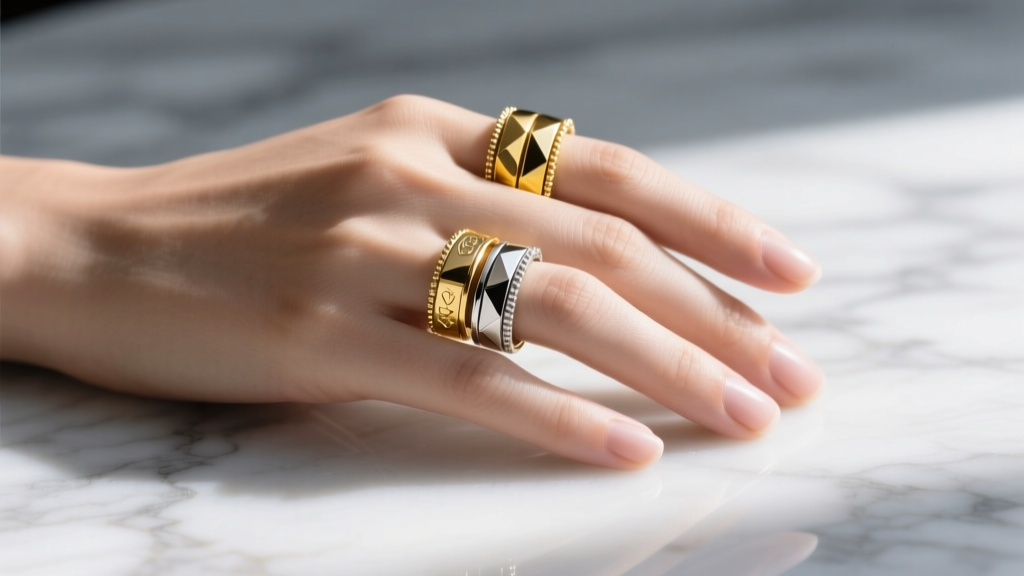
The Anatomy of a Perfect Ring Stack
Layering finger jewelry has evolved from a fleeting fashion trend into a permanent staple of personal expression. However, a truly masterful stack is not simply about piling every ring you own onto one hand. It requires a strategic understanding of proportions, metal hardness, gemstone settings, and ergonomic sizing. Whether you are mixing vintage signet rings with modern minimalist bands or experimenting with knuckle and midi rings, the goal is to create a cohesive narrative across your hands. In this comprehensive guide, we break down the exact steps to curating a balanced, damage-free, and visually striking ring stack.
Step 1: Establish Your Anchor Piece
Every successful stack begins with an anchor—a substantial piece that dictates the visual weight and theme of the arrangement. Your anchor is typically worn on the ring or index finger and boasts a wider profile, usually between 6mm and 14mm in width. Classic anchor pieces include heavy dome bands, signet rings, or substantial cocktail rings. When selecting your anchor, consider the face width. A 12mm oval signet ring provides a broad canvas for an engraved crest or a large cabochon stone, instantly grounding the stack. If your anchor features a large center stone, ensure the profile (the height of the setting) is relatively low. High-profile settings not only snag on clothing but also create awkward gaps when placed next to thinner bands, disrupting the visual flow of your finger jewelry.
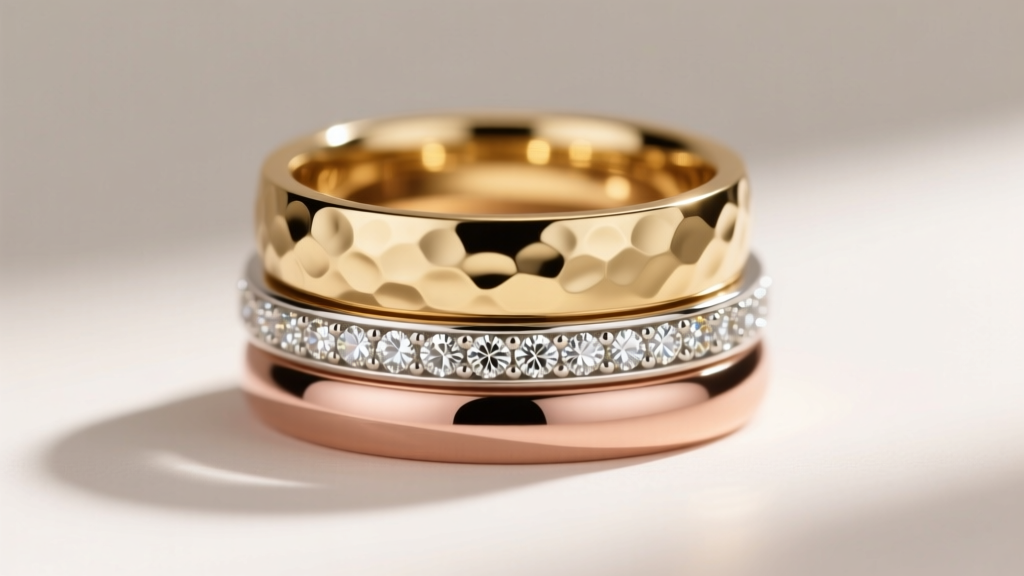
Step 2: Mix Textures and Metal Grades
Once your anchor is set, the next step is introducing contrasting textures and metals. Monochromatic stacks can look flat, while mixing finishes—such as a hammered 18k yellow gold band against a high-polish platinum ring—creates depth. However, you must consider the metallurgical realities of stacking different alloys. Metals have varying levels of hardness, measured on the Vickers scale (HV). When a harder metal constantly rubs against a softer one, the softer metal will degrade over time.
| Metal Type | Vickers Hardness (HV) | Stacking Recommendation |
|---|---|---|
| 14k Yellow/White Gold | 140 - 160 HV | Excellent for everyday stacking; highly resistant to deformation. |
| 18k Yellow Gold | 120 - 130 HV | Rich color but softer; avoid stacking directly against platinum. |
| Platinum 950 | 110 - 125 HV | Extremely durable and malleable; develops a patina but loses no metal mass. |
| Sterling Silver 925 | 60 - 80 HV | Very soft; best reserved for occasional wear or separated by silicone spacers. |
Furthermore, pay close attention to gemstone settings. Prong settings, while maximizing light return, act like abrasive files against neighboring metal bands. For a flush, damage-free stack, prioritize bezel or channel settings. A 2mm bezel-set diamond band will glide smoothly against a 4mm gold band without micro-scratching the adjacent metal's surface.
Step 3: Strategic Finger Placement and Sizing
The physical fit of your finger jewelry is just as critical as the visual aesthetic. Stacking multiple rings on a single finger increases the overall circumference and restricts the skin's natural expansion, especially in warm weather or after physical activity. As a general rule, if you plan to wear three or more rings on one finger, you should size up by a quarter to a half-size from your standard measurement to accommodate the added metal thickness and prevent circulation issues.
Expert Tip: Incorporate midi rings (worn above the middle knuckle) to elongate the finger and distribute visual weight. Because the upper phalanx is narrower, midi rings typically require a size 3 to 4 smaller than your base knuckle size.
Do not ignore the thumb and pinky fingers. A 4mm flat band on the thumb adds an unexpected, modern edge to a traditional stack, while a delicate 2mm pinky ring provides a subtle finishing touch. Ensure your thumb ring has a slightly rounded interior (a comfort-fit band) to allow for the thumb's wide range of motion without pinching the webbing of your hand.
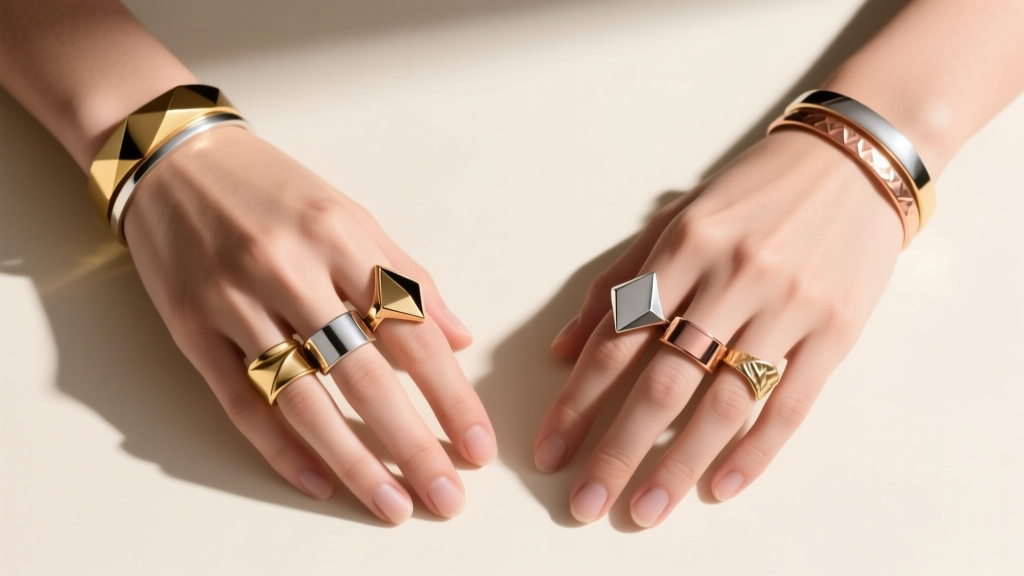
Step 4: Balancing Proportions Across Both Hands
A common mistake in layering finger jewelry is overcrowding one hand while leaving the other entirely bare. The most visually pleasing arrangements utilize the 'Rule of Odds' and embrace negative space. If you are wearing a heavy three-ring stack on your left ring finger, balance it with a single, bold signet ring on your right index finger. This creates an asymmetrical but harmonious equilibrium.
- The Dominant Hand: Keep stacking minimal on your dominant hand (usually 1-2 rings max) to prevent interference with daily tasks like writing or using a mouse.
- The Non-Dominant Hand: Use this hand for your more elaborate, multi-piece stacks and statement cocktail rings.
- Adjacent Finger Rule: Avoid placing bulky rings on immediately adjacent fingers (e.g., a wide band on the middle finger and another on the ring finger), as they will grind together and restrict your ability to close your hand comfortably.
Maintenance: Keeping Your Layered Jewelry Pristine
Stacking rings accelerates wear and tear, trapping lotions, dead skin cells, and environmental debris between the bands. According to the Gemological Institute of America (GIA), regular cleaning is essential, but the method depends heavily on the materials in your stack. While ultrasonic cleaners are fantastic for dislodging grime from diamond and sapphire pavé bands, they can shatter porous gemstones like opals, emeralds, and turquoise, which are frequently featured in vintage cocktail rings.
For mixed-material stacks, the safest and most effective cleaning method is a lukewarm bath of distilled water and a few drops of mild, phosphate-free dish soap. Use a soft-bristled baby toothbrush to gently sweep the bristles between the bands and under the settings. As noted by jewelry care specialists at Blue Nile, you should always dry your rings completely with a lint-free microfiber cloth before storing them. Storing damp stacked rings in a dark jewelry box is a recipe for tarnished silver and degraded alloy finishes.
Final Thoughts on Curating Your Stack
Mastering the art of layering finger jewelry is an ongoing process of trial, error, and personal refinement. By respecting the physical properties of your metals, prioritizing ergonomic sizing, and balancing visual weight across both hands, you transform a simple collection of rings into a sophisticated, curated armor. Start with a strong anchor, mix your textures intentionally, and let your hands tell a story that is entirely your own.
Related stories

By Body Part
Beginner Storage Ideas: Practical, Affordable, and Space-Smart Solutions for New Renters and First-Time Homeowners

By Body Part
Fixing a Tarnished or Bent 925 Jewelry Ring: Troubleshooting Guide
By Body Part