The Ultimate 3D Print Necklace Holder Care & Storage Guide
Discover how to design, finish, and use a 3D print necklace holder to prevent tangling, protect delicate chains, and streamline your jewelry cleaning routine.

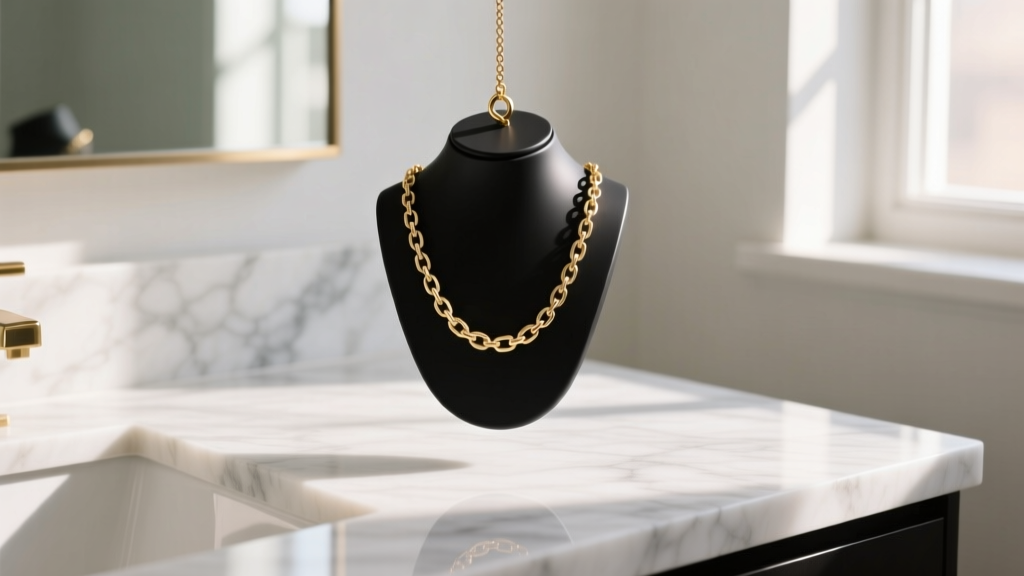
Storing and maintaining fine necklaces presents a unique set of challenges. Delicate chains like 0.8mm rolos or 1.2mm box chains are notoriously prone to kinking, tangling, and environmental tarnishing when left in traditional jewelry boxes. Enter the custom 3D print necklace holder: a revolutionary, highly customizable solution that not only solves the storage dilemma but also serves as an ergonomic station for cleaning, polishing, and inspecting your pendants and chains. However, placing precious metals and gemstones against raw 3D printing materials requires a deep understanding of material chemistry, surface finishing, and proper maintenance protocols.
The Anatomy of a Safe 3D Print Necklace Holder
A well-designed 3D print necklace holder is more than just a bust or a pegboard. It is a precision-engineered mount that accounts for the specific gravity and tensile stress of your jewelry. For heavy pendants (over 15 grams), the holder must feature a widened base and a reinforced neck to prevent tipping during vigorous polishing. For multi-strand necklaces, the design should incorporate staggered, angled pegs with a minimum 12-degree downward slope to prevent chains from sliding off and overlapping.
When designing or downloading an STL file for your holder, ensure the contact points—where the chain or clasp rests—have a minimum fillet radius of 2mm. Sharp 90-degree angles, common in basic CAD models, act as micro-shears that can weaken the soldered rings on fine silver and gold chains over time.
Material Selection: Avoiding Chemical Reactions and Snags
Not all 3D printing filaments and resins are safe for direct contact with precious metals. The MatterHackers Material Guide highlights that certain polymers can off-gas or retain moisture, accelerating the oxidation of sterling silver. Below is a critical comparison of the most common 3D printing materials used for jewelry care stations.
| Material | Print Method | Jewelry Safety Profile | Best Use Case |
|---|---|---|---|
| PLA | FDM | Poor. Degrades under UV light and can harbor moisture, promoting silver sulfide tarnish. | Short-term display only. |
| PETG | FDM | Excellent. Chemically inert, low moisture absorption, and highly durable. | Daily storage and cleaning mounts. |
| Standard Resin | SLA / DLP | Moderate. Uncured resin residues can react with gold alloys and porous gemstones. | Intricate, high-detail display busts (requires post-curing). |
| TPU (95A) | FDM | Superior. Soft, flexible, and provides a non-scratch, high-friction grip. | Inserts, padding, and chain-locking mechanisms. |
Surface Finishing: Eliminating Micro-Abrasions
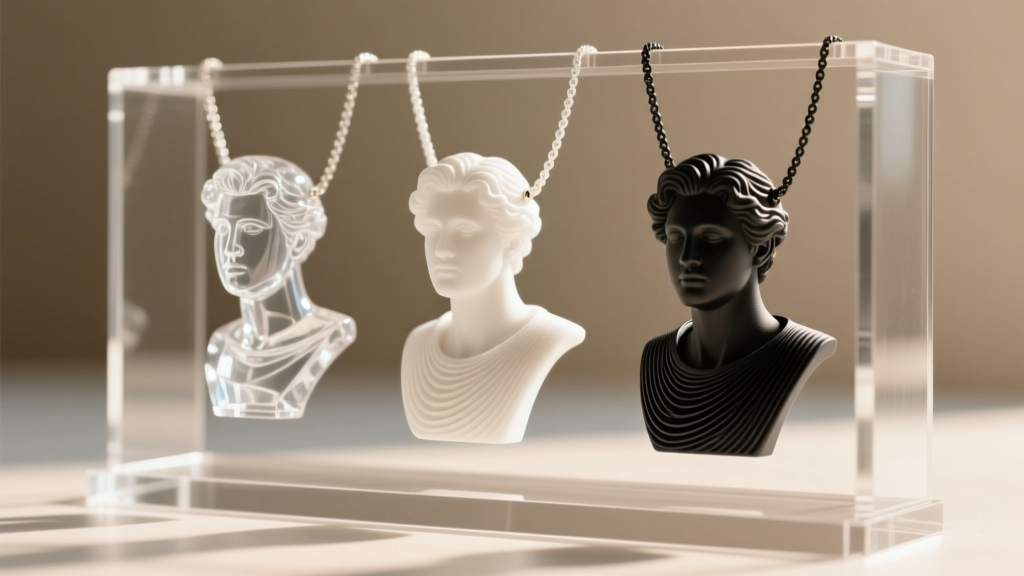
The most critical step in preparing a 3D print necklace holder for jewelry care is eliminating FDM (Fused Deposition Modeling) layer lines. Standard 0.2mm layer heights create a ribbed surface that acts like a fine file against soft metals like 24k gold or high-purity silver. To achieve a jewelry-safe finish, you must employ a progressive wet-sanding technique.
- 400-Grit Wet Sanding: Begin by knocking down the highest peaks of the layer lines. Use water as a lubricant to prevent the sandpaper from clogging with PLA or PETG dust.
- 800 to 1500-Grit Progression: Move through these grits to smooth out the scratches left by the 400-grit paper. The surface should feel smooth to the touch, similar to polished acrylic.
- Epoxy Coating (The Secret Weapon): For a flawless, glass-like finish that completely encapsulates the plastic, apply a two-part epoxy designed for 3D prints, such as XTC-3D. This not only fills any remaining micro-voids but also creates a chemically inert barrier between the polymer and your jewelry.
Expert Tip: Never use chemical vapor smoothing (like acetone for ABS) on jewelry holders. The trapped chemical solvents can slowly off-gas for months, causing severe discoloration to sterling silver and degrading the structural integrity of porous gemstones like opals and turquoise.
The Mounted Cleaning Routine: Step-by-Step
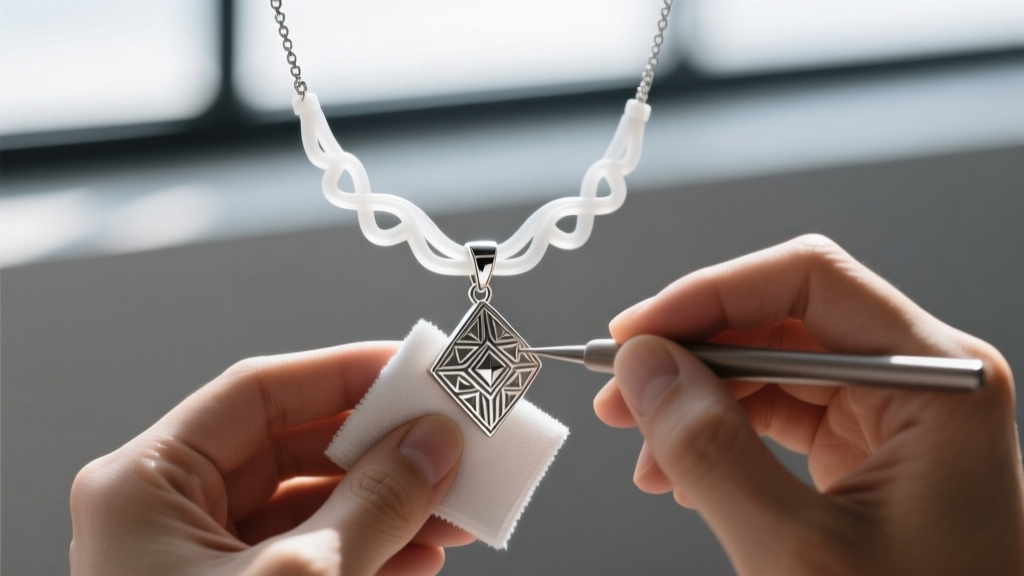
One of the greatest advantages of a 3D print necklace holder is the ability to clean and polish your jewelry while it is securely mounted, keeping both hands free and preventing accidental drops. The Gemological Institute of America (GIA) recommends gentle, non-abrasive cleaning methods for routine maintenance. Here is how to execute a mounted cleaning routine safely.
1. The Distilled Water Wash
Mix a solution of 1 part mild, phosphate-free dish soap to 10 parts distilled water. Avoid tap water, as the chlorine and dissolved minerals can leave microscopic water spots on high-polish pendants. Using a soft-bristled baby toothbrush, gently agitate the solution over the chain and pendant while it hangs on the PETG holder. The holder's angled design allows the dirty water to run off away from the cleaning station.
2. Targeted Polishing
For sterling silver pieces exhibiting early-stage tarnish (yellowing), use a treated silver polishing cloth. Because the necklace is secured on the 3D printed mount, you can apply the necessary lateral pressure to the pendant without stressing the delicate jump rings or the chain links. If your holder features TPU-lined grooves, the chain will remain perfectly stationary during this process.
3. Ultrasonic Warnings
While ultrasonic cleaners are excellent for diamond and platinum jewelry, never submerge your 3D print necklace holder in an ultrasonic bath. The high-frequency cavitation can cause micro-fractures in FDM layer bonds and degrade SLA resin over time. Always remove the jewelry from the holder before utilizing ultrasonic or steam cleaning methods.
Long-Term Maintenance and Anti-Tarnish Integration
A 3D print necklace holder can be optimized to actively fight tarnish rather than just passively store your jewelry. When designing your holder in CAD, incorporate a hidden hollow chamber in the base with a removable, friction-fit lid. This chamber can house activated charcoal packets or 3M anti-tarnish strips.
Silver tarnishes when it reacts with hydrogen sulfide in the air. By placing an anti-tarnish strip inside the base of your holder, you create a localized micro-environment that absorbs these corrosive gases. Replace the strips every 3 to 6 months depending on your local humidity levels. Additionally, store the entire holder in a low-humidity room; bathrooms are the worst environment for both 3D printed plastics (which can absorb ambient moisture) and fine silver.
Troubleshooting Common Print Failures
Even with perfect CAD designs, 3D printing anomalies can compromise the safety of your jewelry care station. Here is how to identify and fix common issues:
- Warping and Base Lift: If the corners of your holder lift off the build plate, the center of gravity shifts, making the holder prone to tipping when heavy pendants are hung. Fix: Increase the brim width to 10mm and ensure your build plate is perfectly leveled. Use a PETG-specific adhesive like Magigoo.
- Stringing and Oozing: Fine strings of plastic between the necklace pegs can snag delicate chains. Fix: Increase your retraction distance by 0.5mm and raise the travel speed to 150mm/s in your slicer software. Always inspect the final print with a magnifying glass and carefully remove any micro-strings with a precision hobby knife.
- Static Buildup: Certain resins and filaments can build up a static charge, attracting dust and microscopic abrasive particles to the surface of your holder. Fix: Wipe the finished holder down with an anti-static electronics wipe before placing any jewelry on it.
By treating your 3D print necklace holder not just as a novelty, but as a precision tool for jewelry care, you ensure that your most cherished necklaces remain untangled, untarnished, and perfectly displayed for years to come. Whether you are printing in durable PETG or designing soft TPU inserts, the intersection of additive manufacturing and jewelry maintenance offers unparalleled customization for the modern collector.


