How to Make a Necklace Tie Adjustable: Step-by-Step Knot Guide
Learn how to make a necklace tie adjustable with our step-by-step sliding knot guide. Master cord types, friction knots, and durable macrame finishes.

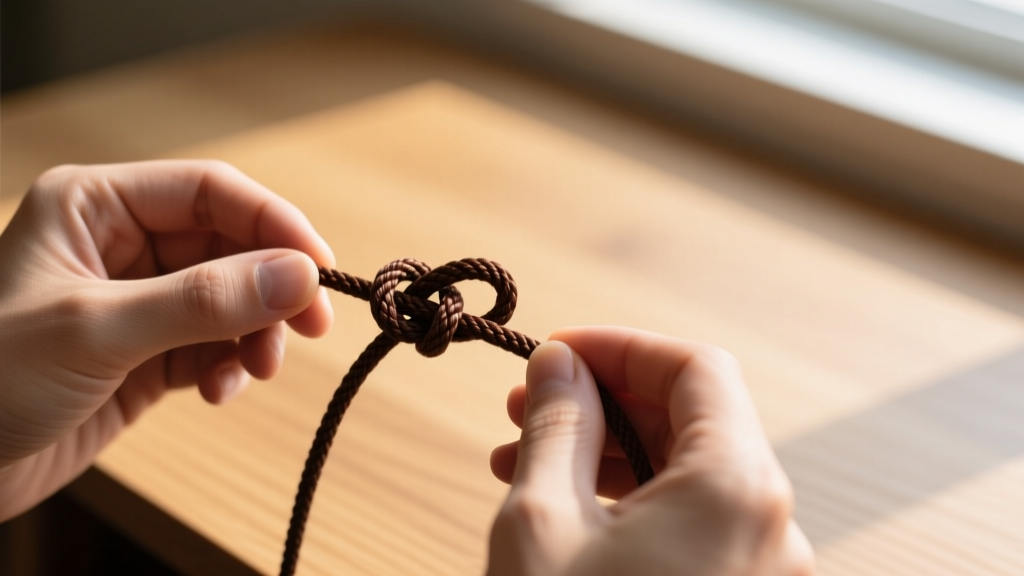
The Anatomy of an Adjustable Sliding Knot
Mastering the art of the adjustable sliding knot transforms a simple pendant or beaded strand into a versatile, one-size-fits-all piece of jewelry. When you learn how to make a necklace tie adjustable, you are essentially creating a friction-based mechanical lock. The most reliable method is the macrame square sliding knot, which wraps around the base cords without piercing or gluing them. This allows the wearer to pull the cords to tighten the necklace around the collarbone, or pull the tails to loosen it over the head.
The secret to a professional-grade adjustable tie lies in understanding friction coefficients and cord geometry. If the wrapping cord is too thick, the knot will jam and refuse to slide. If it is too thin or slick, the knot will experience "creep," slowly loosening throughout the day until the necklace falls off. According to the Fire Mountain Gems Jewelry-Making Encyclopedia, matching the correct cord material to the weight of your pendant is the first critical step in ensuring longevity and smooth operation.
Choosing the Right Cord: Material and Friction Profiles
Not all jewelry cords are created equal. The material you choose dictates the number of wraps required and the finishing technique needed to secure the tails. Here is a breakdown of the most common materials used for adjustable necklace ties, including their typical market pricing and physical properties.
| Cord Material | Ideal Diameter | Friction Level | Best Use Case | Avg. Price (USD) |
|---|---|---|---|---|
| Waxed Cotton (Irish Linen) | 1.0mm | High | Heavy pendants, rustic/boho styles | $8 - $12 / 50m |
| Chinese Knotting (Poly/Nylon) | 0.8mm - 1.0mm | Medium-High | Gemstone beads, everyday wear | $3 - $5 / 10m |
| S-Lon (Super Lon) Nylon | 0.8mm | Medium | Micro-macrame, vibrant colors | $4 - $6 / 10m |
| Pure Silk | 1.0mm+ | Low (Slippery) | Pearls (requires glue, not recommended for sliding) | $10 - $15 / 2m |
Expert Rule of Thumb: For the smoothest sliding action, use a base cord of 1.0mm and a wrapping cord of 0.8mm. Using the exact same thickness for both base and wrap creates a bulkier knot that is harder to adjust but offers a tighter grip.
Step-by-Step: Tying the Classic Macrame Sliding Knot
Before you begin, ensure your base cords overlap by at least 4 inches (10 cm). This overlapping section is the "track" upon which your knots will slide. Cut a separate piece of your wrapping cord, approximately 18 inches (45 cm) long.
Step 1: Preparation and Alignment
Lay the overlapping base cords flat on your workspace. Take the center of your 18-inch wrapping cord and place it horizontally underneath the base cords, right at the edge of the overlap zone. The wrapping cord should now form a "U" shape under the base cords, with two equal tails pointing upward on either side.
Step 2: The First Wrap Sequence (The Square Knot)
Take the right tail of the wrapping cord and pass it over the base cords, then under the left tail. Next, take the left tail and pass it over the base cords, then thread it down through the loop created by the right tail on the right side. Pull both tails gently to snug the first half-hitch against the base cords. This completes one half of the square knot.
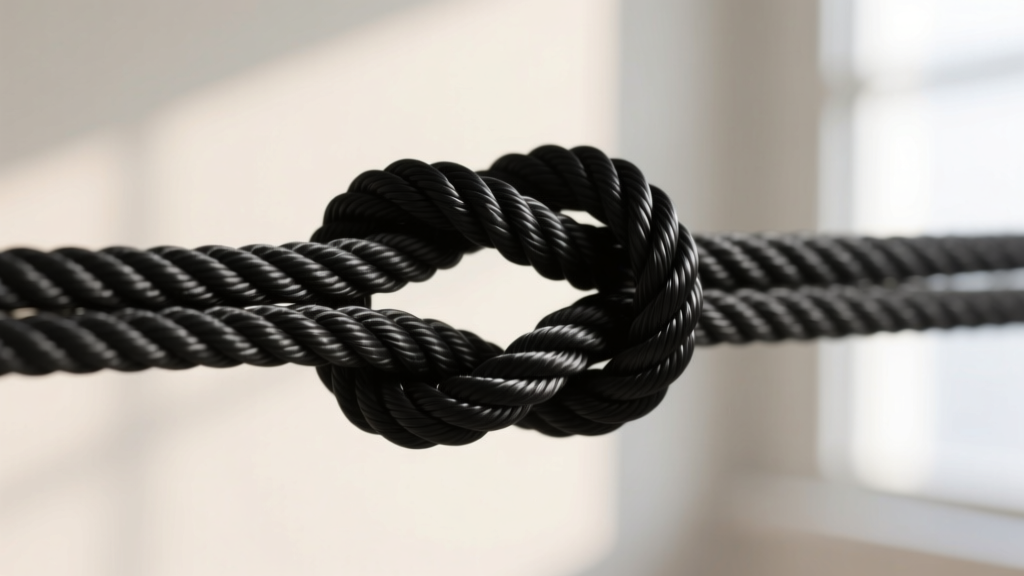
Step 3: Building the Friction Barrel
Repeat the alternating over-under pattern. For a 1.0mm waxed cotton cord, you will need exactly 4 to 5 complete wraps (which equals 8 to 10 half-hitches). For a slicker material like S-Lon nylon, aim for 6 to 7 complete wraps. The goal is to build a tight, cylindrical barrel around the base cords. Do not pull the wraps so tight that you deform the base cords; the tension should be firm enough to hold shape, but loose enough that the base cords can still slide through the barrel.
Step 4: Locking the Knot and Tension Testing
Once you have reached your desired wrap count, thread both tails of the wrapping cord through the center of the barrel, between the two base cords. Pull the tails all the way through until the knot locks onto itself. Trim the excess wrapping cord, leaving about 2mm of tail protruding from the knot. Test the slide: hold the base cords and push the knot. It should require a firm, deliberate pull to move, but it should not require excessive force that might snap the cord.
Troubleshooting Common Adjustable Tie Failures
Even experienced jewelers encounter issues when calibrating friction knots. Here is how to diagnose and fix the most common failure modes:
- Failure Mode 1: The Knot Won't Slide (Jamming)
Diagnosis: You likely pulled the wrapping cord too tightly during Step 3, or you are using a wrapping cord that is thicker than your base cord.
Solution: Unravel the knot and re-wrap with slightly less tension. If the cord is too thick, switch to a 0.5mm or 0.8mm wrapping cord. - Failure Mode 2: Knot Creep (Slipping Open)
Diagnosis: The material is too slick (like pure silk or polished nylon) or you haven't completed enough wraps.
Solution: Add 2 to 3 more wraps to the barrel. If using silk, apply a microscopic drop of flexible jewelry adhesive (like G-S Hypo Cement) to the interior of the knot before locking it, though this defeats the purpose of a purely mechanical sliding knot. - Failure Mode 3: Base Cord Abrasion
Diagnosis: The wrapping cord has a rough texture or contains metallic threads that are sawing through the softer base cord over time.
Solution: Switch to a high-tenacity polyester base cord, which offers vastly superior abrasion resistance compared to standard cotton or rayon.
Finishing the Tails: Heat Sealing vs. Mechanical Stops
Once your sliding knots are tied and tested, you must finish the ends of the base cords so they cannot slip completely out of the knot. The method depends entirely on your cord material.

Heat Sealing Synthetics (Nylon and Polyester)
Synthetics like S-Lon and Chinese knotting cord melt at approximately 260°C (500°F). Use a butane thread burner or a precision lighter to melt the very tip of the cord. Crucial Step: Immediately after the tip turns into a glowing bead, press it flat using the side of your lighter or a silicone pressing mat. This creates a wide, smooth "mushroom" cap that will easily catch on the sliding knot without scratching the wearer's skin. Never leave a sharp, teardrop-shaped melt; it will catch on clothing and eventually snap.
Mechanical Stops for Naturals (Cotton, Leather, Hemp)
Natural fibers will burn and turn to ash rather than melt. For these materials, you must use mechanical stops. The most elegant solution is to thread a small metal crimp bead or a decorative end-cap onto the tail, apply a drop of cyanoacrylate (super glue) or jeweler's epoxy, and crush or slide the cap into place. Alternatively, you can tie a simple overhand knot at the very end of the tail and dab it with clear nail polish or flexible glue to prevent fraying. According to Rio Grande Jewelry Resources, using properly sized crimp covers over mechanical stops provides a clean, professional finish that mimics the look of a seamless metal bead.
Expert Tips for Longevity and Care
To ensure your adjustable necklace tie lasts for years, advise your clients or end-users on proper care. Waxed cotton and leather cords should be kept away from prolonged exposure to water, pool chlorine, and heavy perfumes, which can strip the protective wax coating and cause the fibers to swell. When the wax degrades, the friction coefficient changes, often leading to a stiff, unadjustable knot. Re-waxing the cord with a beeswax-based thread conditioner once a year will restore the cord's flexibility and maintain the perfect sliding tension.


