How to Authenticate and Restore a Marvella Pearl Necklace
Learn how to authenticate, clean, and restring a vintage Marvella pearl necklace with our expert step-by-step restoration guide for costume jewelry.

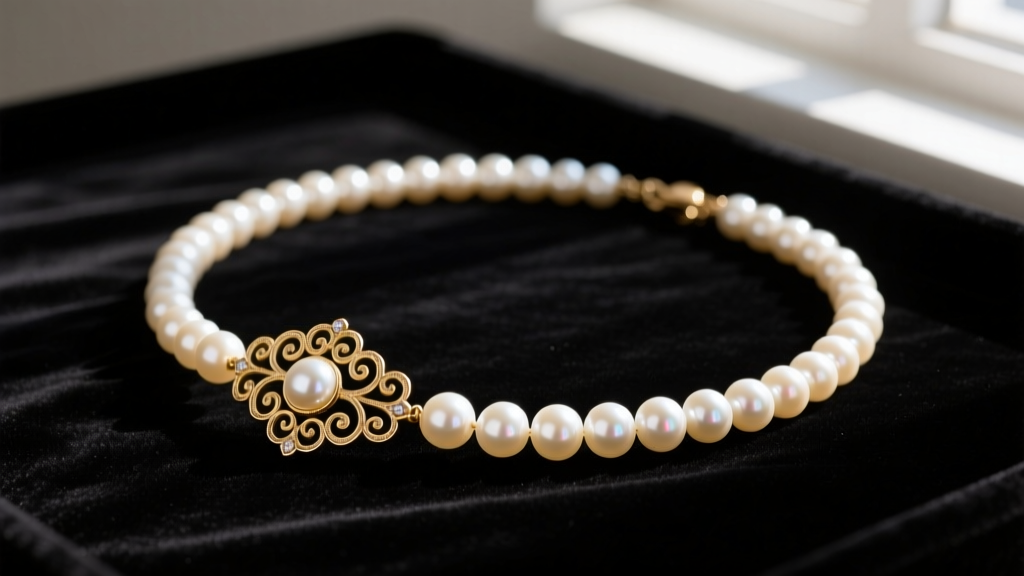
The mid-century costume jewelry market has seen a massive resurgence as we move through 2026, with collectors and stylists aggressively hunting for high-quality vintage pieces. Among the most coveted finds is the Marvella pearl necklace. Founded by Sol Weinreich in 1906, Marvella became synonymous with luxury faux pearls, utilizing heavy glass beads and meticulous hand-knotting techniques that rivaled fine jewelry houses. However, buying and restoring vintage costume jewelry requires a highly specific skill set. Misidentifying a hallmark or using the wrong cleaning solvent can destroy a valuable piece in seconds.
This comprehensive, step-by-step guide will teach you how to authenticate your Marvella strand, assess the integrity of its unique pearlescent coating, and properly restring it using the correct materials to preserve its historical and monetary value.
The Legacy of Marvella: Understanding Your Necklace
Before attempting any restoration, you must understand what you are holding. Unlike cheap plastic beads produced in the late 20th century, authentic mid-century Marvella pearls are typically crafted from solid glass cores coated with a proprietary pearlescent mixture. Early iterations used essence d'orient (a substance derived from guanine crystals found in fish scales), while later mid-century pieces utilized bismuth oxychloride or synthetic mica-based coatings to achieve their signature deep luster. Because the core is glass, a vintage Marvella pearl necklace is significantly heavier than a real nacre pearl strand of the same diameter, which dictates how it must be restored and strung.
Step 1: Authenticating the Marvella Hallmark
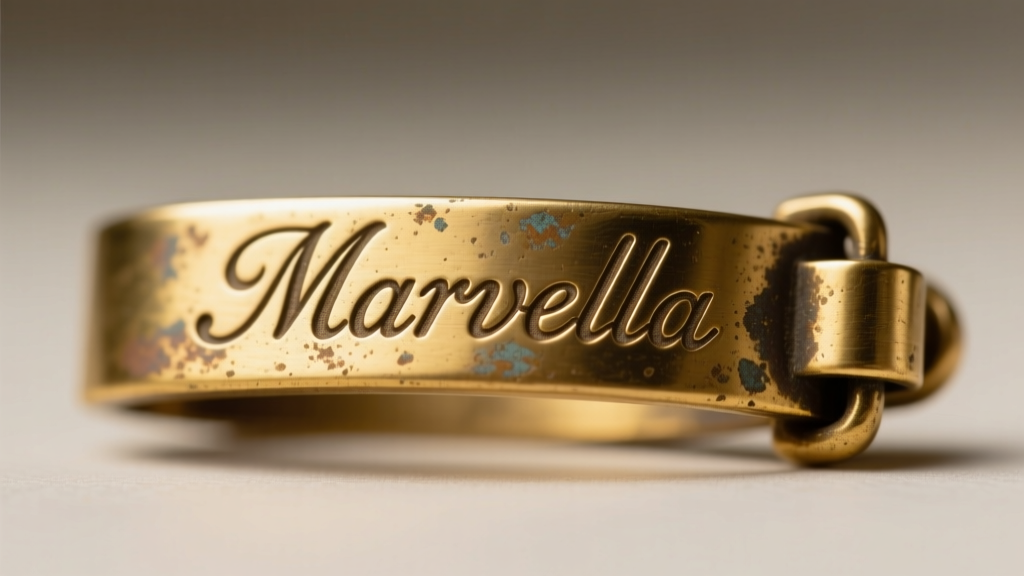
Authentication begins at the clasp. Marvella utilized distinct hallmarks that evolved over the decades. Counterfeiters often stamp generic 'M' marks or use modern lobster clasps on artificially aged beads. Use a 10x jeweler's loupe to inspect the clasp, jump rings, and any metal bead tips for the following signatures.
Decoding the Stamps and Clasps
| Era | Hallmark Style | Typical Clasp Hardware | Collector Value Indicator |
|---|---|---|---|
| 1950s | 'Marvella' (Block or Script) | Box clasp with figure-8 safety catch | Highest (Golden Era) |
| 1960s–1970s | 'Marvella ©' (with copyright symbol) | Fold-over clasp or heavy spring ring | High (Excellent quality) |
| 1980s+ | 'Marvella' / 'Weinreich' | Standard spring ring or early lobster | Moderate (Mass production era) |
If your necklace features a plastic barrel clasp or a lightweight alloy lobster claw without a copyright symbol or 'Weinreich' attribution, it is likely a modern reproduction or a frankenstein piece (beads from one era, clasp from another).
Step 2: Assessing the Condition of Faux Pearls
Once authenticated, evaluate the structural integrity of the pearls. While glass cores do not degrade, the pearlescent coating is highly vulnerable to environmental factors, skin oils, and improper storage.
- The Tooth Test: Gently rub a pearl against the biting edge of your front tooth. Real nacre pearls feel gritty (like sandpaper). Marvella glass pearls will feel perfectly smooth. This confirms the faux nature without damaging the coating.
- Checking for 'Pearl Rot' (Peeling): Inspect the drill holes under bright LED light. If you see flaking, bubbling, or a clear glass core showing through, the coating has failed. This is often caused by prolonged exposure to acidic sweat or harsh perfumes.
- Yellowing vs. Patina: A slight cream or ivory shift is normal for vintage pieces and adds character. However, distinct brown spotting indicates chemical degradation of the coating binder, which cannot be reversed.
Step 3: The Safe Cleaning Protocol for Coated Glass Pearls
Never use commercial jewelry dips, ammonia, or ultrasonic cleaners on a Marvella pearl necklace. Ultrasonic vibrations will literally shatter the glass cores or cause the delicate bismuth coating to flake off in sheets. According to the Gemological Institute of America (GIA), coated and faux pearls require the gentlest possible cleaning methods to preserve their surface tension.
Expert Warning: If your Marvella strand is heavily soiled with decades of body oils, do not soak it. Submerging vintage glass pearls can cause water to seep into the drill holes, weakening the internal coating bond and leading to catastrophic peeling once dry.
The Micro-Wipe Method
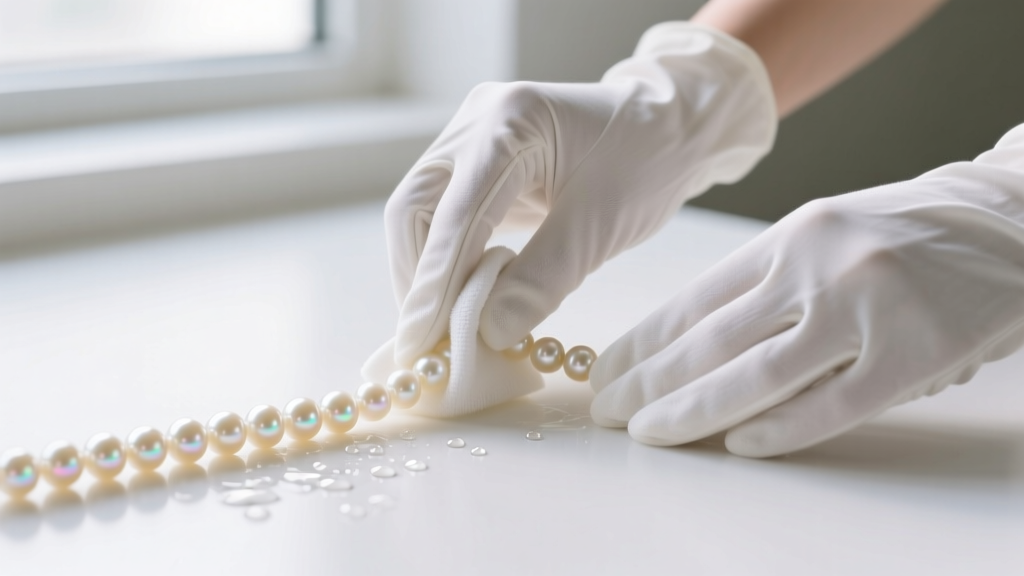
- Dampen a lint-free microfiber cloth with distilled water (tap water contains chlorine and minerals that can etch the coating).
- Add a single drop of pH-neutral baby shampoo to the cloth, working it into a light lather.
- Gently wipe each pearl individually, avoiding excessive friction on the drill holes.
- Immediately dry with a second, bone-dry microfiber cloth.
- Allow the strand to lay flat on a towel for 24 hours before restringing or wearing.
Step 4: Restringing Your Marvella Strand (Step-by-Step)
Because Marvella beads are solid glass, they are substantially heavier than real Akoya or Freshwater pearls. Standard Size D silk thread (0.30mm) used by most jewelers will stretch and snap under the weight of a 30-inch glass pearl opera strand. You must upgrade your materials.
Required Tools and Materials
- Thread: Size F (0.35mm) or Size G (0.40mm) Griffin silk, or high-tenacity nylon thread like Nymo Size D.
- Clamshell Bead Tips: Gold-plated or rhodium-plated to match the original clasp.
- French Wire (Gimp): To protect the thread from the metal clasp friction.
- Beading Awl and Tweezers.
The Restringing Process
- Prep the Thread: Cut a length of Size F silk roughly 1.5 times the length of the necklace. Thread a beading needle and attach your first clamshell bead tip, securing it with a double surgeon's knot and a tiny drop of flexible jeweler's cement (like G-S Hypo Cement).
- Knotting: Pass the needle through the first Marvella pearl. Use a beading awl to push a tight overhand knot directly against the bead. Crucial: Knotting between every single glass bead is mandatory. It prevents the heavy beads from clicking together (which chips the coating) and ensures that if the thread breaks, you only lose one bead.
- Tension Control: Glass beads have sharp drill holes. Ensure your knots are large enough to sit flush against the bead without slipping inside the hole. If the drill hole is too wide for a standard knot, use a double-knot technique.
- Finishing: Once all beads are strung, attach a 5mm piece of French wire to the final loop before connecting it to the original Marvella clasp jump ring. This prevents the heavy glass strand from sawing through the silk thread over time.
Sourcing Replacement Parts and Professional Help
If your vintage clasp is broken beyond repair, finding New Old Stock (NOS) Marvella clasps is vital for maintaining the piece's collector value. The Costume Jewelry Collectors Int'l Club (CJCIC) is an excellent resource for networking with dealers who specialize in NOS findings and replacement beads for damaged strands. Never replace a broken 1950s box clasp with a modern lobster claw; it will immediately devalue the necklace by up to 40% in the vintage market.
Restoring a Marvella pearl necklace is an exercise in patience and historical preservation. By correctly identifying the hallmark, utilizing safe cleaning protocols, and restringing with heavy-duty materials suited for glass cores, you ensure that your mid-century masterpiece will continue to drape beautifully for decades to come.


