Broken Clasp on Necklace? Expert Diagnosis and Repair Guide
Discover why you have a broken clasp on necklace chains. Our expert guide covers metallurgical failure modes, repair costs, and secure upgrades.

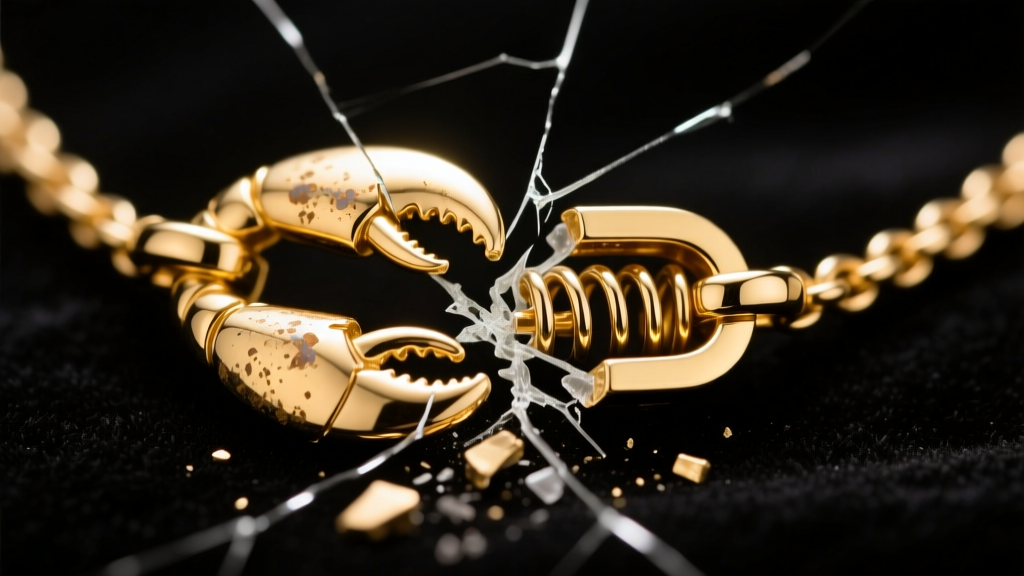
Encountering a broken clasp on necklace chains is one of the most common yet frustrating failures in jewelry wear. While consumers often view clasps as simple mechanical hooks, bench jewelers and metallurgists understand them as complex, high-stress components subjected to cyclic loading, tensile stress, and environmental degradation. When a clasp fails, it is rarely an accident; it is the predictable result of material fatigue, improper alloying, or mechanical wear.
In this expert deep dive, we move beyond generic "take it to a jeweler" advice. We will dissect the metallurgical reasons behind clasp failures, provide a diagnostic matrix for identifying your specific failure mode, and outline the technical repair protocols used by master jewelers in 2026.
The Metallurgy of Clasp Fatigue and Work Hardening
To understand why a clasp breaks, you must first understand the physical properties of the metals used in jewelry findings. Clasps are typically manufactured from 14k gold, 18k gold, platinum, or sterling silver. Each of these alloys possesses a distinct Vickers Hardness (HV) and fatigue limit.
- Sterling Silver (925): With a baseline hardness of roughly 65 HV, silver is highly malleable. It is prone to "creep" and deformation under constant tension, making silver spring rings particularly vulnerable to stretching open over time.
- 14k Gold: Alloyed with copper, silver, and zinc, 14k gold sits around 130 HV. It offers an excellent balance of tensile strength and malleability, making it the industry standard for durable lobster claws and box clasps.
- Platinum (950): While incredibly dense and resistant to wear, platinum has a lower yield strength than 14k gold. It bends rather than breaks, which means platinum box clasp tongues frequently lose their spring tension and require re-shaping rather than soldering.
According to metallurgical data from the Gemological Institute of America (GIA), repeated stress on a clasp's moving parts causes "work hardening." As the metal's crystal lattice structure becomes distorted from repetitive opening and closing, it loses its ductility and becomes brittle, eventually resulting in a micro-fracture and catastrophic failure.
Diagnostic Matrix: Identifying Your Clasp Type and Failure Mode
Not all clasp failures are created equal. Diagnosing the exact point of failure dictates the repair methodology. Below is a technical breakdown of common clasp types and their primary failure modes.
| Clasp Type | Primary Failure Mode | Material Vulnerability | Repair Protocol |
|---|---|---|---|
| Spring Ring | Internal spring snap or housing split | Sterling Silver, low-karat gold | Complete replacement (non-repairable) |
| Lobster Claw | Lever arm bending or pivot pin failure | 14k/18k Gold, hollow-core findings | Replacement or laser welding (if solid) |
| Box Clasp | Tongue groove wear or V-tension loss | Platinum, 18k Gold | Tongue re-tensioning or groove re-soldering |
| Toggle (T-Bar) | Ring deformation or bar thinning | Sterling Silver, soft high-karat gold | Ring re-shaping, bar thickening via casting |
| Magnetic | Neodymium magnet degradation or glue failure | Base metal housings, epoxy resins | Re-gluing with jeweler's epoxy or replacement |
Spring Ring and Lobster Claw Internal Mechanics
When dealing with a broken clasp on necklace chains featuring a lobster claw, the failure is rarely in the precious metal itself. The outer shell is usually 14k gold, but the internal spring and trigger mechanism are often made from beryllium copper or stainless steel to maintain tension. If the trigger becomes sticky or the clasp fails to close, the internal spring has fatigued or corroded. Because these components are micro-machined and sealed, professional jewelers will almost universally recommend replacing the entire lobster claw rather than attempting a microscopic teardown and repair.
Box Clasp and Tongue Groove Wear
Box clasps rely on a V-shaped metal tongue that compresses as it enters the housing box, then expands to lock into a groove. Over years of use, the friction of insertion and removal wears down the inner groove, while the tongue itself flattens. If your box clasp is slipping out, a jeweler will use a pair of parallel-jaw pliers to gently re-bend the V-shape of the tongue, restoring its outward spring tension. If the groove inside the box is worn smooth, the repair requires cutting a new groove with a micro-bur or laser-welding a new retention bead inside the housing.
Step-by-Step Technical Repair Protocols
When a clasp detaches from the chain or the jump ring fails, the repair methodology depends heavily on the metal and the chain's proximity to heat-sensitive gemstones.
Torch Soldering vs. Laser Welding
For standard gold and silver chains, traditional torch soldering remains the most reliable method for reattaching a clasp. Jewelers utilize different grades of solder based on their melting points to prevent previously soldered joints from melting during subsequent repairs:
- Hard Solder: Melts at ~1450°F. Used for the initial manufacturing of the clasp or chain links.
- Medium Solder: Melts at ~1350°F. Used for general repairs and attaching clasps to jump rings.
- Easy Solder: Melts at ~1250°F. Used for final touch-ups or closing jump rings near heat-sensitive stones.
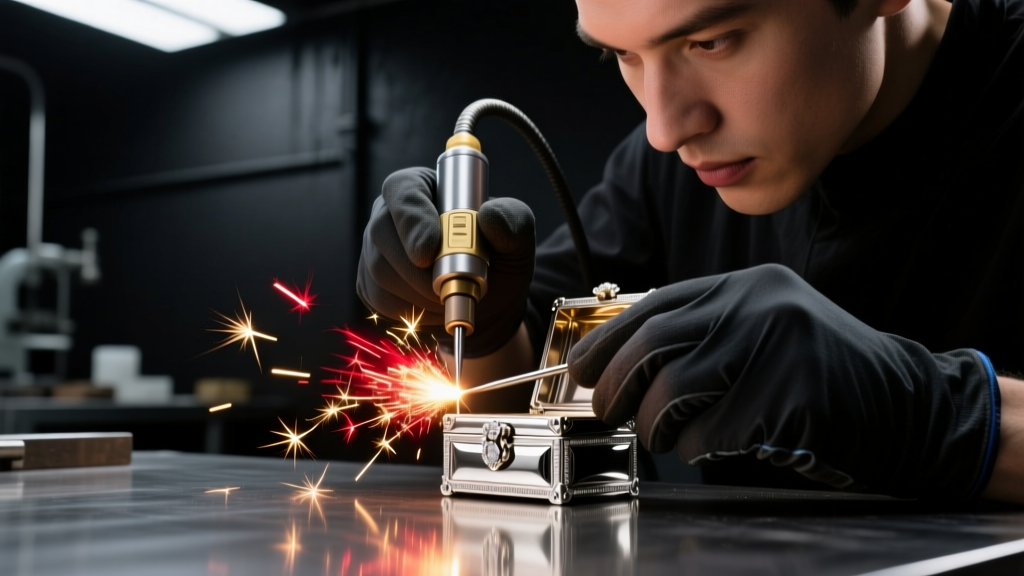
However, if the broken clasp on necklace chains involves platinum, titanium, or is located millimeters away from heat-treated gemstones (like tanzanite or emeralds), torch soldering is too risky. In these scenarios, experts utilize laser welding. Laser welders deliver a highly focused pulse of light that melts a microscopic area of metal in a fraction of a second, leaving the surrounding chain and stones completely unaffected. Industry suppliers like Rio Grande provide specialized laser-welding wire and findings specifically engineered for these high-precision repairs.
Cost Analysis: DIY vs. Professional Bench Jeweler
Understanding the financial aspect of clasp repair helps you decide whether to attempt a temporary fix or seek professional intervention. Below is a realistic pricing matrix for 2026.
| Repair Type | Average Cost (USD) | Longevity | Recommendation |
|---|---|---|---|
| DIY Jump Ring Replacement (using pliers) | $0 - $10 | Low (High risk of re-opening) | Emergency fix only |
| Bench Jeweler: Standard Solder & Polish | $25 - $55 | High (Permanent structural bond) | Best for standard gold/silver chains |
| Bench Jeweler: Laser Welding | $65 - $120 | Very High (Ideal for platinum/delicate chains) | Required for heat-sensitive or hard metals |
| Complete Clasp Upgrade (e.g., to locking lobster) | $40 - $90 + metal weight | Very High | Highly recommended for heavy pendants |
Upgrading to High-Security Clasp Mechanisms
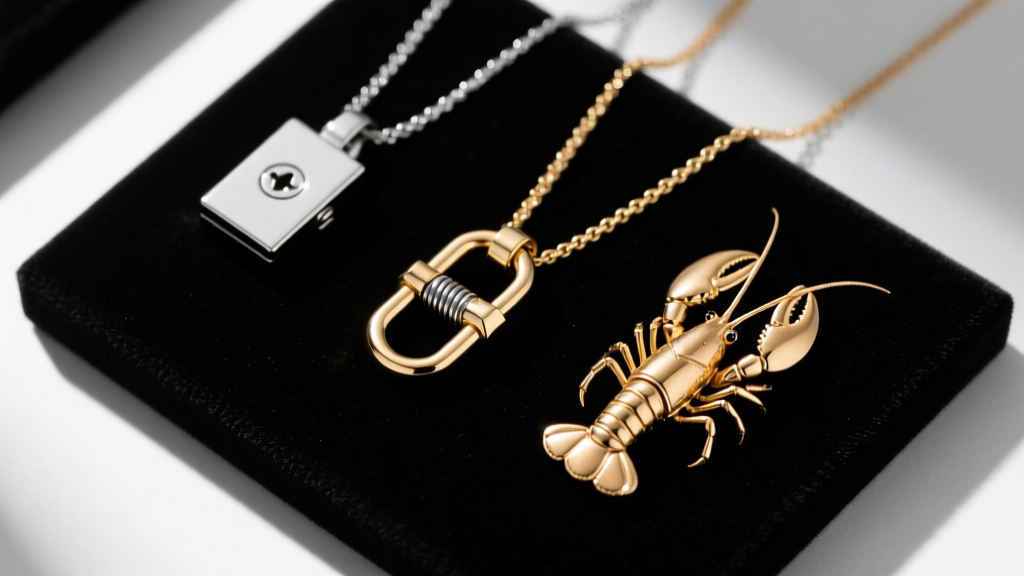
If you frequently experience a broken clasp on necklace chains, or if you wear heavy pendants that place excessive tensile strain on standard findings, it is time to upgrade your clasp mechanism. Standard spring rings and basic lobster claws are insufficient for chains supporting more than 15 grams of pendant weight.
Consider upgrading to one of the following high-security mechanisms, widely available from premium findings manufacturers like Stuller:
- Locking Lobster Clasps: These feature a secondary sliding sleeve that locks the trigger in place, preventing accidental snags from pulling the lever open.
- Screw-Barrel Clasps: Utilizing precision-machined threads, these clasps screw together to form a continuous, seamless link in the chain. They are virtually impervious to accidental opening but require two hands to fasten.
- Neosafety / Box Clasps with Double Safeties: Standard on high-end tennis necklaces, these combine a friction-fit box clasp with two hinged figure-eight safety wires that lock over side buttons, ensuring the necklace remains on the neck even if the primary tongue fails.
- Magnetic Clasps with Safety Chains: Modern neodymium magnetic clasps offer incredible ease of use, but they must be paired with a secondary micro-chain and jump ring to prevent total loss if the magnetic bond is broken by a sharp lateral tug.
Preventative Maintenance for Chain and Clasp Longevity
To prevent future failures, implement a rigorous maintenance routine. Once a month, inspect the jump ring connecting the clasp to the chain. If the gap in the jump ring has widened even slightly, use two pairs of chain-nose pliers to twist it closed (never pull it apart laterally, as this distorts the circle). Additionally, remove your necklace before sleeping; the lateral pressure of your body weight against the mattress is the leading cause of crushed box clasps and bent lobster lever arms. By understanding the mechanical and metallurgical limits of your jewelry findings, you can ensure your necklaces remain secure and structurally sound for decades.


