The Ultimate Care and Cleaning Guide for DIY Necklaces
Learn expert care, cleaning, and repair techniques for DIY necklaces. Discover material-specific protocols for wire, resin, beads, and stringing media.

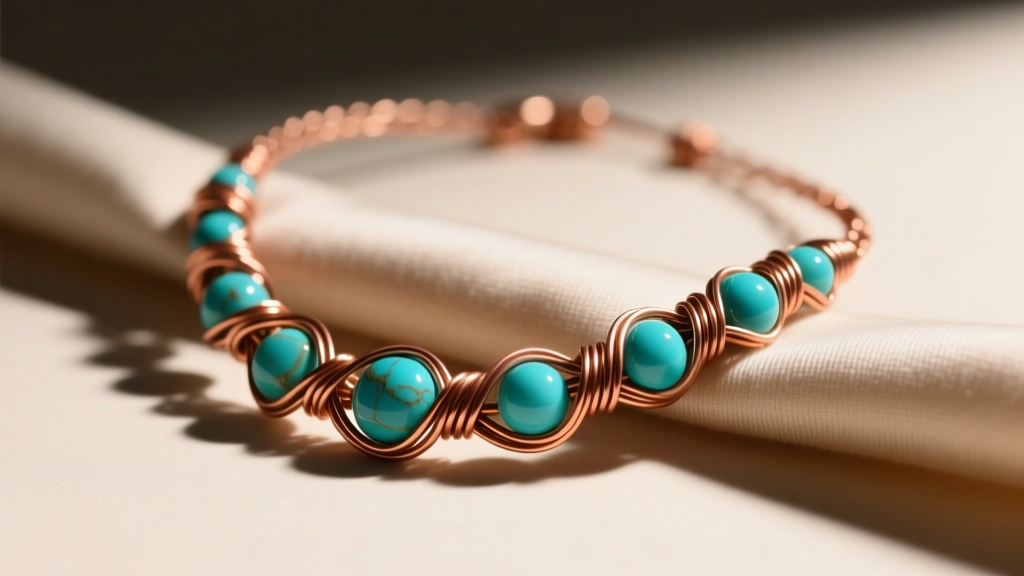
Creating your own jewelry is a deeply rewarding craft, but maintaining those pieces requires a specialized approach. Unlike mass-produced commercial jewelry, DIY necklaces often combine highly reactive base metals, porous organic gemstones, and delicate stringing materials that lack industrial sealants. Standard commercial jewelry dips and ultrasonic cleaners can instantly melt resin pendants, shatter dyed quartz, or dissolve the protective coatings on artisan wire.
According to the Gemological Institute of America (GIA), mixed-media jewelry requires compartmentalized cleaning strategies to prevent cross-contamination of chemicals. This comprehensive guide details the exact metallurgical and material science protocols needed to clean, repair, and preserve your handmade necklaces without compromising their structural integrity.
The Hidden Vulnerabilities of Handmade Jewelry
When you construct a DIY necklace, you are essentially building a micro-environment of competing materials. A single piece might feature dead-soft copper wire, a UV-resin pendant, dyed howlite beads, and a nylon stringing core. The primary vulnerability lies in the cleaning agents. Ammonia-based cleaners will strip the patina off intentionally oxidized copper. Isopropyl alcohol will cause micro-crazing (surface cracking) in UV resin. Furthermore, the mechanical stress of daily wear exposes weak points in handmade clasps and crimp beads that require proactive maintenance.
Material-Specific Cleaning Protocols
Reactive Wire (Copper, Brass, and Aluminum)
Unsealed copper and brass wire are notorious for oxidizing when exposed to the sulfur and acids naturally present in human skin. This oxidation manifests as a dark brown or black layer of copper oxide, and eventually, a green layer of copper carbonate.
- Light Tarnish: Use a treated polishing cloth impregnated with jeweler's rouge. Avoid liquid dips, as they can become trapped in tight wire-wrapped coils and cause delayed corrosion.
- Heavy Oxidation: Create a mild acidic bath using equal parts white vinegar and non-iodized salt. Submerge only the wire components for 2 to 5 minutes. Rinse immediately with distilled water and neutralize with a baking soda paste to halt the acidic etching.
- Pro-Tip: If you have intentionally applied a Liver of Sulfur patina for an antique look, never use acidic cleaners. Instead, gently buff the high points with a 0000-grade superfine steel wool pad to create contrast without stripping the recessed darkening.
Delicate Stringing Media (Silk, Nylon, and Elastic)
The backbone of any beaded DIY necklace is its stringing material, and moisture is its greatest enemy.
- Silk Thread: Never submerge silk. Water weakens the protein fibers and causes them to stretch and rot. Clean silk-strung pearls or beads by wiping them with a barely damp microfiber cloth.
- Nylon (e.g., WildFire or Nymo): Highly resistant to water and UV degradation, but the microscopic beads of dirt that lodge between the nylon and the bead holes can act like sandpaper. Use a soft-bristle baby toothbrush with a drop of mild dish soap to gently agitate the gaps between beads.
- Elastic (Stretch Magic): Avoid all oils, lotions, and alcohol-based cleaners. Petroleum and alcohol break down the elastomeric polymers, leading to sudden, catastrophic snapping.
Polymer Clay and UV Resin Pendants
Artisan pendants require a gentle touch. Polymer clay is essentially a PVC-based plasticizer; harsh chemicals will leach the plasticizers out, leaving the pendant brittle and prone to shattering. UV Resin, while durable, is susceptible to yellowing and surface scratching. According to Rio Grande Jewelry Supply, synthetic and organic composite materials should only be cleaned with lukewarm water and a pH-neutral soap. Dry immediately with a lint-free cloth to prevent water spots.
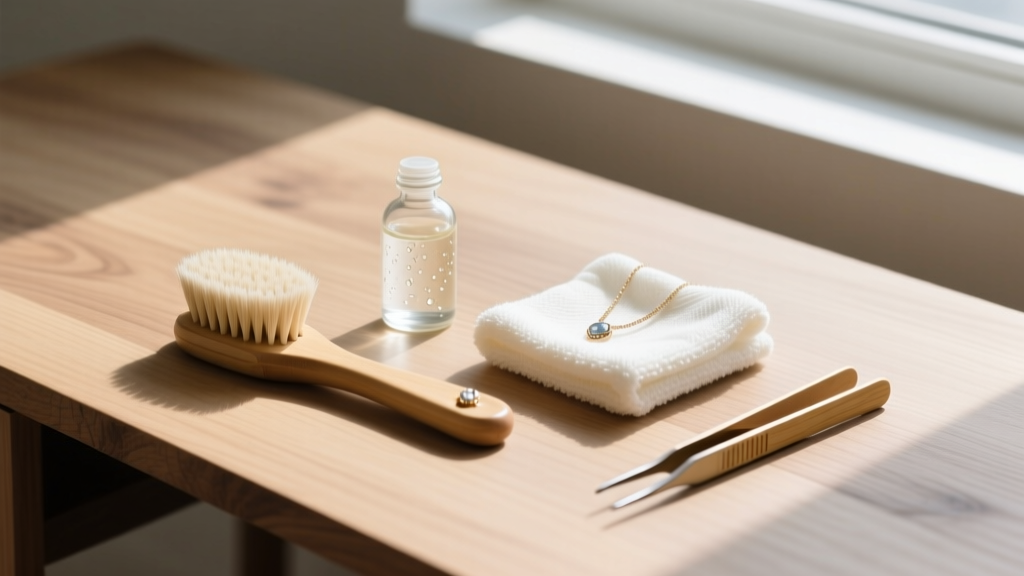
The DIY Necklace Cleaning Compatibility Matrix
Use this quick-reference table to ensure you never accidentally destroy a component of your handmade jewelry.
| Material Component | Safe Cleaning Agents | Agents to Avoid (Failure Modes) |
|---|---|---|
| Sterling Silver Wire | Mild soap, Silver polishing cloth | Bleach (causes irreversible black pitting) |
| Copper / Brass Wire | Lemon juice/salt, Polishing pads | Ammonia (strips intentional patinas) |
| UV / Epoxy Resin | Damp microfiber, pH-neutral soap | Isopropyl alcohol (causes surface crazing) |
| Polymer Clay | Dry brushing, mild soapy water | Acetone, Alcohol (dissolves clay binders) |
| Porous Stones (Turquoise) | Dry, soft brushing only | Ultrasonic cleaners, Water (causes cracking) |
| Nylon Stringing | Soapy water, Soft toothbrush | Chlorine bleach (degrades tensile strength) |
Structural Maintenance: Troubleshooting Hardware Failures
Cleaning is only half the battle; maintaining the physical structure of DIY necklaces prevents loss and breakage. Handmade clasps and jump rings are subject to mechanical fatigue.
Preventing Jump Ring Separation
The most common point of failure in a DIY necklace is an unsoldered jump ring pulling apart. When you open a jump ring by pulling the ends outward, you permanently distort the circle and weaken the metal. Always open jump rings laterally (twisting one end toward you and one away). If you are using dead-soft wire, the metal will suffer from 'work hardening' and eventually snap. Upgrade your findings to half-hard sterling silver or use split rings for heavy pendants.
Upgrading Crimp Beads
If your beaded necklaces frequently slip out of their crimps, the issue is likely the material of the crimp bead itself. Cheap base-metal crimp beads are brittle; when squeezed, they tend to crack or fold unevenly, creating sharp edges that saw through the stringing wire. Invest in 2mm sterling silver or 14k gold-filled seamless tube crimps. Use a micro-crimper tool to fold the tube into a C-shape, then fold it onto itself to create a secure, rounded bead that will not abrade your stringing media.
Expert Insight: If you are working with 24-gauge or thicker wire for wire-wrapping, always anneal the metal with a micro-torch before wrapping it around tight mandrels. This resets the crystalline structure of the metal, preventing the microscopic fractures that lead to sudden wire breakage months after the necklace is completed.
Archival Storage for Mixed-Media Pieces
How you store your DIY necklaces dictates how often you need to clean them. Tarnish is an environmental reaction, and tangling causes mechanical stress on delicate wire wraps.
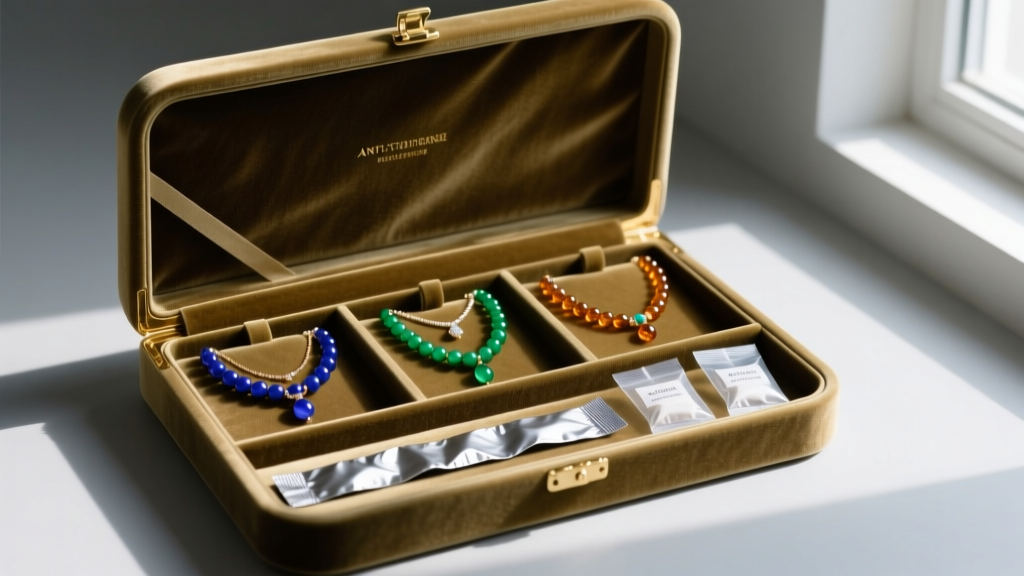
- Atmospheric Control: Store reactive metals (copper, brass, silver) in sealed ziplock bags with a 3M anti-tarnish strip. These strips absorb hydrogen sulfide and other airborne pollutants that trigger oxidation.
- Moisture Control: If you live in a high-humidity environment, include a small silica gel desiccant packet in your storage containers to protect organic beads (like wood or bone) from warping and silk thread from mildew.
- Physical Separation: Never toss multiple DIY necklaces into a single drawer. Wire-wrapped pendants act like grappling hooks, catching on delicate chain links and bending soft wire. Hang chain-based necklaces on a multi-tier stand, and lay rigid, beaded collars flat in divided, velvet-lined trays.
By treating your handmade jewelry with the same rigorous material science protocols used by master jewelers, you ensure that the time and artistry invested in your DIY necklaces are preserved for decades of wear.


