How to Clean Silver Necklace at Home Without Ruining It
Learn how to clean silver necklace at home safely. Discover expert-approved methods for sterling silver, oxidized finishes, and gemstone pendants.

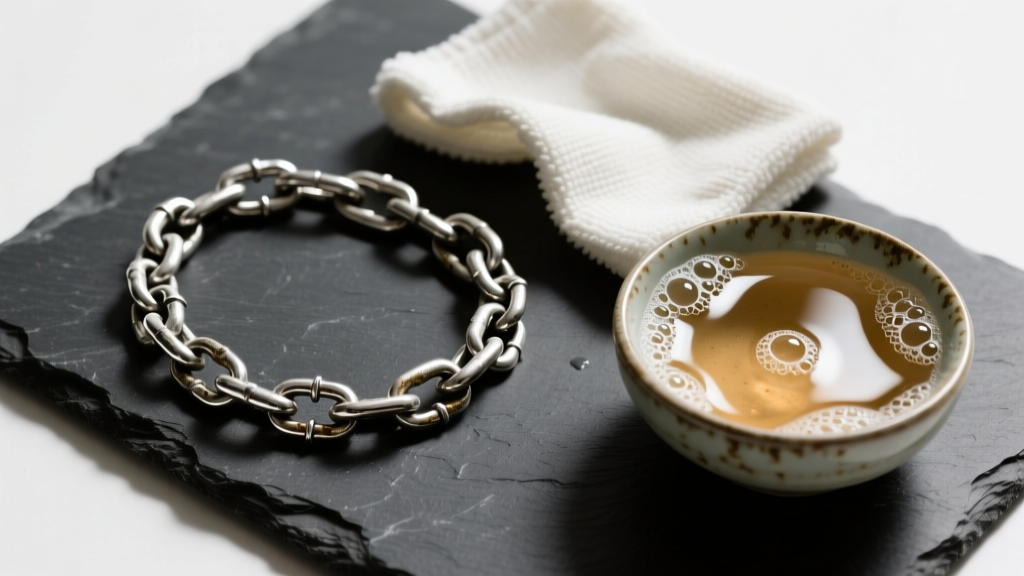
Learning how to clean silver necklace at home is an essential skill for any jewelry lover. Silver is a luminous, versatile metal that anchors countless wardrobe staples, from delicate layering chains to heavy statement pendants. However, its brilliance comes with a catch: silver is highly reactive. Over time, your favorite pieces will inevitably lose their luster, developing a dull, yellowish, or even blackened film. For beginners, this transformation can be alarming, but it is a completely natural chemical process. The good news? You do not need expensive professional ultrasonic cleaners or harsh commercial dips to restore your jewelry. With a few common household items and an understanding of silver metallurgy, you can safely bring your necklaces back to life.
Why Does Silver Tarnish? The Science for Beginners
Before diving into cleaning methods, it is crucial to understand what you are actually removing. Many beginners confuse tarnish with dirt or rust, but they are fundamentally different. Pure silver (99.9% fine silver) is relatively unreactive and rarely tarnishes. However, pure silver is too soft for jewelry making. To create durable necklaces, jewelers alloy it with other metals, most commonly copper. The industry standard, Sterling Silver (marked as 925), contains 92.5% silver and 7.5% copper, as verified by The London Assay Office Silver Guide.
It is this 7.5% copper that causes the problem. When copper is exposed to moisture and sulfur compounds in the air (hydrogen sulfide), it undergoes a chemical reaction that creates silver sulfide on the surface of the metal. This dark layer is tarnish. Factors like high humidity, air pollution, and even the natural pH and sulfur levels in your sweat can accelerate this process. Understanding that tarnish is a surface-level chemical reaction—not a structural flaw—helps you choose the right cleaning method to reverse it without stripping the metal.
The 3 Safest Ways to Clean Silver Necklaces at Home
Method 1: The Dish Soap Soak (Best for Everyday Chains)
For necklaces that are simply dull from daily wear, skin oils, and environmental dust, a gentle soap soak is the safest starting point. This method will not remove heavy, blackened tarnish, but it will lift sebum and grime that trap moisture against the metal.
- Fill a small ceramic or glass bowl with lukewarm water. Avoid hot water, which can weaken the solder joints on delicate chain links.
- Add three to four drops of a mild, phosphate-free dish soap (like Dawn or Castile soap) and swirl to create suds.
- Submerge your silver chain and let it soak for 5 to 10 minutes.
- Use an extra-soft baby toothbrush to gently agitate the links, paying special attention to the clasp and jump rings where dirt accumulates.
- Rinse thoroughly under cool running water and pat completely dry with a lint-free microfiber cloth. Air-drying can leave mineral water spots on the silver.
Method 2: The Aluminum Foil & Baking Soda Bath (For Heavy Tarnish)
When your necklace has developed a dark, stubborn layer of silver sulfide, mechanical polishing can remove microscopic layers of the metal over time. Instead, use an ion-exchange chemical bath. According to Tiffany & Co. Jewelry Care guidelines, chemical reduction is highly effective for intricate pieces where a cloth cannot reach.
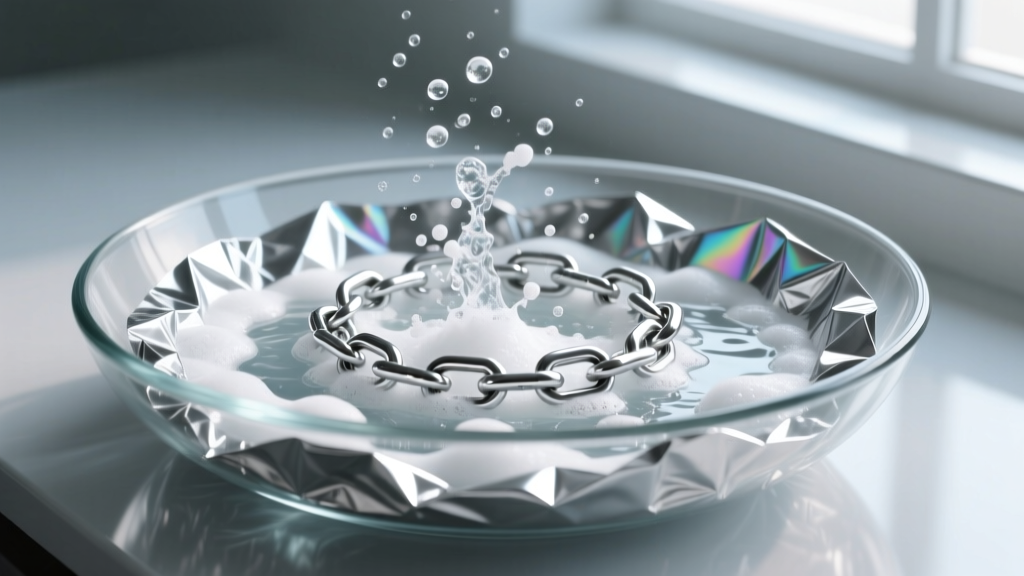
- Line a glass baking dish or bowl with aluminum foil, shiny side facing up.
- Place your tarnished silver necklace on the foil. The silver must physically touch the aluminum for the reaction to work.
- Sprinkle 1 tablespoon of baking soda and 1 tablespoon of sea salt over the necklace.
- Carefully pour boiling water into the dish until the necklace is fully submerged. You will immediately see bubbling and may smell a faint sulfur (rotten egg) odor. This is the sulfur leaving the silver and bonding to the aluminum.
- Leave the necklace in the bath for 2 to 5 minutes, depending on the severity of the tarnish.
- Remove with wooden tongs, rinse well, and buff dry with a soft cloth.
Warning: Never use this boiling water method on necklaces featuring gemstones, pearls, or enamel, as the extreme heat and alkaline solution can fracture stones or strip finishes.
Method 3: The Silver Polishing Cloth (For Quick Touch-Ups)
For routine maintenance and localized tarnish, a chemically treated silver polishing cloth (such as a Sunshine Cloth) is indispensable. These cloths are impregnated with micro-abrasives and anti-tarnish agents. Simply rub the chain or pendant gently in a back-and-forth motion. Avoid rubbing in circles, which can highlight microscopic scratches. Never wash these cloths, as doing so removes the active polishing compounds.
What NOT to Do: Common Beginner Mistakes
When figuring out how to clean silver necklace at home, the internet is full of dangerous DIY hacks that can permanently damage your jewelry. Avoid these critical errors:
- Using Toothpaste: This is a pervasive myth. Toothpaste contains hydrated silica and calcium carbonate, which are highly abrasive. Scrubbing silver with toothpaste will create thousands of micro-scratches, giving the metal a permanent cloudy, matte appearance and creating grooves where future tarnish will quickly accumulate.
- Soaking in Bleach: Chlorine bleach causes rapid, extreme oxidation. It will turn your silver black almost instantly and can cause the metal to become brittle and crack, especially at soldered joints.
- Using Paper Towels: Paper towels and tissues are made from wood pulp. The wood fibers are hard enough to scratch highly polished silver surfaces. Always use 100% cotton or microfiber.
- Over-Polishing Oxidized Details: Many artisan necklaces feature intentional oxidation (blackened recesses) to highlight textures or engravings. Aggressive polishing or chemical baths will strip this intentional patina, flattening the design's visual depth.
Cleaning Silver Necklaces with Gemstones or Pearls
Gemstones introduce a massive variable into silver cleaning. The GIA Gem Care and Cleaning database emphasizes that stones have varying levels of porosity and chemical sensitivity. While a diamond or cubic zirconia can withstand the baking soda bath, organic and porous gems cannot.
High-Risk Stones: Pearls, opals, turquoise, lapis lazuli, malachite, and coral are highly porous and sensitive to pH changes. Submerging them in baking soda, vinegar, or commercial silver dips will strip their natural moisture, causing them to crack, craze, or lose their color.
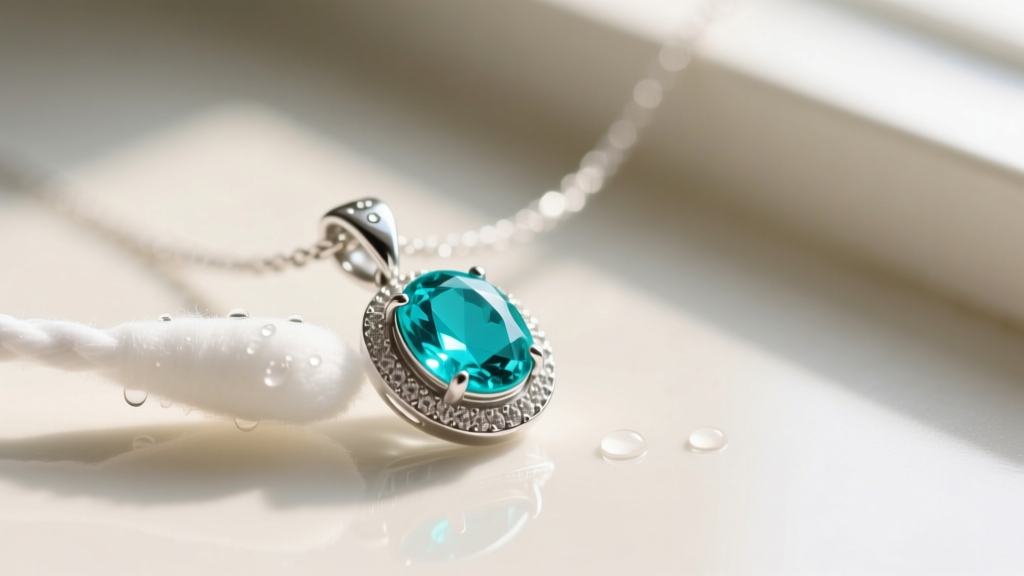
The Safe Approach for Gemstones: To clean a silver necklace with delicate stones, use a targeted approach. Dip a cotton swab in a mild soap and water solution, and carefully wipe the silver bezel and chain, avoiding direct contact with the gemstone. For the stone itself, use a barely damp, clean microfiber cloth to gently wipe away fingerprints. Never use ultrasonic cleaners on turquoise or opals, as the high-frequency vibrations can shatter internal fractures.
Cleaning Method Compatibility Chart
Use this quick-reference table to determine the safest cleaning protocol based on your specific necklace type.
| Necklace Type | Dish Soap Soak | Foil & Baking Soda Bath | Polishing Cloth | Commercial Silver Dip |
|---|---|---|---|---|
| Plain Sterling Chain (925) | Yes (Safe) | Yes (Highly Effective) | Yes (Safe) | Use Sparingly |
| Silver with Diamonds/CZ | Yes (Safe) | Yes (Safe) | Yes (Avoid Stone) | Yes (Safe) |
| Silver with Pearls/Opals | No (Risk) | No (High Risk) | Yes (Silver Only) | No (High Risk) |
| Silver with Turquoise/Lapis | No (Risk) | No (High Risk) | Yes (Silver Only) | No (High Risk) |
| Intentionally Oxidized Silver | Yes (Safe) | No (Strips Patina) | Use Lightly | No (Strips Patina) |
| Silver-Plated Necklace | Yes (Safe) | No (Can Strip Plating) | Yes (Gently) | No (High Risk) |
How to Prevent Silver Tarnish in the Future
Once you have successfully restored your necklace, the goal shifts to prevention. Because tarnish is caused by exposure to sulfur and moisture, controlling the storage environment is your best defense.
- Anti-Tarnish Strips: Invest in 3M anti-tarnish tabs. These small, chemically treated paper strips absorb airborne sulfur compounds. Place one in your jewelry box or storage bag, and replace it every 3 to 6 months.
- Proper Storage: Store your silver necklaces in individual, airtight zip-lock bags. Squeeze out as much air as possible before sealing. For added protection, drop a small silica gel packet (the kind found in shoe boxes) into the bag to absorb ambient moisture.
- The Chalk Trick: If you store your necklaces in a traditional wooden jewelry box, place a piece of standard blackboard chalk inside. The chalk is highly porous and will act as a natural desiccant, pulling moisture out of the air.
- Wear It Often: Ironically, one of the best ways to keep silver looking bright is to wear it daily. The gentle, continuous friction of the silver against your skin and clothing, combined with your natural skin oils, acts as a mild, constant polishing mechanism that prevents heavy tarnish from taking hold.
By understanding the chemistry of your jewelry and avoiding abrasive internet hacks, you can keep your silver necklaces gleaming for decades. Whether you are reviving a vintage heirloom or maintaining a modern everyday chain, these safe, at-home methods ensure your silver remains as brilliant as the day you bought it.


