Expert Guide to Safely Cleaning Pieces of a Necklace
Learn how to safely clean and maintain all pieces of a necklace, from chain links and clasps to gemstone pendants, with expert jeweler protocols.

The Anatomy: Identifying the Pieces of a Necklace
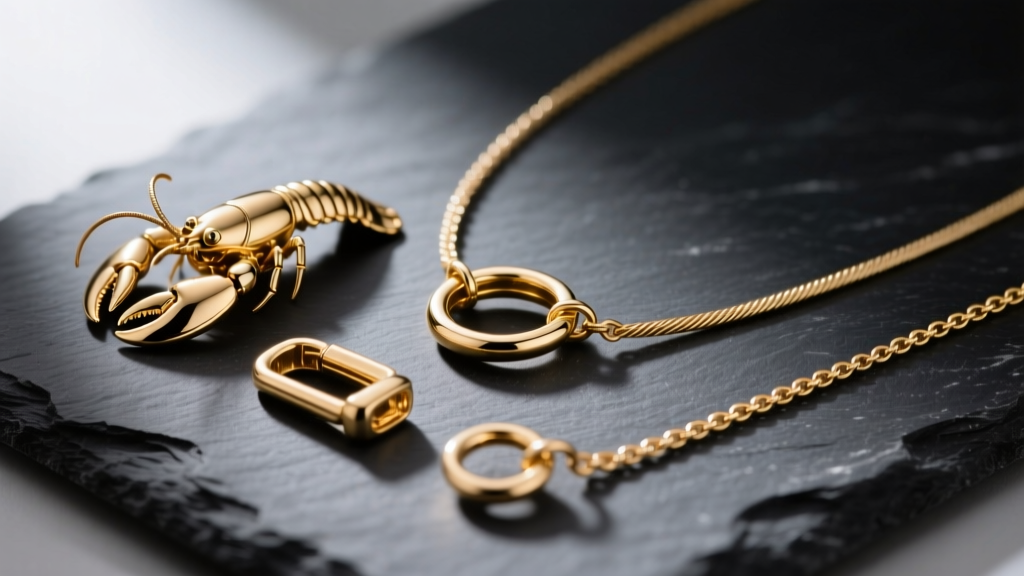
Most consumers treat a necklace as a single, uniform object, tossing it into a generic cleaning solution without a second thought. However, from a jeweler's perspective, a necklace is a complex assembly of distinct mechanical and structural components. Understanding the individual pieces of a necklace is the foundational step in proper maintenance. What works perfectly for a solid 14k gold cable chain might instantly ruin a porous gemstone pendant or corrode the internal spring of a clasp.
A standard necklace consists of several critical pieces: the chain links, the clasp mechanism (lobster, spring ring, or toggle), jump rings, the bail (which connects the pendant to the chain), and the pendant setting itself. Each of these pieces of a necklace is subjected to different types of stress, accumulates different types of debris, and is often made from varying metal alloys or treated with distinct surface finishes. In this comprehensive guide, we break down the exact protocols for cleaning and maintaining every component of your necklace to ensure structural integrity and lasting brilliance.
Component-Specific Cleaning Protocols
1. The Chain Links
Chain links are the primary surface area of any necklace and act as a magnet for sebum, dead skin cells, lotions, and environmental dust. The cleaning approach depends heavily on the chain style. For example, box chains and omega chains have flat, interlocking surfaces and enclosed channels that trap oils deeply, whereas simple cable chains are more open and easier to scrub.
The Expert Method: Avoid harsh commercial dips for everyday chain cleaning. Instead, use a solution of warm water (around 100°F) and two drops of phosphate-free, ammonia-free dish detergent (such as Dawn). Submerge the chain for 15 minutes to allow the surfactants to break down the lipid bonds of skin oils. Use an ultra-soft baby toothbrush or a natural goat-hair brush to gently agitate the links. Standard nylon bristles can inflict micro-scratches on high-polish 22k or 24k gold, which has a low Mohs hardness of 2.5 to 3. Rinse thoroughly with distilled water to prevent hard water spots, and dry with a lint-free microfiber cloth.
2. Clasps and Jump Rings (The Mechanical Weak Points)
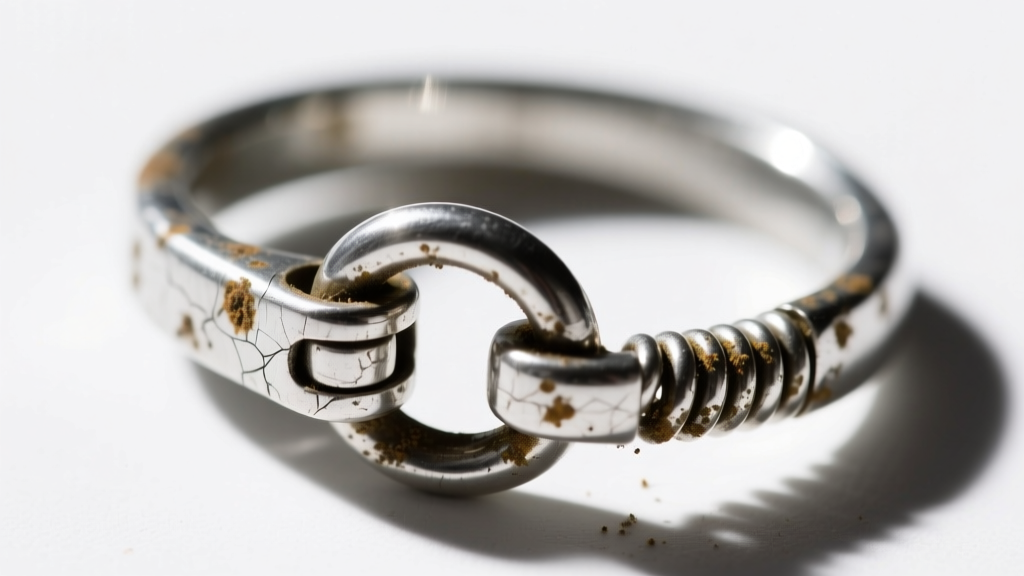
The clasp and its accompanying jump rings are the most critical mechanical pieces of a necklace, yet they are frequently mishandled during cleaning. Spring ring and lobster clasps contain a tiny internal tension spring. To maintain its snap-back tension, this spring is often made of a different, harder alloy than the exterior of the clasp—sometimes a base metal or stainless steel, even in gold necklaces.
The Danger of Silver Dips: If you are cleaning a sterling silver necklace, never submerge the clasp in chemical silver dips containing thiourea. These highly acidic solutions can seep into the clasp mechanism and cause irreversible internal corrosion of the tension spring, leading to sudden clasp failure and lost jewelry. Furthermore, the "kerf" (the tiny cut in an unsoldered jump ring) acts as a debris trap. Use a wooden toothpick or a soft interdental brush to carefully clear compacted dirt from the jump ring gap without prying the metal open.
3. Bails and Pendant Settings
The bail is the bridge piece of a necklace that allows the pendant to slide along the chain. Because of the constant metal-on-metal friction between the bail and the chain, the interior of the bail experiences accelerated wear. When cleaning this area, inspect the bail for thinning metal. For the pendant setting itself, cleaning is an opportunity to perform a structural audit. As you brush away grime from the prongs or bezel, use a 10x jeweler's loupe to check for lifted prongs or gaps between the gemstone girdle and the metal seat. Never use sharp metal tools to scrape dirt from under a gemstone, as this can easily chip the stone or bend a delicate prong.
The Ultrasonic Trap: When Technology Damages
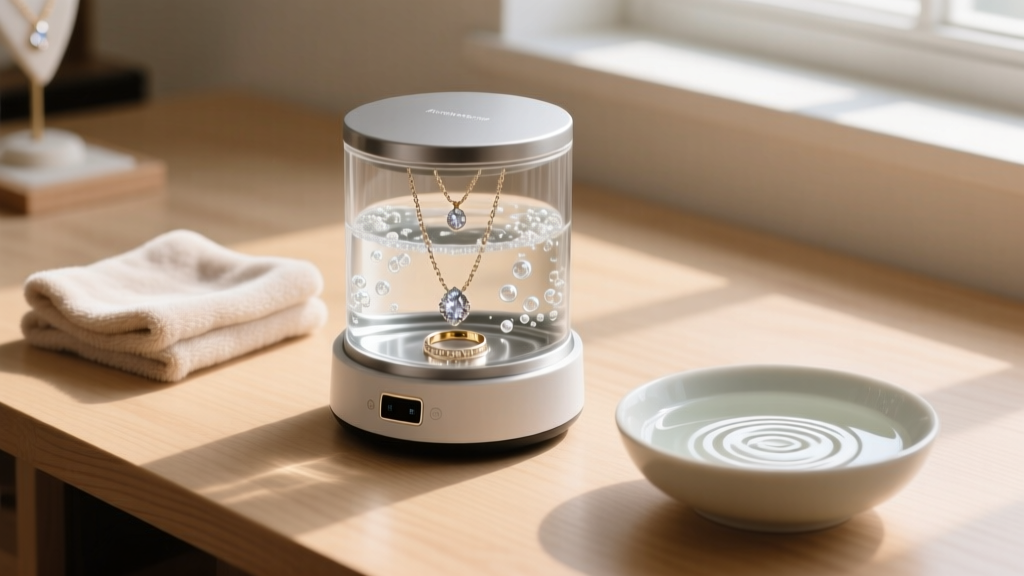
Ultrasonic cleaners are a staple in professional jewelry workshops, utilizing high-frequency sound waves (typically 40 to 45 kHz) to create microscopic cavitation bubbles in a liquid solution. When these bubbles collapse against the metal, they generate intense localized heat and pressure, blasting away dirt from the tiniest crevices of a necklace.
While ultrasonics are miraculous for cleaning diamond pendants set in platinum or solid gold chains, they are notoriously destructive to many other materials. According to the Gemological Institute of America (GIA), ultrasonic cavitation can shatter emeralds (which are heavily fractured and often filled with cedar oil), craze opals (due to their high water content), and strip the delicate nacre from pearls. Furthermore, the intense vibrations can loosen stones from their settings if the prongs are already slightly worn. Always verify the Mohs hardness and structural integrity of the pendant before introducing it to an ultrasonic bath.
| Necklace Component | Material Example | Safe Cleaning Method | Hazard to Avoid |
|---|---|---|---|
| Chain Links | 14k Yellow Gold Cable | Warm soapy water, soft goat-hair brush | Abrasive polishing pastes |
| Spring Ring Clasp | Sterling Silver | Damp microfiber cloth, mild soap | Thiourea-based chemical dips |
| Gemstone Pendant | Diamond in Platinum | Ultrasonic cleaner (40kHz), steamer | Chlorine bleach solutions |
| Organic Pendant | Akoya Pearl | Damp cloth only, wipe after wearing | Ultrasonics, steam, submersion |
| Bail and Jump Rings | 18k White Gold | Wooden toothpick for kerf debris | Sharp metal scraping tools |
Rhodium Plating and White Gold Maintenance
Many white gold necklaces are plated with rhodium, a precious metal in the platinum group that provides a brilliant, silvery-white finish. Over time, the friction from daily wear and improper cleaning can wear this plating away, revealing the faint yellowish tint of the underlying white gold alloy. When cleaning rhodium-plated pieces of a necklace, avoid aggressive rubbing with polishing cloths that contain micro-abrasives (like rouge or diamond dust). These cloths will strip the rhodium layer prematurely. Instead, rely strictly on chemical-free liquid washes and gentle pat-drying. If the necklace begins to look yellow, it requires professional re-plating, a service that typically costs between $40 and $75 depending on the chain's surface area.
Preventative Storage and Environmental Control
Maintenance is not just about cleaning; it is about preventing the need for deep cleaning in the first place. Sterling silver necklaces are highly susceptible to tarnishing, which is a chemical reaction between the copper alloyed in the silver and sulfur compounds in the atmosphere. This results in a dark layer of silver sulfide.
To protect all pieces of a necklace from environmental damage, store them in untreated, low-density polyethylene (LDPE) bags or specialized anti-tarnish pouches. Avoid PVC plastics, as they can off-gas chemicals that accelerate tarnishing and degrade certain gemstone treatments. Incorporating 3M anti-tarnish strips into your storage container will absorb atmospheric sulfur, significantly extending the time between required polishing sessions. As recommended by Jewelers of America, always put your necklace on after applying cosmetics, perfumes, and hairsprays, as the alcohols and aerosols in these products can dull gemstones and degrade the porous structure of organic materials like coral and turquoise.
Conclusion
Treating your jewelry as a complex mechanical assembly rather than a single decorative item will drastically extend its lifespan. By respecting the unique metallurgical and gemological properties of the individual pieces of a necklace, you can maintain both its structural security and its visual brilliance for generations. Implement these targeted, component-specific cleaning routines, and your necklace will remain as secure and radiant as the day it was crafted.


