How to Craft and Style a Fine Jewelry Seashell Necklace
Learn how to drill, wire-wrap, and style a custom seashell necklace. Expert guide on chain gauges, shell stabilization, and layering techniques.

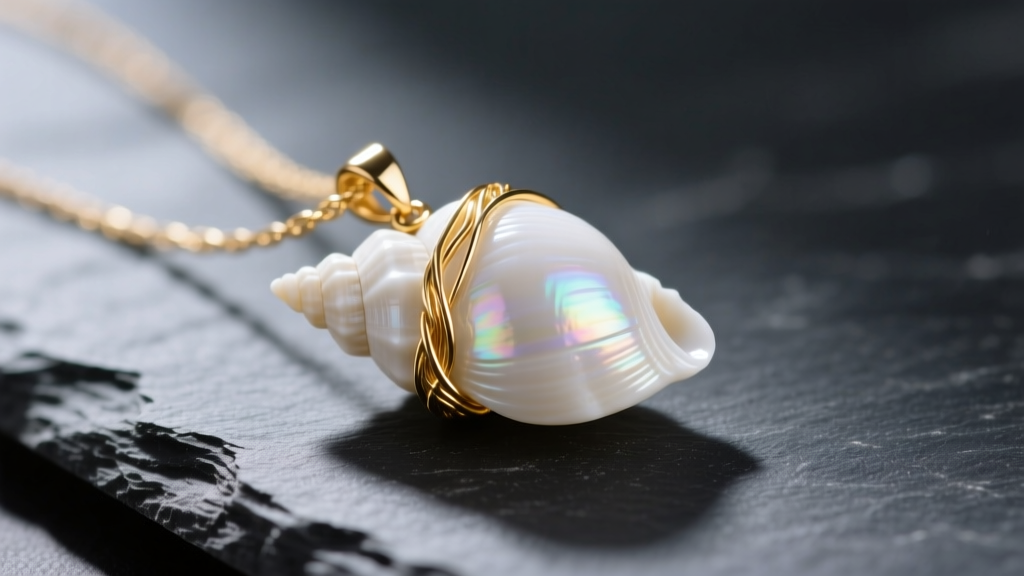
The seashell necklace has undergone a massive renaissance. Once relegated to surf-shop souvenir racks, organic marine materials are now a staple in high-end, artisanal jewelry collections. As we move through 2026, the demand for sustainable, traceable, and handcrafted organic gems has completely transformed how jewelers approach shell pendants. Whether you are working with ethically sourced Puka, Mother of Pearl, or Cowrie shells, elevating a seashell necklace from a casual beach accessory to a piece of fine jewelry requires precise fabrication techniques, proper stabilization, and intentional styling.
This comprehensive, step-by-step guide will walk you through the exact processes of preparing, drilling, wire-wrapping, and styling a custom seashell necklace, ensuring your final piece is both durable and visually striking.
Step 1: Ethical Sourcing and Material Selection
Before you pick up your pliers, you must select the right shell. Not all shells are suitable for jewelry, and ethical sourcing is paramount. According to the GIA Gem Encyclopedia, organic gemstones require careful consideration regarding their environmental impact and structural integrity.
- Puka Shells: Naturally occurring cone shell fragments with pre-drilled centers. They are incredibly durable and perfect for multi-strand or heavy layering.
- Cowrie Shells: Prized for their glossy, porcelain-like finish. They have a Mohs hardness of roughly 2.5 to 3.0, making them brittle and prone to chipping if mishandled.
- Mother of Pearl (Nacre): Technically the inner layer of certain mollusks. It offers a stunning iridescent flash but requires careful edge-finishing to prevent delamination.
Crucial Warning: Avoid sourcing Queen Conch or certain rare gastropods, as they are strictly regulated under CITES (Convention on International Trade in Endangered Species). Always purchase from certified sustainable dealers like Rio Grande or verified artisanal suppliers who utilize byproduct shells from the food industry or naturally molted specimens.
Step 2: Cleaning and Structural Stabilization
Raw shells often harbor microscopic organic matter, salt, and calcium deposits that can degrade over time or cause skin irritation.
The Cleaning Process
Soak your shells in a solution of distilled water and a few drops of mild, pH-neutral dish soap for 24 hours. Use a soft-bristled toothbrush to gently clear the inner cavities. Never use ultrasonic cleaners or harsh chemical baths (like bleach), as the calcium carbonate structure will rapidly dissolve and lose its natural luster.
Stabilizing Fragile Shells
If you are working with a highly fragile or antique shell, you must stabilize it before drilling. Jewelers use Paraloid B-72, an archival-grade acrylic resin. Dissolve Paraloid B-72 pellets in acetone to create a 5% to 10% solution. Submerge the shell for two hours, then let it cure on a wire rack for 48 hours. This penetrates the micro-fractures, binding the calcium carbonate matrix without altering the shell's natural appearance.
Step 3: Precision Drilling Techniques
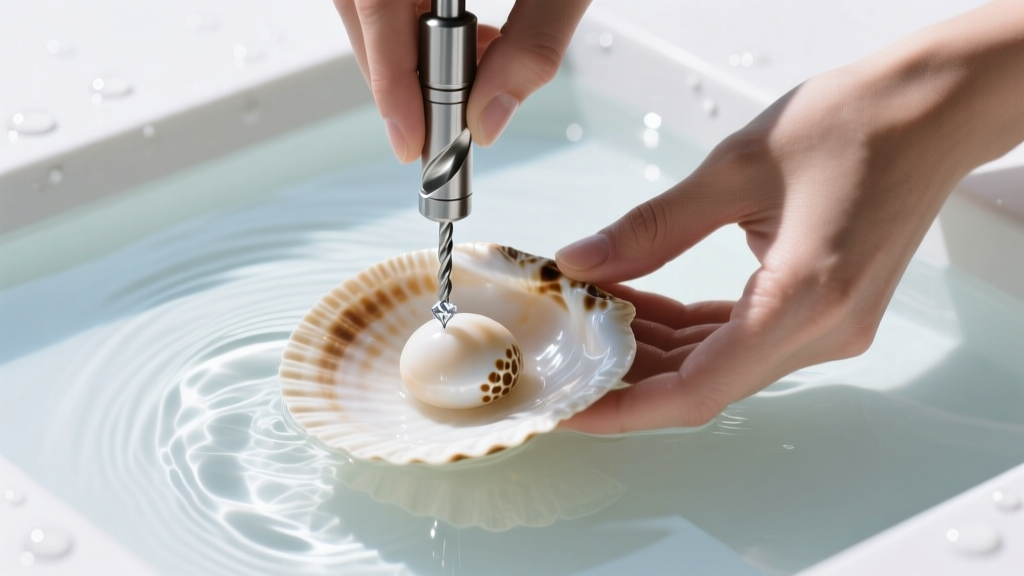
Drilling a seashell is where most beginners fail. The friction heat from a standard drill bit will instantly shatter the calcium carbonate layers. You must use a wet-drilling technique with specialized diamond tooling.
Tools Required:
- Rotary tool (e.g., Dremel 3000) with a flex-shaft attachment for precision control.
- 1.0mm or 1.5mm diamond core drill bits (do not use twist drills or carbide bits).
- A shallow glass tray and modeling clay to create a water bath.
The Wet-Drilling Method:
- Secure the shell in a bed of modeling clay at the bottom of the glass tray, ensuring the drilling site is facing up.
- Fill the tray with enough water to completely submerge the shell by at least half an inch. The water acts as a coolant and a dust suppressant.
- Set your rotary tool to a low speed (around 5,000 RPM). High speeds create too much friction.
- Apply zero downward pressure. Let the weight of the flex-shaft and the diamond grit do the work. Use a gentle 'pecking' motion—drill for two seconds, lift to let water flow into the hole, and repeat.
- Once the bit is halfway through, flip the shell over and drill from the opposite side to prevent a 'blowout' or jagged edge on the exit hole.
Step 4: Wire-Wrapping a Custom Bail
While you can simply thread a chain through a drilled hole, creating a custom wire-wrapped bail elevates the piece to fine jewelry standards and protects the shell's drilling site from friction wear.
Use 20-gauge or 22-gauge dead-soft wire. For a premium finish, 14k gold-filled or argentium sterling silver are excellent choices that resist tarnishing. Cut an 8-inch length of wire. Thread it through the drilled hole, leaving a 1-inch tail on one side. Wrap the longer end tightly around the base of the shell's hole three times to create a secure anchor. Bring the wire up to form a teardrop-shaped loop (the bail) at the top, then wrap the remaining wire tightly down the neck of the bail, covering the initial anchor wraps. Tuck the tail in with chain-nose pliers and file it flush with a cup bur to ensure it won't snag on clothing.
Step 5: Selecting the Right Chain and Findings
A seashell necklace is only as strong as its weakest link. Shells can be surprisingly heavy, especially when grouping multiple Puka or Conch pieces. You must match the chain gauge to the pendant's weight.
| Shell Type / Configuration | Avg. Weight | Recommended Chain Gauge | Best Chain Style | Clasp Requirement |
|---|---|---|---|---|
| Single Small Cowrie | 2 - 4 grams | 1.0mm - 1.2mm | Cable or Snake | Standard Spring Ring |
| Medium Mother of Pearl Slab | 8 - 12 grams | 1.5mm - 2.0mm | Box or Wheat | Lobster Claw (5mm) |
| Multi-Strand Puka Choker | 25 - 40 grams | 2.5mm+ (or multi-strand) | Rope or Foxtail | Magnetic or Toggle |
Always use a high-quality lobster clasp for pendants over 10 grams. Spring ring clasps frequently fail under the dynamic weight of a swinging shell pendant, leading to catastrophic loss.
Step 6: Styling and Layering Your Seashell Necklace
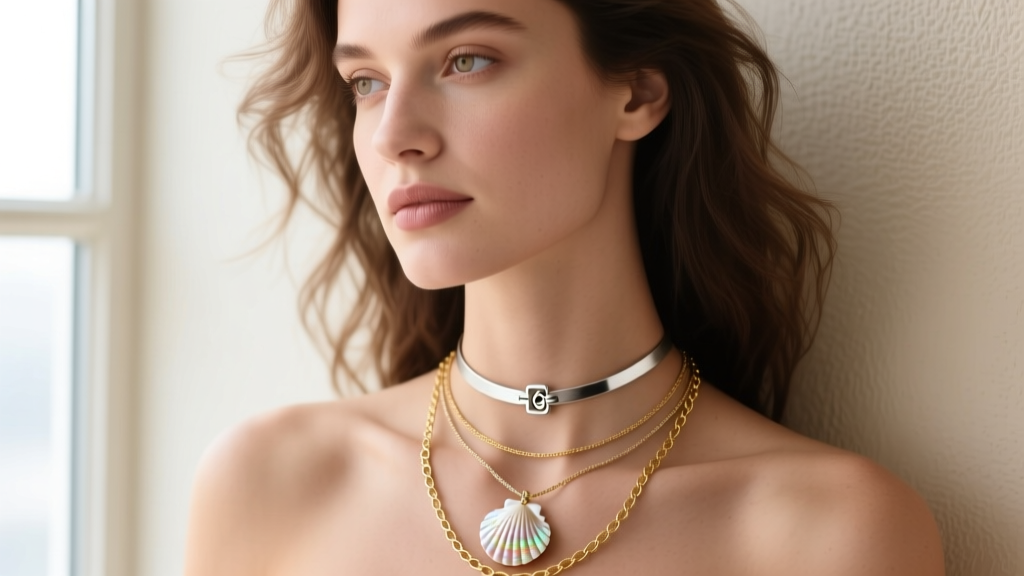
The key to styling a seashell necklace in 2026 is juxtaposition. The organic, matte, or pearlescent texture of the shell contrasts beautifully with high-polish metals and structured fabrics.
Neckline Pairings
- The V-Neck: Pair with an 18-inch or 20-inch single shell pendant (like a vertically drilled Conch or elongated Cowrie). The pendant should sit exactly one inch above the apex of the V-neck to elongate the torso.
- The Boat Neck / Off-Shoulder: Opt for a 16-inch multi-strand Puka choker. The horizontal spread of the shells mirrors the horizontal line of the neckline, creating a balanced, nautical elegance.
- The Button-Down Shirt: Wear a delicate 18-inch Mother of Pearl pendant layered with a 22-inch thin gold rope chain. Leave the top two buttons undone for an effortless, desk-to-dinner transition.
The Layering Framework
When layering, maintain a strict two-inch gap between chains to prevent the metal findings from scratching the softer shell surfaces. Start with a 14-inch or 16-inch delicate metal choker, add your 18-inch seashell pendant as the focal point, and finish with a 20-inch or 22-inch chain featuring a small, complementary charm (like a gold compass or a tiny pearl).
Step 7: Long-Term Care and Preventing Degradation
Because seashells are primarily composed of calcium carbonate, they are highly vulnerable to acidic environments. The natural pH of human sweat, combined with perfumes, hairsprays, and lotions, can slowly etch the surface of a shell, leaving it dull and chalky.
The Golden Rule of Organic Jewelry: Your seashell necklace should be the last thing you put on and the first thing you take off. Never spray perfume directly onto the shell.
To clean your piece after a long day of wear, simply wipe the shell with a damp, lint-free microfiber cloth moistened with distilled water. Dry it immediately. Once a month, you can apply a microscopic drop of jojoba oil to a cotton swab and gently buff the shell to restore its natural moisture barrier and enhance its luster. Store the necklace flat in a tarnish-resistant flannel pouch, away from direct sunlight and extreme humidity, ensuring your handcrafted piece remains pristine for decades.


