Disco Necklace Troubleshooting: Fix Tangles & Broken Links
Learn how to fix common disco necklace problems. Expert troubleshooting for tangled chains, broken clasps, and snapped gold-filled links.


The Physics of the Disco Necklace (And Why It Fails)
The disco necklace—characterized by a delicate chain interspersed with small, stamped mirrored discs—has remained a staple of minimalist and 70s-inspired jewelry. However, its unique construction makes it highly susceptible to mechanical failure. To troubleshoot effectively, you must understand the physics at play. A standard 16-inch station necklace featuring 4mm to 5mm mirrored discs places uneven tensile stress on the chain. The discs, typically stamped from brass and plated in 14k gold-filled (GF) or sterling silver, weigh approximately 0.12g to 0.18g each. When the chain catches on a garment, the weight of the discs acts as an anchor, multiplying the shear force on the individual chain links.
Most commercial disco necklaces utilize 0.7mm to 0.9mm cable or box chains. While visually delicate, a 0.7mm chain lacks the structural integrity to support the pendulum effect of 15 metal discs during sudden movement. According to chain mechanics data from Halstead Bead, a 0.7mm cable chain has a break strength of roughly 2.5 lbs, which is easily exceeded when a 5mm disc snags on a knit sweater. Understanding these tolerances is the first step in diagnosing and preventing catastrophic failures.
Troubleshooting 1: Untangling the Dreaded "Bird's Nest"
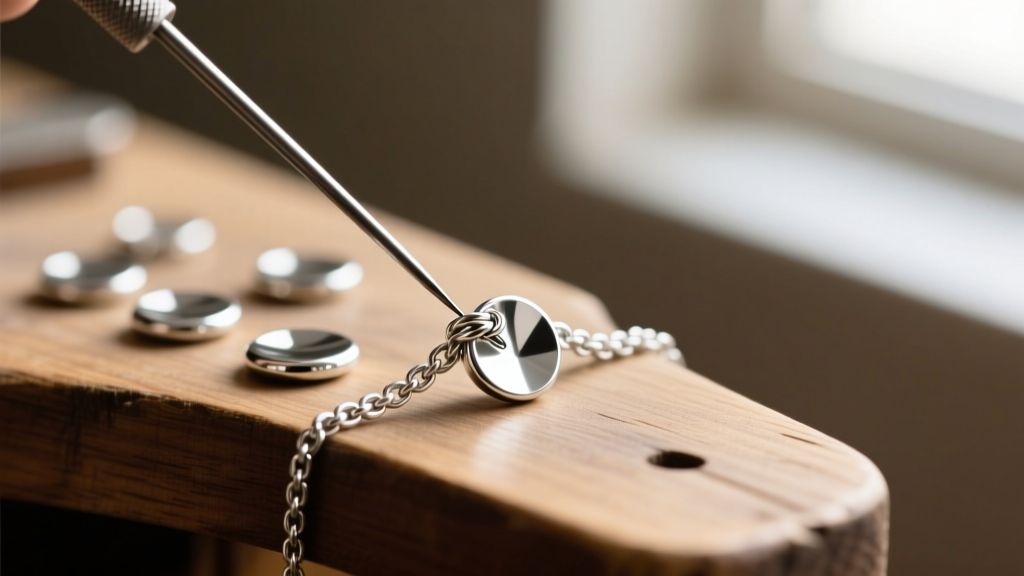
Because the mirrored discs act as flat, rigid nodes, a disco necklace is notoriously prone to the "bird's nest" effect. When stored loosely, the chain wraps around the edges of the discs, creating complex, multi-layered slip knots. Pulling the chain will only tighten the knots and permanently deform the delicate links.
The Professional Untangling Protocol
- Preparation: Lay the necklace flat on a non-porous, dark surface (like a glass tray or dark acrylic block) to provide high contrast for the metallic chain.
- Lubrication: Apply a single drop of mineral oil or baby oil directly to the center of the knot. Never use olive or vegetable oils, as they will oxidize, turn rancid, and degrade the porous structure of gold-filled layers over time.
- Tool Selection: Use two #9 beading needles. Their ultra-fine, flexible tips (usually 0.4mm in diameter) can slip inside 0.9mm chain links without prying them open.
- Execution: Insert the needles into the centermost link of the knot. Gently wiggle them in opposite directions to create slack. Work from the inside out, loosening the chain loops around the mirrored discs first, as the discs are the primary friction points.
- Cleanup: Once untangled, wash the necklace in a bowl of warm water with two drops of mild, phosphate-free dish soap to remove the mineral oil, then pat dry with a microfiber cloth.
Troubleshooting 2: Clasp Slippage and Hardware Failures
A frequent complaint with disco necklaces is the clasp slipping to the front of the neck or failing to secure. This is rarely a user error; it is a hardware mismatch. Manufacturers often pair delicate 0.8mm chains with standard 4mm spring ring clasps. The thin chain easily slips through the gap in the spring ring's catch mechanism if the internal spring tension degrades.
Clasp Failure Rates & Recommended Upgrades
| Clasp Type | Failure Mode | Recommended Upgrade |
|---|---|---|
| 4mm Spring Ring | Chain slips through catch gap; internal spring fatigue. | Upgrade to a 5mm or 7mm Lobster Clasp. |
| Standard Lobster | Snags on hair/clothing due to protruding lever. | Use a streamlined, teardrop lobster or magnetic clasp. |
| Magnetic (Neodymium) | Weak magnets separate under the weight of 5mm discs. | Ensure N52-grade neodymium magnets with a 4lb pull force. |
If you are upgrading the clasp yourself, ensure the jump ring connecting the clasp to the chain is a closed, soldered ring or a heavy-gauge (20g or 22g) split ring. Open jump rings will inevitably pull apart under the swinging weight of the disco discs.
Troubleshooting 3: Snapped Links and Disc Detachment
When a disco necklace snaps, it usually occurs at the jump ring connecting a mirrored disc to the main chain, or at a single weakened link in a box chain. Repairing gold-filled (GF) or gold vermeil chains requires specific techniques to avoid destroying the plating.
Why Traditional Soldering Fails on Gold-Filled Chains
Gold-filled wire consists of a brass core with a thick outer layer of 14k gold (usually 5% to 10% of the total weight). If you use a traditional butane torch and hard silver solder to fix a broken link, the intense heat (exceeding 1300°F) will instantly burn off the gold layer, leaving a blackened brass scar that cannot be polished out.
The Solution: Laser Welding or Cold Connections. For high-end repairs, a jeweler must use a laser welder, which focuses a microscopic beam of heat to fuse the metal in milliseconds without affecting the surrounding gold layer. For at-home or bench-level troubleshooting, the best approach is a cold connection: carefully cut out the broken link using flush cutters, and replace it with a 3mm, 22-gauge sterling silver or gold-filled closed jump ring. Use chain-nose pliers to weave the ring through the chain ends and the disc's loop, ensuring a flush closure.

Preventative Care: Keeping the Mirror Finish Intact
The mirrored surface of the discs is achieved through high-polish stamping or a specialized electroplating finish. This surface is highly vulnerable to micro-scratches and chemical tarnishing. According to the Gemological Institute of America (GIA), abrasive polishing compounds and chemical silver dips will strip the high-polish finish, leaving the discs looking cloudy and matte.
Quick Reference: Disco Necklace Specs & Tolerances
| Component | Ideal Specification | Troubleshooting Tip |
|---|---|---|
| Chain Gauge | 0.9mm to 1.2mm | Anything under 0.8mm will kink and snap under disc weight. |
| Disc Size | 3mm to 4mm | 5mm+ discs increase drag and tangling by over 40%. |
| Jump Rings | 2.5mm to 3.0mm (22-gauge) | Must be fully closed/soldered to prevent disc loss. |
| Cleaning Agent | Mild dish soap & warm water | Never use ultrasonic cleaners; they will craze the mirror finish. |
Storage Best Practices
To prevent the "bird's nest" effect from occurring in the first place, always store your disco necklace fully clasped. Hang it vertically on a jewelry stand with a padded neck form, or lay it flat in a lined jewelry box with the chain separated into distinct, non-overlapping loops. Avoid tossing the necklace into a drawer, as the friction of the mirrored discs against other jewelry will guarantee a complex tangle and severe micro-scratching.
Final Thoughts on Chain Longevity
A disco necklace is a masterclass in minimalist design, but its longevity relies entirely on respecting its mechanical limits. By upgrading weak spring ring clasps to secure lobster or magnetic alternatives, utilizing the proper lubricants and needles for untangling, and avoiding heat-based soldering on gold-filled links, you can keep your station necklace looking pristine. Treat the chain with the same care you would give to a delicate silk thread, and the mirrored discs will continue to catch the light flawlessly for years to come.


