The Ultimate DIY Candy Necklace Recipe & Assembly Guide
Master the ultimate candy necklace recipe with our step-by-step guide. Learn edible stringing materials, sugar gemstones, and humidity-proofing tips.

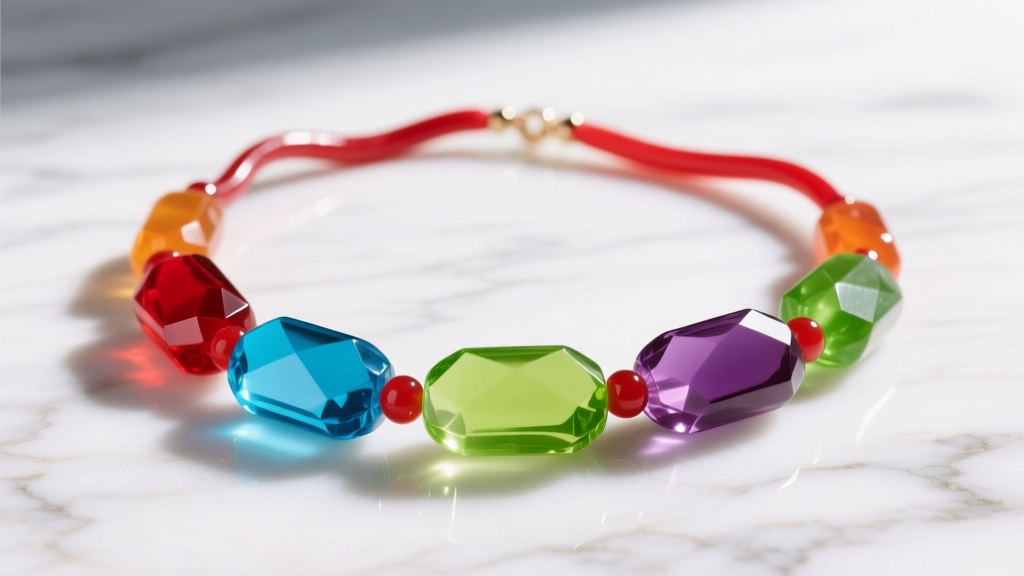
In 2026, the intersection of haute couture and culinary arts has brought edible jewelry to the forefront of avant-garde styling, nostalgic gastronomy, and high-end editorial shoots. While most associate the candy necklace recipe with simple children's crafts, treating edible beads and sugar-based pendants with the same rigor as traditional jewelry making yields stunning, structural, and delicious results. Whether you are designing an avant-garde choker for a culinary fashion show or crafting a gourmet, artisanal treat for a sophisticated gathering, mastering the structural integrity, color theory, and humidity resistance of edible jewelry is paramount.
This comprehensive guide elevates the traditional candy necklace recipe into a masterclass of edible assembly, covering everything from selecting the right 'chain' materials to crafting custom isomalt cabochons.
The Anatomy of an Edible Necklace: Materials and 'Gemstones'
Before threading a single bead, a jewelry maker must understand the tensile strength and melting points of their materials. Unlike glass or metal, candy is highly reactive to ambient humidity, body heat, and friction.
Selecting Your 'Chain' (Stringing Materials)
The foundation of your candy necklace recipe relies on a stringing material that is both food-safe and capable of bearing the weight of sugar crystals. Here are the top three professional choices:
- Red or Black Licorice Laces: Typically 2.0mm to 2.5mm in width, licorice laces offer exceptional tensile strength and a complementary tart flavor profile. They are ideal for heavy rock candy pendants.
- Food-Grade Silicone Elastic (0.8mm): For stretch-fit chokers or bracelets, food-safe elastic provides flexibility. However, it requires specialized knotting (like the surgeon's knot) and cannot be melted to seal.
- Waxed Unflavored Dental Floss: An industry secret for heavy, hard-candy beads. The wax coating prevents the sugar from cutting through the thread, while the unflavored profile ensures it doesn't clash with your candy beads.
Candy Types and Structural Integrity
Not all candies are created equal. Understanding the base ingredients will dictate how long your necklace will survive outside of a climate-controlled environment.
| Candy Type | Base Ingredient | Melting Point | Best Stringing Material | Humidity Resistance |
|---|---|---|---|---|
| Gummy Gems | Gelatin / Pectin | 95°F (35°C) | Silicone Elastic | Low (Becomes tacky) |
| Hard Candies | Sucrose / Corn Syrup | 300°F (149°C) | Licorice / Floss | Medium (Prone to weeping) |
| Rock Candy | Crystalline Sucrose | 320°F (160°C) | Licorice Laces | High (Highly stable) |
| Isomalt Glass | Isomalt (Sugar Alcohol) | 338°F (170°C) | Floss / Licorice | Very High (Low hygroscopy) |
The Best Candy Necklace Recipe: Step-by-Step Assembly
Creating a professional-grade edible necklace requires a sanitized workspace, precise pattern drafting, and secure finishing techniques.
Step 1: Prepping the 'Chain' and Needle
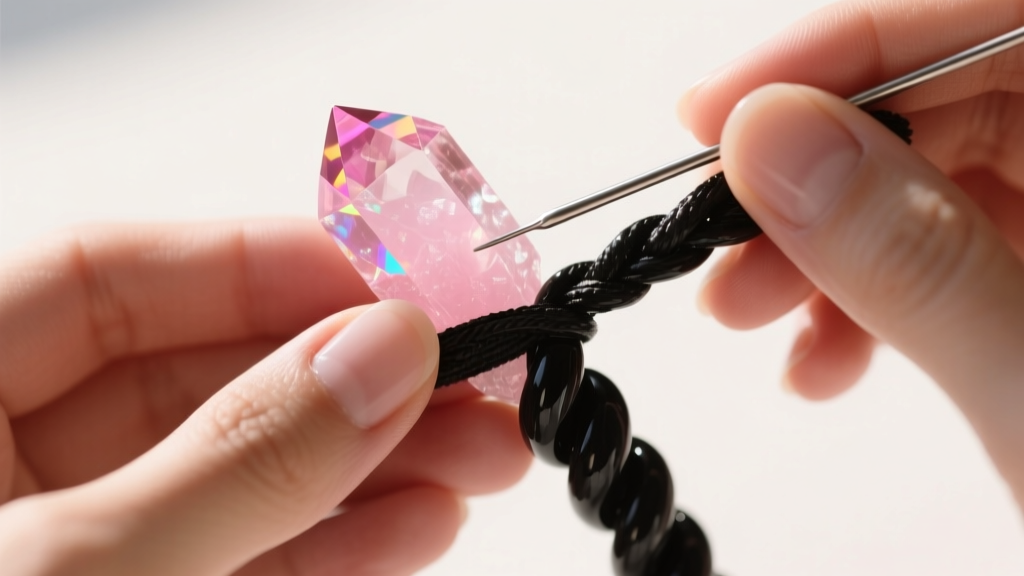
Sanitize your workspace and wear food-safe nitrile gloves. If using licorice or floss, you will need a food-safe beading needle. To create a makeshift needle without metal, sharpen a stiff piece of raw spaghetti or use a sterilized, food-grade plastic yarn needle. Thread your chosen material and leave a 4-inch tail for your clasp or finishing knot.
Step 2: Color Theory and Pattern Drafting
Just as a jeweler plans a gemstone gradient, lay out your candy beads on a silicone mat. For a sophisticated 2026 aesthetic, move away from chaotic primary colors and opt for monochromatic ombré patterns or high-contrast pairings (e.g., translucent emerald green gummies alternating with opaque white yogurt-covered beads). If using hard candies with sharp edges, buffer them with softer marshmallow or fondant 'spacer beads' to prevent the sugar from sawing through your stringing material.
Step 3: Threading and Securing the Clasp
Thread your beads according to your drafted pattern, ensuring a gentle drape. Leave enough slack so the necklace doesn't snap when worn. To finish the ends without using metal clasps, utilize the Surgeon's Knot (a double-loop knot that provides immense friction). For an 'invisible' and fully edible clasp mechanism, use a dab of melted tempered chocolate or royal icing to seal the knot, acting exactly like a metal crimp bead cover in traditional jewelry making.
Advanced Techniques: Gourmet Isomalt Cabochons
For those looking to push the boundaries of the candy necklace recipe, crafting custom 'gemstones' using isomalt is the ultimate flex of culinary jewelry design. Isomalt is a sugar alcohol derived from beets, favored by pastry chefs because it resists crystallization and humidity far better than standard sucrose.
Pouring Custom Pendants
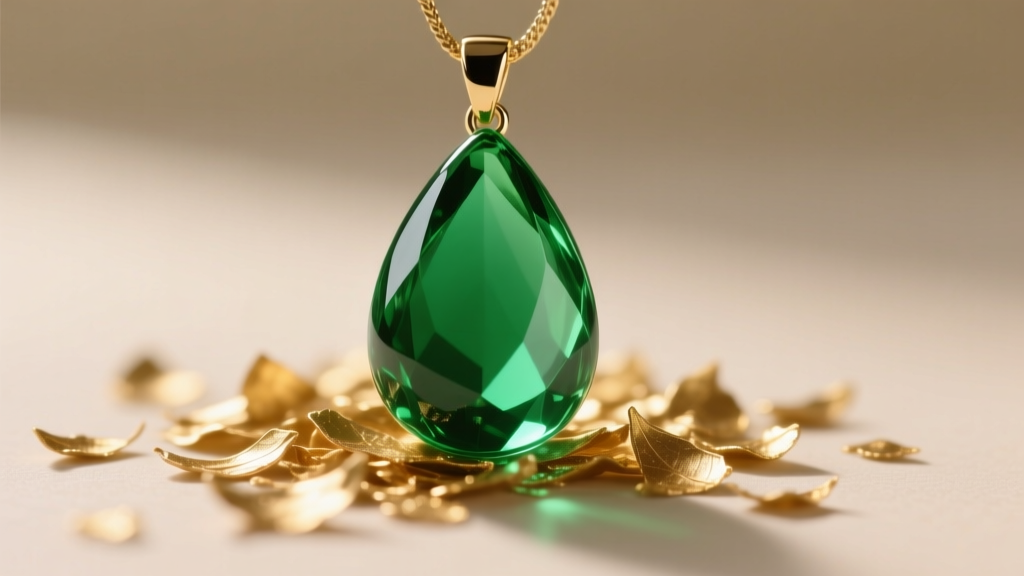
To create a focal pendant, you will need silicone cabochon molds. Heat the isomalt in a copper pot to the hard-crack stage of 338°F (170°C). As noted by the culinary experts at Serious Eats, allowing the isomalt to rest for a few minutes after reaching temperature ensures that bubbles dissipate, leaving you with a flawless, glass-like finish. Pour the liquid into your mold, and if desired, embed a small loop of unflavored floss at the top edge before it sets to create a built-in bail for threading.
Troubleshooting Sugar Crystallization
If your hard candies or isomalt pendants turn cloudy or gritty, unwanted crystallization has occurred. According to the baking science guidelines from King Arthur Baking, introducing an interferent like corn syrup or a touch of acid (like cream of tartar) prevents the sucrose molecules from locking back into a rigid, opaque crystal lattice. Always use distilled water when boiling sugar to avoid mineral impurities that seed crystallization.
Preservation, Storage, and Humidity Troubleshooting
The greatest enemy of any candy necklace recipe is ambient moisture. Sugar is highly hygroscopic, meaning it pulls water from the air, leading to 'weeping' or sticky beads that ruin the structural integrity of the piece.
Sealing Your Edible Jewelry
If your necklace must be worn for an extended period or displayed at an event, you must seal the beads. The industry standard is Confectioner's Glaze (pharmaceutical-grade shellac). A light, food-safe spray of shellac creates a micro-barrier against humidity, giving gummies a high-shine, polished 'gemstone' finish while protecting them from body heat and sweat.
Proper Storage Protocols
Never store a completed candy necklace in the refrigerator. The condensation that forms when you take it out into room temperature will instantly dissolve the surface of hard candies and ruin gummy textures. Instead, store the piece in an airtight acrylic display case or a ziplock bag packed with food-safe silica gel desiccant packets. Keep the necklace in a cool, dark pantry (ideally between 65°F and 70°F) to maintain the vibrant colors and structural tension of your stringing material.
Conclusion
Mastering the candy necklace recipe bridges the gap between nostalgic fun and serious culinary design. By understanding the tensile strength of licorice laces, the hygroscopic nature of sucrose, and the precise temperatures required for isomalt cabochons, you can create edible pendants and chokers that are as visually striking as they are delicious. Whether you are styling a high-concept editorial shoot or crafting gourmet favors, these jewelry-making techniques ensure your edible creations remain structurally sound and breathtakingly beautiful.


