How to Craft an Edgy Monster Drink Necklace: DIY Guide
Learn how to craft a custom monster drink necklace from upcycled cans. This step-by-step DIY guide covers cutting, sealing, and assembly.

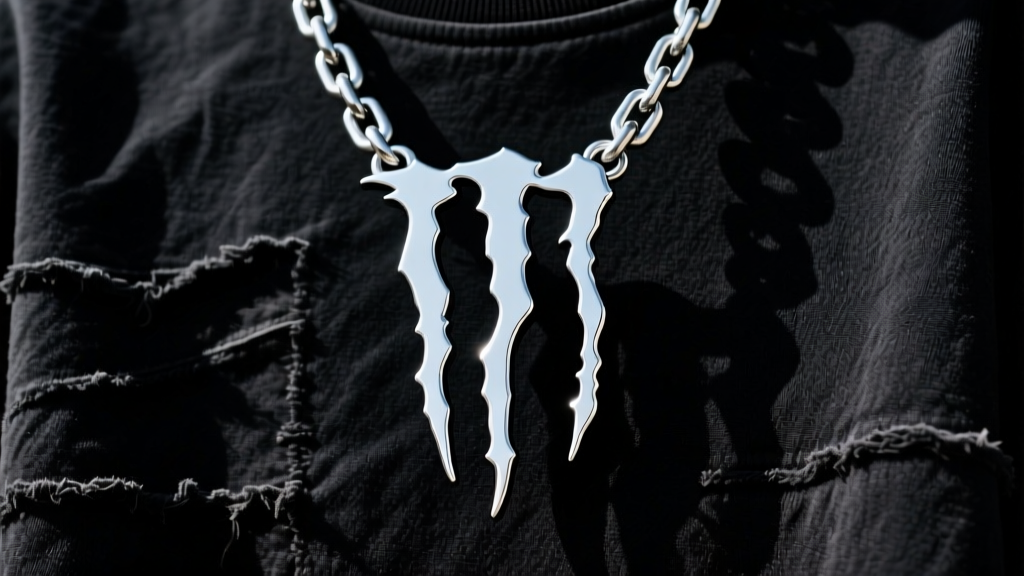
The Rise of Upcycled Streetwear Jewelry
In the evolving landscape of alternative fashion, the intersection of sustainability and streetwear has given rise to some truly iconic accessories. Among the most recognizable is the monster drink necklace, a staple in cyberpunk, techwear, and Y2K grunge aesthetics. Upcycling aluminum beverage cans into jewelry is not just an eco-friendly practice; it is a testament to DIY ingenuity. The anodized and painted aluminum of energy drink cans provides a vibrant, lightweight, and corrosion-resistant base for custom pendants. However, transforming a fragile, razor-sharp cylinder into a durable, skin-safe piece of jewelry requires precise metallurgical techniques and the right jewelry-making tools. This comprehensive guide will walk you through the exact process of designing, cutting, sealing, and assembling a professional-grade monster drink necklace.
Essential Tools & Material Grades
To achieve a clean, commercial-looking finish, you must move beyond basic craft scissors. Aluminum requires specific tooling to prevent tearing and edge burrs. Gather the following professional-grade supplies:
- Raw Material: Empty, washed, and dried aluminum energy drink cans (standard 16 oz size provides the best surface area).
- Cutting Tools: A jeweler's saw frame equipped with 2/0 or 3/0 saw blades (ideal for tight curves on the logo), and aviation tin snips for initial harvesting.
- Filing & Sanding: Barrette and half-round needle files, plus wet/dry sandpaper in 400, 800, and 1500 grits.
- Sealant: 2-part jewelry epoxy resin or a high-grade polyurethane clear coat spray to prevent paint chipping and metal oxidation.
- Findings: 18-gauge (1.0mm) stainless steel jump rings and a heavy 3mm stainless steel curb or ball chain.
- Drilling: A flex shaft rotary tool or a handheld leather punch (1.5mm) for creating the bail hole.
Step 1: Harvesting and Flattening the Aluminum
The first challenge in creating a monster drink necklace is safely extracting and flattening the aluminum without introducing permanent kinks or stress fractures. Begin by using your tin snips to carefully cut off the top and bottom rims of the can. Next, make a single vertical cut down the side of the cylinder. You will now have a curved, rectangular sheet of painted aluminum.
Do not attempt to bend it flat with your hands, as this will warp the branded graphics. Instead, place the aluminum sheet between two pieces of thick cardstock or craft foam. Using a rawhide mallet or a rubber dead-blow hammer, gently tap the metal from the center outward against a flat steel bench block. The foam protects the exterior paint from impact marks while allowing the metal to relax into a flat state. Once flattened, place it under a heavy textbook for 24 hours to ensure the memory of the curve is completely erased.
Step 2: Precision Sawing the Claw Logo
With your flat canvas ready, trace the iconic Monster Energy claw logo onto the metal using a fine-tip permanent marker or a scribe. For complex curves, the jeweler's saw is your best asset. According to the experts at Ganoksin, proper sawing technique relies on letting the blade do the work rather than forcing it through the metal.
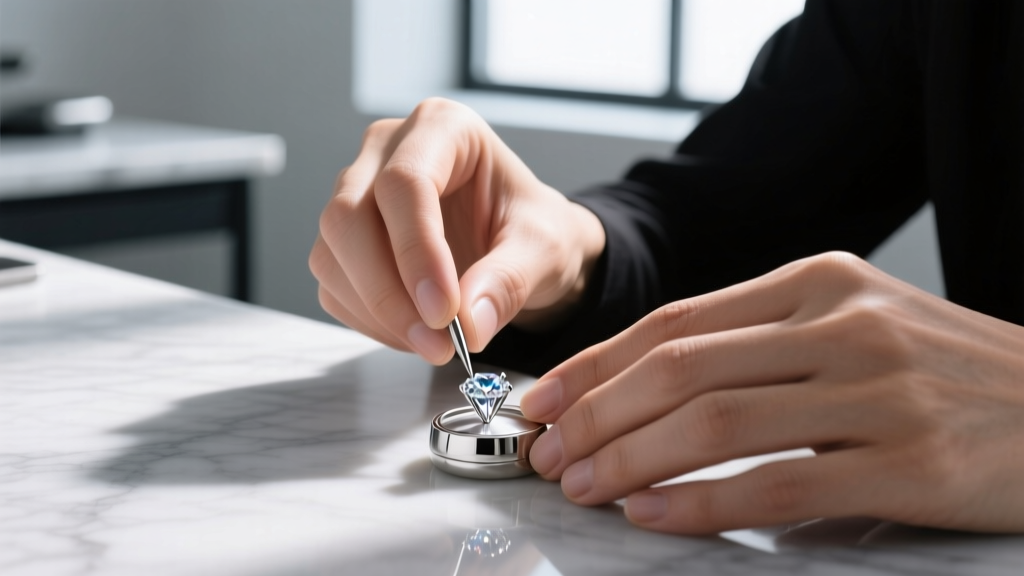
Secure a wooden bench pin to your desk and thread the 2/0 saw blade through the frame, ensuring the teeth point downward toward the handle. Lubricate the blade with a small amount of beeswax to reduce friction and prevent the thin aluminum from binding. Keep your saw strokes long and steady, rotating the metal—not the saw—when navigating the sharp inner corners of the claw design. Leave a 1-millimeter margin outside your traced line; you will file this down to the exact shape in the next step.
Step 3: Edge Safety and Surface Finishing
Freshly cut aluminum is microscopically serrated and dangerously sharp. Before the pendant can be worn, the edges must be beveled and polished. Clamp your cut-out pendant in a nylon-jawed vise or hold it firmly with a leather glove. Use a barrette needle file held at a strict 45-degree angle to chamfer the top and bottom edges. This removes the dangerous burrs created by the saw blade.
Once the edges are safe to the touch, begin the wet-sanding progression. Dip your 400-grit sandpaper in water and sand the edges to remove file marks. Move to 800-grit to smooth the chamfer, and finish with 1500-grit for a soft, satin edge that contrasts beautifully with the glossy painted face of the pendant. Be incredibly careful not to sand the front face, as the paint layer on beverage cans is exceptionally thin (often less than 0.05mm).
Step 4: Sealing Against Oxidation and Sweat
Human sweat has an average pH of 4.5 to 7.0, which is highly reactive to bare aluminum and the chemical linings found inside beverage cans. If left unsealed, the edges of your monster drink necklace will quickly oxidize, leaving gray stains on the wearer's skin and degrading the metal. Furthermore, the exterior paint is prone to micro-chipping from friction against clothing.
To seal the piece, you have two primary options. For a quick fix, apply three thin coats of a UV-resistant polyurethane clear spray, allowing 30 minutes of drying time between coats. For a premium, glass-like finish that will last for years, mix a 2-part jewelry epoxy resin. Using a fine silicone brush, carefully paint the resin over the front, back, and edges of the pendant. Suspend the piece on a wire rack to cure for 24 hours in a dust-free environment. This creates an impenetrable, skin-safe barrier that locks in the vibrant graphics.
Step 5: Bail Hole Drilling and Chain Assembly
With the pendant sealed, it is time to add the hardware. Mark a spot 3mm down from the top center of the pendant. Using a 1.5mm drill bit on a flex shaft rotary tool, carefully drill a pilot hole. If you do not have a rotary tool, a heavy-duty 1.5mm leather hole punch works effectively on thin aluminum. Smooth the inside of the hole with a folded piece of 800-grit sandpaper to prevent it from sawing through your jump ring over time.
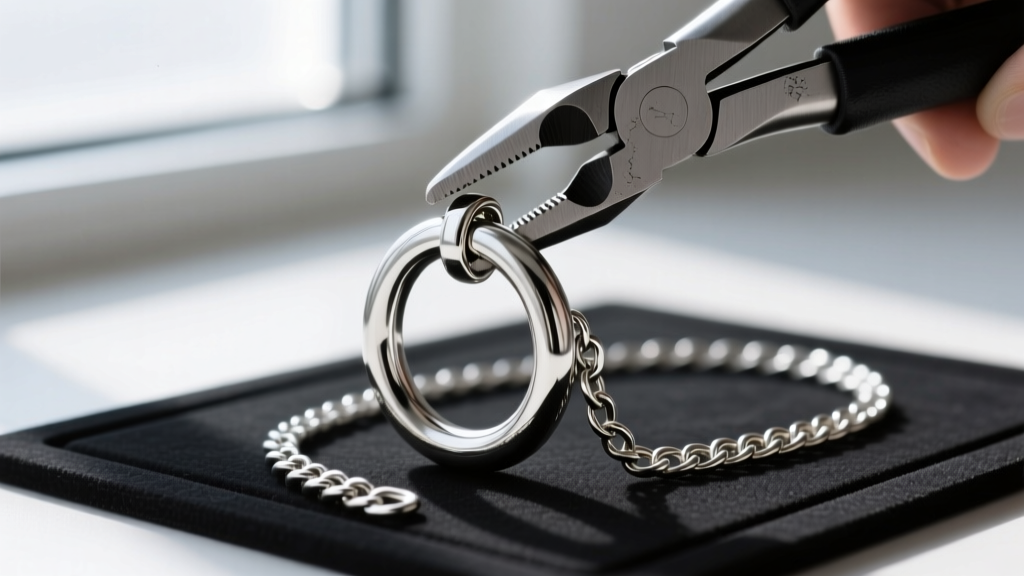
Assembly requires an understanding of jewelry findings. As detailed in the Rio Grande findings guide, jump rings must be twisted open laterally, never pulled apart, to maintain their structural integrity and circular shape. Use two pairs of flat-nose pliers to grip the 18-gauge stainless steel jump ring, twist it open, slide it through the pendant's bail hole, and attach it to your chosen chain.
| Chain Style | Thickness | Best Length for Pendants | Aesthetic Vibe |
|---|---|---|---|
| Stainless Steel Curb | 3.0mm - 4.0mm | 24 inches (Chest level) | Heavy streetwear, hip-hop, bold grunge |
| Stainless Steel Ball Chain | 2.4mm (Standard dog tag) | 20 - 22 inches (Collarbone) | Military surplus, techwear, Y2K cyberpunk |
| Waxed Cotton Cord | 2.0mm | 18 inches (Choker/Base of neck) | Earthy, minimalist, casual alternative |
2026 Styling Guide: Techwear and Grunge Layering
As we navigate the fashion trends of 2026, the monster drink necklace has transcended its origins as a simple craft project to become a legitimate layering piece in high-end alternative streetwear. The key to styling this piece is juxtaposition and layering.
For a techwear aesthetic, pair your aluminum claw pendant on a 24-inch matte black ball chain with a high-neck, water-resistant tactical jacket. Layer it over a 16-inch stainless steel choker featuring a geometric carabiner clasp to create depth and a utilitarian silhouette. The reflective nature of the sealed aluminum will catch ambient light, drawing attention to the neckline.
For a vintage grunge or skater look, opt for a thicker 4mm stainless steel curb chain worn at 22 inches. Layer the monster drink necklace with oxidized silver skull pendants or natural stone beads (like matte onyx or lava rock). The contrast between the hyper-modern, neon-branded aluminum and the organic, heavy metals creates a visually striking, chaotic aesthetic that defines modern alternative fashion. Whether you are heading to a music festival or simply elevating your everyday streetwear rotation, this DIY masterpiece offers unparalleled edge and personal expression.
Conclusion
Crafting a monster drink necklace is a rewarding exercise in upcycling, requiring patience, precision, and a respect for material properties. By utilizing proper jewelry sawing techniques, meticulously finishing the edges, and sealing the aluminum against environmental wear, you elevate a piece of recycling bin scrap into a durable, high-impact fashion statement. Grab your jeweler's saw, save your next empty can, and start building your custom streetwear armor today.


