DIY Guide: Crafting the Heart of Te Fiti Necklace From Moana
Learn how to craft the iconic necklace from Moana. Step-by-step guide to casting the Heart of Te Fiti spiral stone and braiding the adjustable cord.

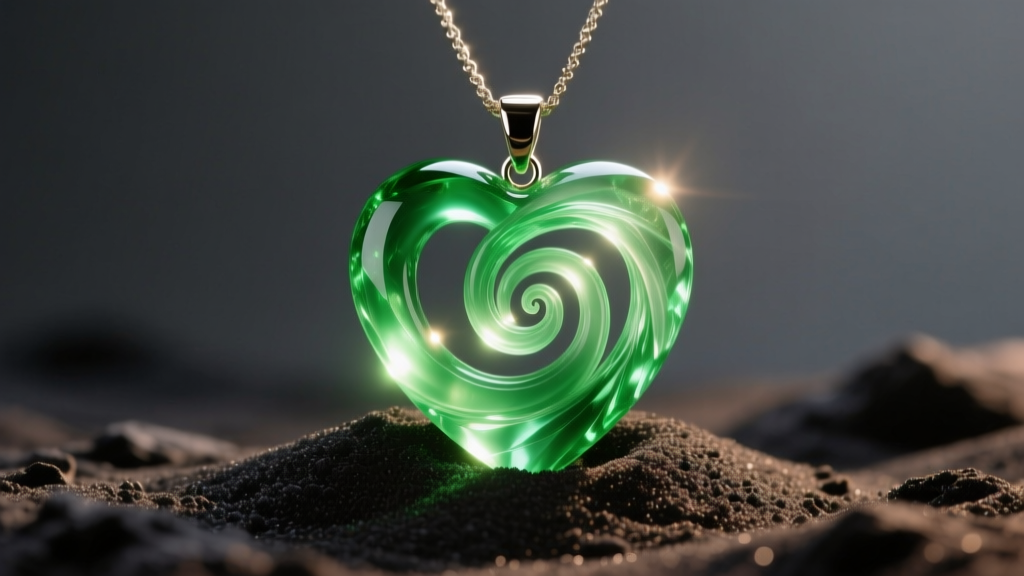
The release of Disney's animated masterpiece sparked a global fascination with Polynesian culture and jewelry design, specifically the iconic necklace from Moana. The "Heart of Te Fiti" is more than just a movie prop; it is a stylized representation of a pounamu (greenstone) koru, symbolizing new life, growth, and peace. For jewelry makers and fans alike, recreating this piece offers a masterclass in resin casting, lapidary arts, and traditional macrame cord braiding. This comprehensive guide will walk you through the exact materials, techniques, and structural frameworks required to craft a museum-quality replica or an inspired everyday pendant.
The Anatomy of the Heart of Te Fiti Necklace
Before mixing any resins or carving stone, it is crucial to understand the structural anatomy of the necklace from Moana. The piece consists of three primary components:
- The Spiral Stone (Koru): The central pendant features a tightly wound, asymmetrical spiral. In authentic Maori carving, this shape represents the unfurling silver fern frond. The movie version features a glowing, translucent green center that fades into an opaque, earthy crust.
- The Bail and Top Loop: Unlike modern metal bails, the Heart of Te Fiti features an integrated carved loop at the top of the spiral, requiring precise drilling or mold-making to ensure the cord passes through without compromising the stone's structural integrity.
- The Braided Cord: The necklace hangs on a thick, multi-strand braided cord with an adjustable sliding macrame knot, allowing the wearer to alter the length from a 16-inch choker to a 24-inch opera length.
Material Selection: Resin vs. Carved Stone
When deciding how to approach your build, you must choose between synthetic casting and traditional lapidary work. According to the Gemological Institute of America (GIA), serpentine and nephrite jade are the primary stones used in Polynesian carving, but they require specialized diamond-blade saws and extensive polishing time. For most DIY jewelers, jewelry-grade epoxy resin is the optimal choice.
| Material | Pros | Cons | Estimated Cost |
|---|---|---|---|
| Deep-Pour Epoxy Resin | Crystal clear, allows for internal glowing effects, easy to cast | Requires 48-hour cure time, prone to UV yellowing without additives | $30 - $50 |
| Polyurethane Resin | Fast 15-minute cure, highly durable, opaque color options | Cannot achieve translucent "glowing" effects, sensitive to moisture | $25 - $40 |
| Carved Serpentine | Authentic stone feel, culturally accurate, heirloom durability | Requires lapidary tools, high risk of fracture during carving | $60 - $120 (rough stone) |
Step-by-Step Guide: Casting the Spiral Stone
If you are opting for the resin route to capture the magical, translucent glow of the movie prop, you will need a high-quality deep-pour epoxy. Manufacturers like Smooth-On recommend using resins with a low exothermic reaction to prevent bubbling and cracking in thick pours.
Step 1: Mold Preparation and Mica Dusting
Source a high-durometer silicone mold of a koru spiral. To achieve the "crust" effect seen on the necklace from Moana, dry-brush a thin layer of opaque brown and dark green acrylic paint into the outer crevices of the mold before pouring. This will create an earthy, stone-like exterior while leaving the center clear.
Step 2: Mixing and Degassing the Epoxy
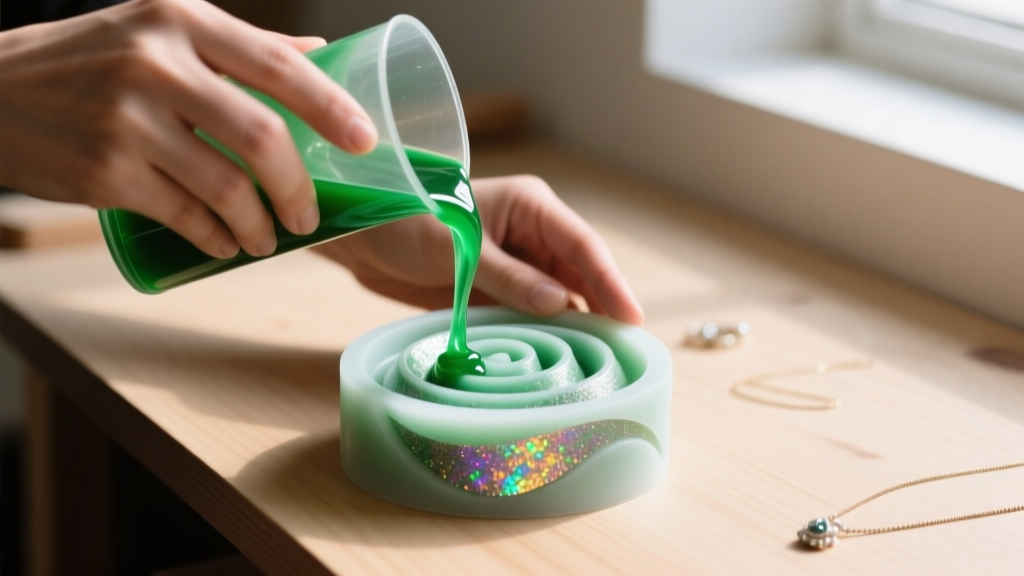
Mix your 2:1 jewelry-grade deep-pour epoxy resin. Add a highly concentrated translucent jade-green mica powder or liquid resin dye. Crucial E-E-A-T Tip: Do not exceed 6% colorant by volume, or the resin will fail to cure properly. Once mixed, place the cup in a vacuum degassing chamber to pull out all micro-bubbles. If you do not own a vacuum chamber, use a heat gun to gently pop surface bubbles immediately after pouring.
Step 3: Curing and Demolding
Pour the resin slowly into the center of the mold, allowing it to flow outward into the spiral arms. Let it cure in a dust-free, temperature-controlled environment (72°F to 75°F) for 48 hours. Demold carefully by flexing the silicone away from the resin edges.
The Lapidary Finish: Sanding and Polishing Resin
A freshly cast resin pendant will have a matte, slightly tacky finish. To achieve the glass-like luster of the Heart of Te Fiti, you must wet-sand the piece through progressive grits. This is where amateur builds fail and professional builds shine.
- 400 Grit: Wet sand to remove the mold lines and flashing. Keep the piece submerged in water to prevent resin dust inhalation and heat buildup.
- 800 to 1500 Grit: Progress through these grits to eliminate the scratches left by the 400-grit paper. The piece will begin to look cloudy but smooth.
- 3000 Grit: Final wet sanding. The resin will start to become semi-transparent again.
- Polishing: Apply a plastic polishing compound (such as Novus #2 or a cerium oxide slurry) using a rotary tool with a felt bob at a low speed (under 5,000 RPM). Buff until the surface achieves a high-gloss, glass-like finish.
Stringing: The Traditional Braided Cord Technique
The necklace from Moana does not use a standard metal chain. It relies on a thick, braided organic cord. For historical accuracy and durability, avoid cheap cotton strings that will fray and absorb skin oils. Instead, use 1.5mm waxed Irish linen or heavily waxed hemp cord.
Braiding the Main Cord
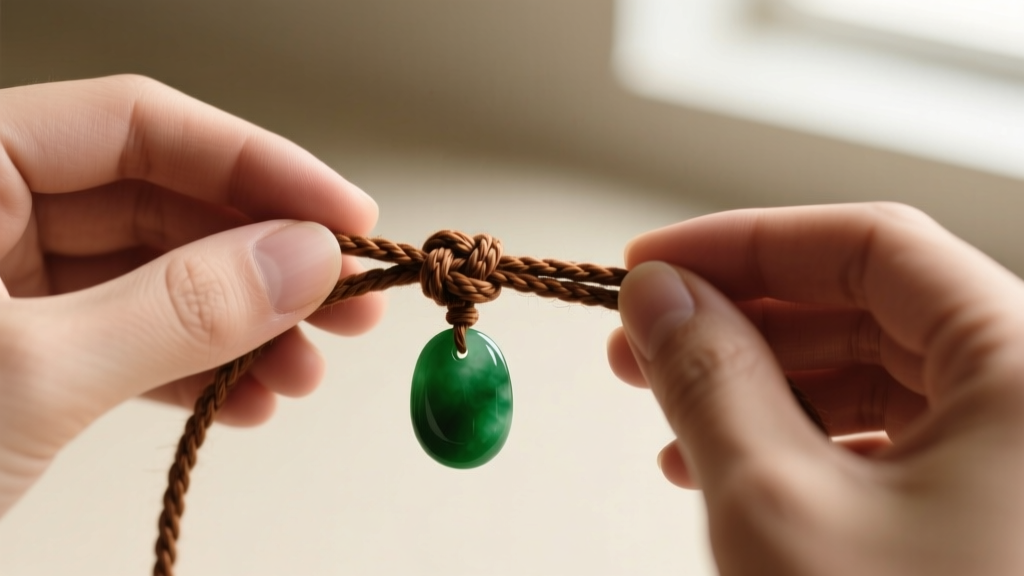
Cut three 6-foot lengths of your 1.5mm waxed cord. Anchor the tops to a macrame board or clipboard and perform a standard 3-strand braid. The wax coating will cause the strands to grip each other, creating a tight, rope-like structure that mimics traditional Polynesian sennit cordage. Thread the braided cord through the top loop of your resin or stone pendant.
The Adjustable Sliding Square Knot
To finish the necklace without metal clasps, you must tie an adjustable sliding knot. Overlap the two ends of the cord. Take a separate 2-foot piece of 1mm waxed cord and tie a series of square knots (macrame cobra knots) over the two overlapping main cords. Leave about 2 inches of sliding space before tying off the square knots with a surgeon's knot and melting the ends with a lighter. This allows the wearer to pull the cords apart to lengthen the necklace, or pull the knot ends to tighten it against the collarbone.
Sourcing Authentic Pounamu: A Cultural Note
If you prefer to purchase an authentic stone version rather than crafting a resin replica, it is vital to respect the cultural origins of the design. In New Zealand, pounamu is a taonga (treasure) protected by the Ngāi Tahu iwi. When sourcing a genuine greenstone koru necklace, look for the Mark of Authenticity established by Te Ara Encyclopedia of New Zealand and local Maori arts trusts. Authentic pounamu is sourced exclusively from the South Island and is often accompanied by a certificate of origin detailing the specific riverbed it was harvested from. Prices for genuine, hand-carved pounamu koru pendants typically range from $150 to over $600, depending on the translucency and grade of the nephrite jade.
Styling and Care for Your Oceanic Pendant
Whether you cast your own resin Heart of Te Fiti or sourced authentic jade, proper styling and care will ensure the piece lasts.
- Neckline Pairing: The spiral pendant is visually heavy. Pair it with V-neck or scoop-neck tops to allow the stone to rest flat against the sternum. Avoid high collars or busy patterns that compete with the intricate spiral geometry.
- UV Protection: If you used epoxy resin, prolonged exposure to direct sunlight will cause the material to yellow over time. Store the necklace in a dark jewelry box when not in use, and consider adding a HALS (Hindered Amine Light Stabilizer) UV inhibitor to your resin mix during the casting phase.
- Cord Maintenance: Waxed hemp and linen are water-resistant but not waterproof. Remove the necklace before swimming in the ocean or showering to prevent the natural fibers from degrading and the wax coating from washing away.
Crafting the necklace from Moana is a rewarding intersection of modern jewelry-making techniques and ancient cultural motifs. By mastering the resin casting process, perfecting your wet-sanding progression, and tying a flawless macrame sliding knot, you will create a wearable piece of art that honors the spirit of Te Fiti.


