How to Make the Iconic Necklace from Free Willy: DIY Guide
Learn how to make the iconic necklace from Free Willy with our step-by-step DIY guide. Master leather braiding and pendant aging for an authentic 90s look.

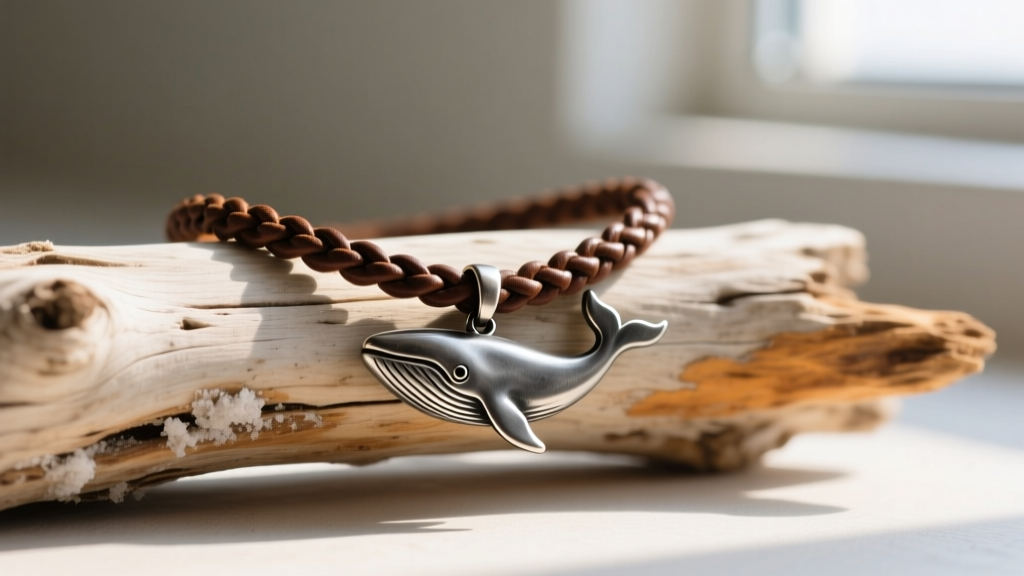
The Legacy of the 90s Surfer Grunge Aesthetic
When Free Willy hit theaters in 1993, it didn't just spark a global conversation about marine conservation and captive orcas; it inadvertently launched a massive trend in youth fashion. The character Jesse, played by Jason James Richter, embodied the quintessential Pacific Northwest skater and surfer grunge aesthetic. Central to this look was a specific, rugged piece of jewelry: a braided leather cord featuring a weathered, tribal-inspired whale tail pendant. The intersection of 90s grunge and marine awareness created a cultural touchstone that defined a generation's accessory choices. Today, reproducing the exact necklace from free willy remains a rite of passage for DIY jewelry makers and nostalgia enthusiasts. This guide will walk you through the precise material selection, leather braiding techniques, and chemical patina processes required to craft an authentic, screen-accurate replica in 2026.
Materials and Tools Required
To achieve the authentic, rugged look of the original movie prop, you must avoid cheap, mass-produced components. Below is the exact bill of materials needed for this build, reflecting current 2026 market pricing for high-grade jewelry supplies.
| Component | Specification | Estimated Cost (2026) |
|---|---|---|
| Leather Cord | 2.5mm Round Kangaroo (Natural) | $18.00 / meter |
| Pendant | Lead-Free Pewter Whale Tail (35mm) | $12.50 each |
| Patina Solution | Liver of Sulfur (LOS) Gel | $14.00 / 2oz jar |
| Knotting Cord | 1mm Waxed Irish Linen (Dark Brown) | $6.00 / spool |
| Tools | Kumihimo Disk, Brass Brush, Beeswax | $22.00 total |
Step 1: Sourcing and Prepping the Leather Cord
The original movie prop utilized a thick, round leather cord that showed signs of saltwater exposure and daily wear. While standard cowhide is common, we strongly recommend sourcing 2.5mm round kangaroo leather from specialized suppliers like Tandy Leather. Kangaroo leather possesses a tensile strength roughly 10 times greater than cowhide of the same weight (often exceeding 8,000 psi), meaning it will not snap under the tension of a tight 4-strand braid or degrade rapidly when exposed to sweat, saltwater, and UV light.
Cut two lengths of 2.5mm cord, each measuring exactly 45 inches. This accounts for the 20-inch finished necklace length, the material consumed by the braiding process, and an extra 5 inches on each side for the sliding macrame closure.
Step 2: The 4-Strand Round Braid Technique
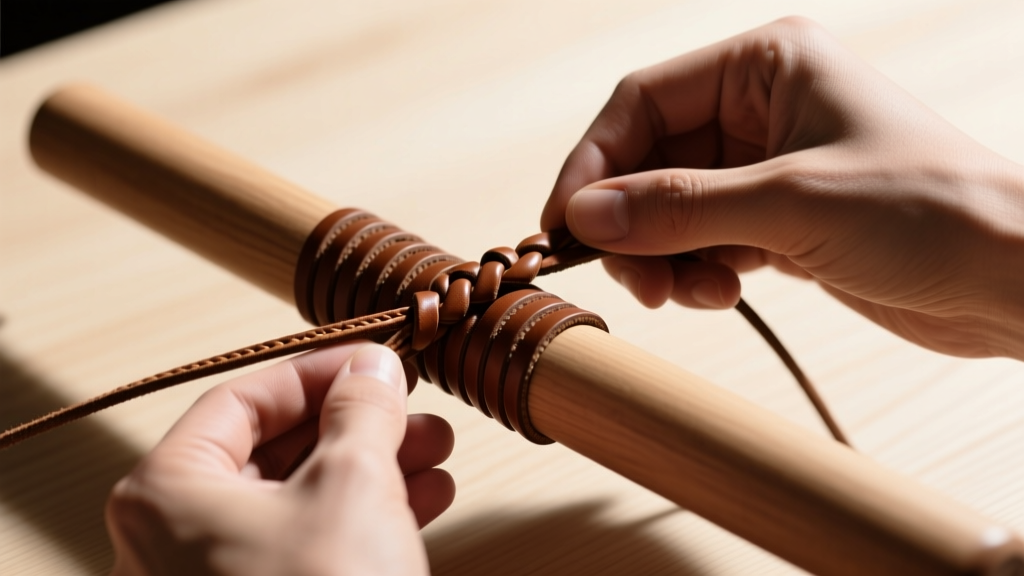
The iconic texture of the necklace from free willy comes from a tight, 4-strand round braid. You can use a Kumihimo braiding disk to maintain perfect tension, or braid freehand if you have experience.
Maintaining Tension and Gauge
Anchor the center of your four cords (two lengths folded in half) to a foam board or heavy clamp. The key to a professional-grade round braid is consistent lateral tension. The exact sequence is: move the top-right cord to the bottom-right position, then the bottom-left cord to the top-left position. Rotate the disk clockwise and repeat. Pull each cord at a precise 45-degree angle before bringing it to the center. If your braid feels spongy, your tension is too loose; if the leather begins to groan or stretch permanently, you are pulling too hard. Aim for a uniform gauge where the braid diameter measures approximately 4.5mm.
Step 3: Selecting and Antiquing the Whale Tail Pendant
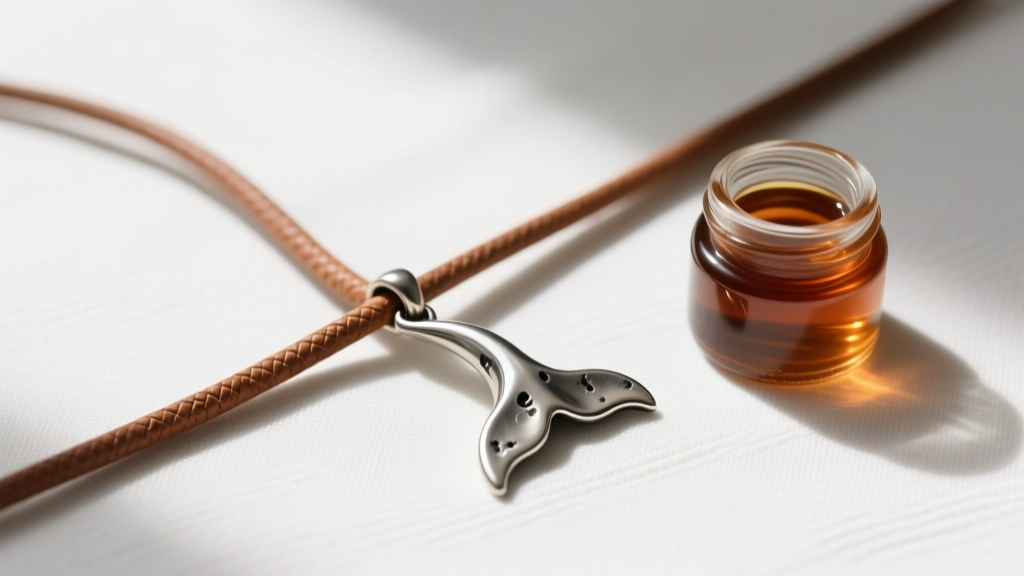
The pendant in the film was not bright, polished silver. It was a cast white metal, heavily oxidized to look like it had been pulled from the ocean floor. To replicate this, use a lead-free pewter casting (an alloy of 92% tin, 7.5% antimony, and 0.5% copper).
Liver of Sulfur Patina Process
To achieve that deep, grungy 90s oxidation, you will use Liver of Sulfur (LOS). According to metallurgical guides from Rio Grande, the copper and antimony trace elements in pewter react beautifully with potassium sulfide solutions to create dark, stable patinas.
- Mix 1 part LOS gel with 15 parts distilled water heated to exactly 140°F (60°C).
- Submerge the raw pewter pendant for 45 to 60 seconds.
- Remove and immediately quench in cold water to halt the chemical reaction.
- Use a fine brass wire brush to selectively polish the high points of the whale tail, leaving the deep recesses pitch black. This creates the high-contrast, weathered look essential to the replica.
Step 4: Assembly and the Sliding Square Knot
Authentic 90s surfer necklaces rarely used metal lobster clasps, which ruin the rustic aesthetic and can catch on clothing. Instead, we use a sliding square knot (macrame) crafted from 1mm waxed Irish linen.
Overlap the two ends of your braided leather cord. Take a 24-inch piece of waxed linen and tie a standard square knot over both leather cords. Repeat this process 4 to 5 times to create a secure, 1-inch long sliding mechanism. The wax on the linen provides the exact amount of friction needed to keep the necklace securely at your desired length (typically 18 to 20 inches for a collarbone-resting fit) while allowing it to be easily pulled over the head.
Pro Tip: Melt a tiny drop of clear beeswax over the ends of the linen cord after trimming to prevent fraying and lock the final knot in place permanently.
Troubleshooting Common Leather and Patina Issues
- Flaking Patina: If the black oxidation rubs off on your skin or shirt, the pewter was not properly degreased before the LOS bath. Clean the pendant with pumice powder and dish soap, rinse thoroughly, and re-dip.
- Asymmetrical Braid: This occurs when the Kumihimo disk slots are worn out, or you are alternating the crossover sequence incorrectly. Always follow the strict rotation sequence without skipping slots.
- Leather Stretching: Kangaroo leather minimizes this, but if you braid while the leather is damp, it will shrink and warp as it dries. Always braid with completely dry, room-temperature cord.
Final Thoughts on 90s Replica Jewelry
Crafting the iconic necklace from free willy is more than just a nostalgia trip; it is an excellent masterclass in fundamental jewelry-making techniques. By mastering the 4-strand round braid and understanding the chemical reactions of Liver of Sulfur on white metals, you build a foundation that applies to dozens of other rustic and historical jewelry designs. Whether you are pairing this piece with a vintage flannel or using it as a standalone statement piece, the authenticity of your materials will ensure your replica stands the test of time.
For more historical jewelry breakdowns, material science guides, and 90s fashion revivals, continue exploring our archives at Jewel Style Radar.


