Ella Enchanted Necklace Repair: Troubleshooting & Fixes
Is your Ella Enchanted necklace tarnished, broken, or cloudy? Discover expert troubleshooting tips, repair methods, and care routines to restore its magic.

The Delicate Anatomy of the Ella Enchanted Necklace
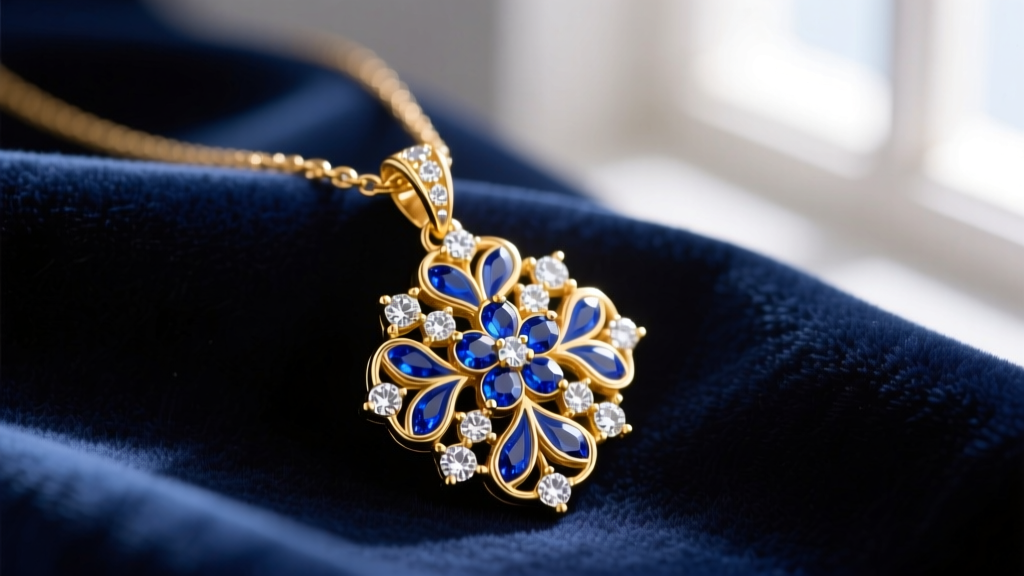
The Ella Enchanted necklace is a beloved, intricate piece of jewelry that captures a sense of whimsy and elegance. However, its complex construction—often featuring pavé-set crystals, cold enamel fills, and ultra-fine chains—makes it uniquely susceptible to specific wear-and-tear issues. Before diving into troubleshooting, it is crucial to understand the metallurgical and structural baseline of this piece. Most authentic iterations of the Ella Enchanted necklace are cast in 925 sterling silver or finished in 18k gold vermeil. True vermeil requires a minimum gold thickness of 2.5 microns over a sterling silver base, providing a rich color but requiring careful maintenance to prevent premature wear-through.
The pendant itself frequently incorporates lead-free crystal or cubic zirconia set in micro-prongs, alongside epoxy-based cold enamel. The chain is typically a lightweight 0.7mm cable or box chain. While beautiful, these materials and dimensions create a specific matrix of potential failure points. Below, we break down the most common problems owners face and provide actionable, professional-grade solutions to restore your necklace to its original glory.
Troubleshooting Cloudy Crystals and Enamel Dulling
The Problem: Sebum, Lotion, and Micro-Debris
Because the Ella Enchanted necklace sits directly against the collarbone, it is constantly exposed to sebum (skin oils), sweat, and body lotions. Over time, these substances accumulate beneath the pavé crystal settings and within the microscopic crevices of the enamel work. This buildup refracts light poorly, causing once-brilliant crystals to appear cloudy, milky, or dull. Furthermore, the copper alloy present in the 925 sterling silver base can react with sulfur and moisture, creating a dark silver sulfide tarnish that shadows the stones from beneath.
The Fix: Precision Cleaning Without Cavitation Damage
Many jewelry owners make the critical mistake of using ultrasonic cleaners for their pendants. Ultrasonic machines operate at frequencies around 40,000 Hz, creating cavitation bubbles that generate localized heat and intense micro-vibrations. According to the Gemological Institute of America (GIA), while ultrasonics are safe for some hard stones, they can easily shatter tension-set crystals, fracture treated stones, and completely detach cold epoxy enamel from its metal bezel.
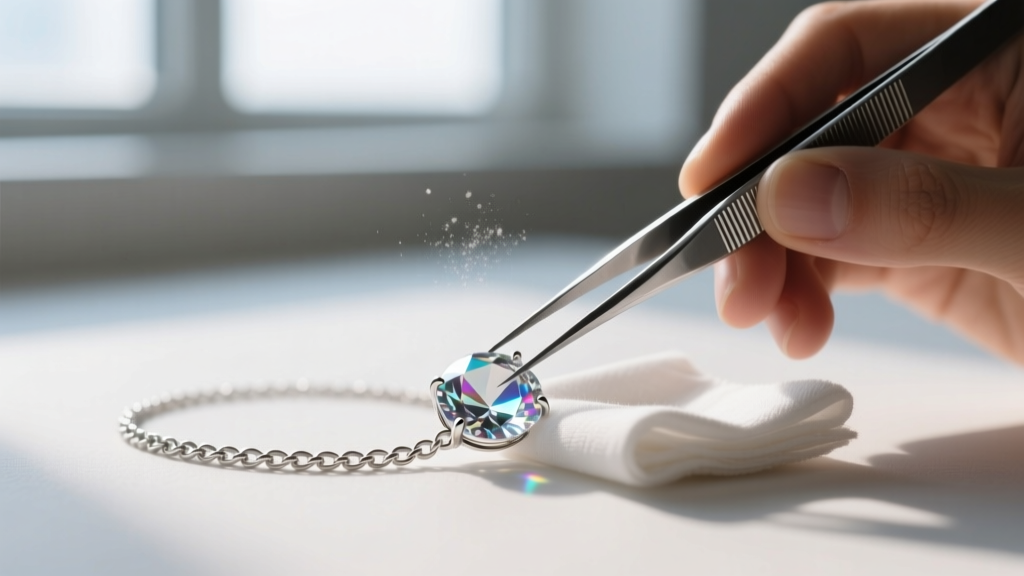
The Safe DIY Restoration Method:
- Step 1: Mix a solution of distilled water and a single drop of pH-neutral dish soap (like Dawn) in a small glass bowl. Avoid tap water, as trace minerals can leave hard water spots on the crystals.
- Step 2: Submerge the pendant for exactly 3 to 5 minutes to soften the lipid buildup. Do not soak the chain if it is gold vermeil, as prolonged moisture exposure can weaken the plating adhesion.
- Step 3: Using a brand-new, extra-soft baby toothbrush, gently agitate the bristles over the crystal settings in a circular motion. Apply zero downward pressure; let the bristles do the work.
- Step 4: Rinse briefly under a slow stream of lukewarm distilled water, then immediately pat dry with a lint-free microfiber cloth. Use a can of compressed air to blow out any trapped moisture from beneath the settings.
Lobster Clasp Fatigue and Jump Ring Separation
Diagnosing a Sticky or Failing Clasp
The standard 5mm lobster clasp used on the Ella Enchanted necklace is a known mechanical failure point. The internal spring mechanism is incredibly small and easily compromised by microscopic lint, hair, or dried lotion. If the clasp trigger feels stiff, fails to snap back completely, or opens with minimal lateral pressure, the spring has either fatigued or become obstructed. Attempting to force the trigger with a needle will usually bend the internal tension arm, permanently destroying the clasp.
Step-by-Step Clasp and Jump Ring Replacement
When the clasp fails, or when the jump ring connecting the clasp to the chain pulls apart, a precise repair is required. A common mistake is using wire that is too soft to support the pendant's weight.
Expert Insight: Never use 22-gauge (0.64mm) jump rings for pendant connections. They lack the tensile strength to hold a heavy enamel pendant and will pull open under as little as 15 grams of tension. Always upgrade to 20-gauge (0.81mm) or 18-gauge (1.02mm) half-hard sterling silver jump rings with an inner diameter of 3mm to 4mm.
Repair Protocol:
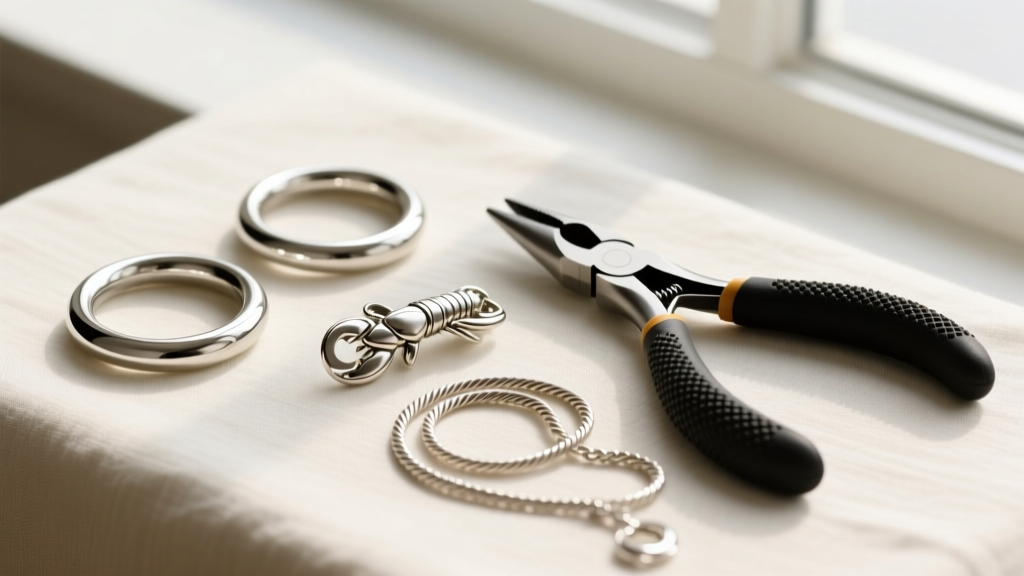
- Tools Needed: Two pairs of flat-nose or chain-nose pliers (ensure the jaws are smooth to avoid marring the metal), a 5mm or 7mm replacement lobster clasp, and 20-gauge jump rings.
- Opening the Jump Ring: Grip the jump ring with both pliers on either side of the split. Twist one hand toward you and the other away from you to open the ring laterally. Never pull the ends outward, as this distorts the circle and weakens the metal's work-hardened temper.
- Attachment: Slide off the broken clasp, attach the new lobster clasp, and close the jump ring using the exact reverse twisting motion. Ensure the split is perfectly flush; run your fingernail over it to check for snags.
For comprehensive guidelines on maintaining precious metal findings and clasps, the Jewelers of America provides excellent industry-standard care protocols that emphasize the importance of checking jump ring integrity every six months.
Micro-Chain Tangling and Snapping
Why Cable Chains Under 0.8mm Fail
The 0.7mm cable or box chain accompanying the Ella Enchanted necklace is prized for its delicate, barely-there aesthetic. However, chains in the 0.5mm to 0.8mm range are highly prone to "bird-nesting"—a severe tangling issue where multiple links fold in on themselves. When a wearer attempts to pull a bird-nest apart by force, the microscopic links stretch into ovals, eventually snapping at the solder joints. Furthermore, sleeping in a chain this fine guarantees tangles due to friction against cotton bedding.
The Lubrication and Needle Detangling Trick
If your chain has formed a stubborn knot, abandon the instinct to pull. Instead, use friction reduction to your advantage.
- Step 1: Lay the tangled section flat on a hard, well-lit surface (a glass table or a ceramic plate works best).
- Step 2: Generously dust the knot with baby powder, cornstarch, or talc-free setting powder. The powder acts as a dry lubricant, coating the individual links and drastically reducing metal-on-metal friction.
- Step 3: Take two fine sewing needles or beading awls. Insert the tips into the center of the knot and gently wiggle them to create slack. Work from the outside of the knot inward, loosening the outer loops first.
- Step 4: Once the knot is undone, wipe the chain with a slightly damp microfiber cloth to remove the powder residue, then dry thoroughly.
Troubleshooting Matrix: Symptom vs. Solution
Use the following diagnostic table to quickly identify your necklace's issue and apply the correct remediation strategy.
| Symptom | Root Cause | DIY Fix | When to See a Pro |
|---|---|---|---|
| Crystals look milky or dull | Sebum and lotion buildup under pavé settings | Soak in distilled water and pH-neutral soap; brush gently with a baby toothbrush. | If stones are loose or rattling in their settings. |
| Gold color is fading to silver | Vermeil plating (under 2.5 microns) has worn away due to friction or chemical exposure. | Cannot be fixed at home. Polish the exposed silver to a high shine. | Take to a jeweler for professional re-plating (electroplating). |
| Clasp trigger is stuck | Debris in the spring mechanism or spring fatigue. | Blow out with compressed air. If stuck, replace the clasp entirely. | If the chain's end-link is fused to the broken clasp. |
| Chain keeps breaking at the neck | Micro-fractures from sleeping in the necklace or pulling tangles. | Replace the entire chain with a slightly thicker 1.0mm chain. | If the break is less than 2 inches from the pendant bail. |
| Enamel fills are chipped | Impact damage or thermal shock from hot water. | Clean the area to prevent dirt buildup; avoid ultrasonic cleaners. | A jeweler can attempt a custom resin color-match fill. |
Preventative Maintenance for Long-Term Wear
Troubleshooting is only half the battle; proper preventative maintenance ensures the Ella Enchanted necklace remains a staple in your collection for years. Because sterling silver is highly reactive to sulfur compounds in the air, storage is your first line of defense. Never store this necklace in a humid bathroom or leave it exposed on a vanity. Instead, store it in an airtight polyethylene ziplock bag alongside a 3M anti-tarnish strip, which actively absorbs ambient sulfur gases.
Finally, adopt the "last on, first off" rule. The Ella Enchanted necklace should be the very last item you put on after applying perfumes, hairsprays, and lotions, and the very first item you take off when you return home. By understanding the specific vulnerabilities of its delicate chain, epoxy enamel, and micro-prong settings, you can bypass common jewelry pitfalls and keep your enchanted piece shining brilliantly.


