How to Put a Necklace On With Long Nails: 5 Pro Methods
Struggling with tiny clasps? Learn how to put a necklace on with long nails using 5 proven methods, tools, and step-by-step hacks for acrylics and gels.

The Biomechanical Struggle of Tiny Clasps and Long Acrylics
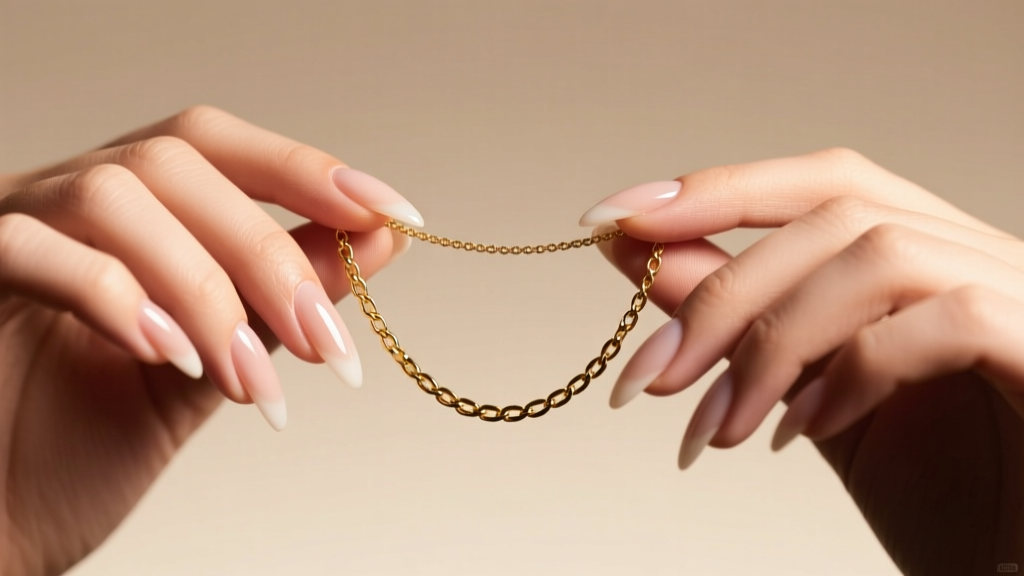
The modern nail art renaissance has pushed extension lengths to new extremes. According to trend reports from Nails Magazine, coffin, stiletto, and elongated almond shapes extending past 1.5 inches are now mainstream. However, this creates a severe biomechanical disadvantage for fine motor tasks. Standard jewelry findings, particularly 5mm spring ring clasps, are engineered for the fleshy pads of bare fingertips. When your nail tip extends a full inch past your finger pad, depressing a 1.5mm clasp lever becomes physically impossible without scraping the acrylic or losing your grip on the delicate chain.
Learning how to put a necklace on with long nails requires shifting your approach from pad-based compression to edge-based anchoring and leverage. Below, we break down five professional methods to bypass the clasp struggle, complete with hardware upgrades and chain geometry analysis to make your daily jewelry routine effortless.
Method 1: The Paperclip Anchor Technique
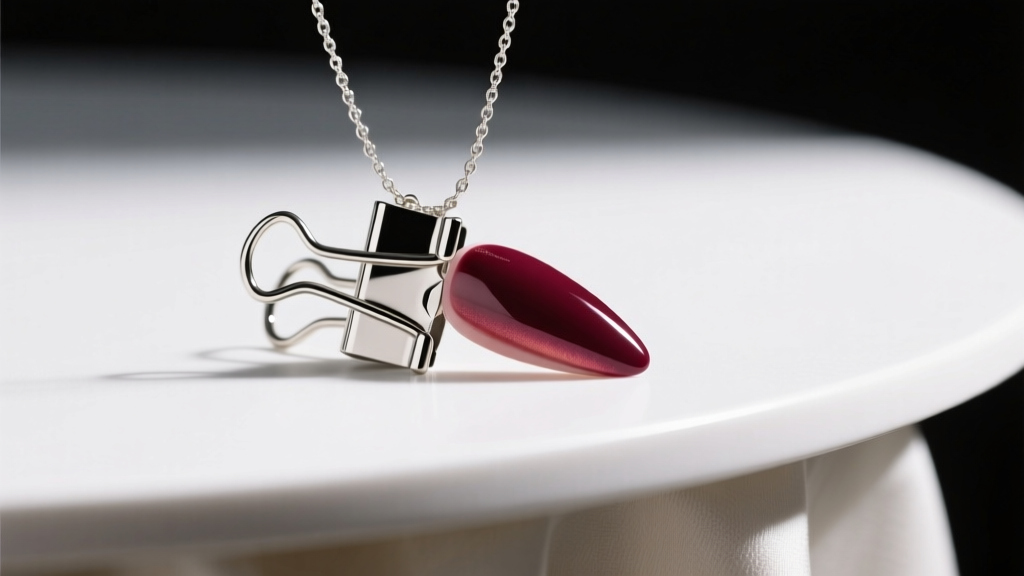
The most accessible and immediate solution requires nothing more than a standard metal paperclip or a bobby pin. This method transforms a two-handed, high-dexterity task into a one-handed, gross-motor pulling motion.
Step-by-Step Execution:
- Unbend one loop of a metal paperclip to create an S-hook shape.
- Slide the smaller hook through the jump ring (the stationary circle) on one end of your necklace.
- Anchor the other end of the paperclip. You can hold it firmly in your non-dominant palm, or for complete stability, tape the paperclip to the edge of a table or vanity at chest height.
- Using your dominant hand, pull the clasp end of the necklace toward the anchored jump ring. The tension holds the jump ring completely still, allowing you to use the side of your thumbnail to depress the clasp lever and hook it securely.
Method 2: Dedicated Clasp Helper Tools
If you wear necklaces daily, relying on makeshift anchors can become tedious. The jewelry market has responded to the long-nail demographic with specialized clasp helper tools. These devices feature a weighted handle and a rigid metal hook that acts as an extension of your finger.
Commercial Tools vs. DIY Solutions
| Tool Type | Material | Avg. Cost | Durability | Best For |
|---|---|---|---|---|
| DIY Paperclip | Steel alloy | $0.05 | Low (bends easily) | Emergency / Travel |
| Weighted Hook Helper | Brass / Zinc | $8 - $15 | High | Daily wear, heavy pendants |
| Flexible Chain Helper | Stainless steel | $12 - $20 | Medium | Delicate, lightweight chains |
When purchasing a commercial helper, look for one with a weighted base. The weight prevents the tool from flipping up when you apply tension to a heavier chain, such as a 2.5mm Figaro or a pendant weighing over 10 grams.
Method 3: The Wall-Mounted Tape Method
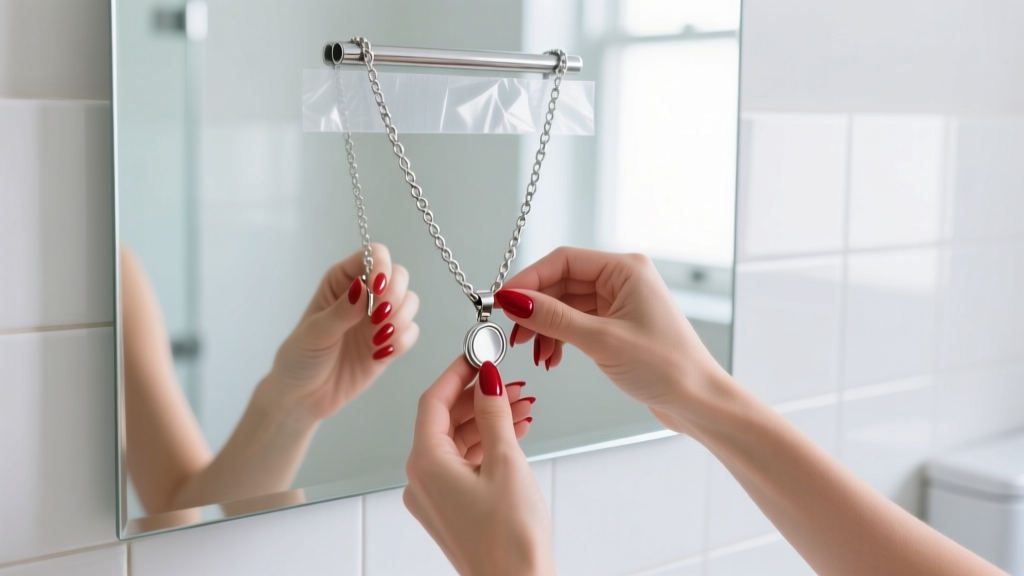
For those who prefer to put on their necklaces while standing in front of a mirror, the tape method utilizes vertical space to eliminate the need to look down and hunch over.
How to Rig Your Mirror:
- Cut a two-inch piece of clear Scotch tape or painter's tape.
- Stick the tape to your mirror or bathroom cabinet at exactly collarbone height.
- Press the jump ring of the necklace firmly into the exposed sticky side of the tape. The adhesive will hold the ring flat against the glass.
- Wrap the necklace around your neck. With the jump ring immobilized by the tape, use your long nails to guide the lobster clasp into the ring without the jump ring spinning or dropping.
- Gently peel the tape away once the clasp is secured.
Method 4: Upgrading Your Clasp Hardware
The most permanent solution to the long-nail dilemma is to eliminate the problematic hardware entirely. Standard spring ring clasps are cheap to manufacture but ergonomically hostile to extensions. According to Rio Grande jewelry suppliers, upgrading your findings can completely change how you interact with your jewelry.
Best Clasp Types for Long Nails
- Lobster Clasps (10mm - 14mm): Unlike the circular spring ring, a lobster clasp has an elongated lever. You can use the flat side of an almond or coffin nail to push the lever down, rather than requiring the fleshy tip of your finger.
- Neodymium Magnetic Clasps: These utilize N42 or N52 grade rare-earth magnets encased in stainless steel or brass. They provide 5 to 10 pounds of lateral pull force. You simply bring the two ends near each other, and they snap together automatically. Zero lever compression is required, making them 100% nail-proof.
- Toggle Clasps: A T-bar that slides through a large O-ring. This requires gross motor pushing and pulling, completely bypassing the need for fine motor pinching.
Method 5: Chain Gauge and Link Geometry Analysis
Not all chains behave the same way when manipulated by long nails. The physical geometry of the chain links dictates how easily you can grip, pull, and guide the metal.
How Chain Shape Affects Grip
Cable and Rolo Chains: These feature round, uniform links. They are notoriously difficult to manage with long nails because the round edges roll and slip against smooth acrylic surfaces. A 0.9mm cable chain will easily slide out of your grasp.
Curb, Figaro, and Cuban Chains: These links are flattened and interlock tightly. The flat profile allows you to pin the chain against your collarbone using the side edge of your nail. The structural rigidity of a 2.0mm curb chain means it won't tangle or fold in on itself while you are trying to align the clasp.
Box and Wheat Chains: These feature sharp, geometric edges. While they don't slip, the sharp corners can easily catch and scratch the underside of your acrylic extensions or chip your gel topcoat. Avoid these if your nail tech uses a soft builder gel (BIAB) base that is prone to scratching.
Troubleshooting: Dropped Chains and Tangled Pendants
Even with the best techniques, accidents happen. If you drop a fine chain while trying to fasten it, do not attempt to pinch it off a flat table surface with long nails; you will only push it further away or scratch the table.
The Slide-and-Scoop: Place a piece of stiff cardstock or a business card flat on the table. Gently slide the edge of the card under the chain. Once the chain is resting on the card, you can easily lift it to chest height and use your paperclip anchor method to secure it.
Tangled Pendants: If your pendant wraps around the chain while you are struggling with the clasp, lay the necklace flat on a dark towel. The dark background provides high contrast, and the towel's friction prevents the chain from sliding. Use a single bobby pin to gently tease the jump ring out of the tangled links, using the metal pin as a surrogate fingertip.
Final Thoughts on Nail-Friendly Jewelry
Adapting to life with long extensions means rethinking how you interact with everyday objects. By utilizing anchor tools, leveraging wall space, and strategically upgrading your clasps to magnetic or lobster variations, you can protect your manicure and your jewelry. Remember that the thickness and shape of your chain are just as important as the clasp itself; choosing flat, rigid chains will save you time and frustration every time you get dressed.


