Reviving the Add a Bead Necklace 90s Trend: Repair Fixes
Learn how to repair, clean, and modernize your vintage add a bead necklace 90s pieces. Expert troubleshooting for broken clasps and tarnished charms.

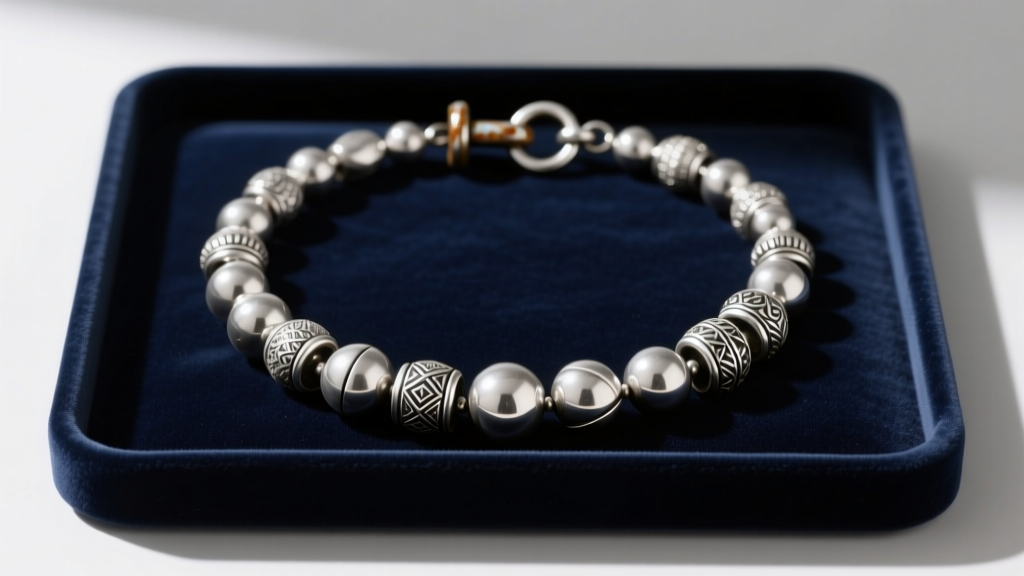
The Resurgence of 90s Modular Jewelry
The Y2K and 1990s nostalgia wave has fully matured in 2026, bringing back the iconic add a bead necklace 90s trend. Originally popularized by European and American brands offering interchangeable glass, silver, and enamel beads on modular chains, these pieces are now highly sought after in estate sales, vintage shops, and family jewelry boxes. However, three decades of wear present unique structural challenges. Unlike modern proprietary charm systems, vintage 90s modular necklaces were built with specific metallurgical limitations and mechanical quirks. This comprehensive guide provides expert-level troubleshooting for restoring, repairing, and modernizing your vintage modular bead necklaces without compromising their historical integrity.
The Engineering of 90s Modular Chains
To properly troubleshoot a vintage piece, you must first understand its original engineering. The industry standard for interchangeable bead systems in the 1990s relied heavily on two specific chain profiles: the 3.0mm box chain and the 2.5mm snake chain. These dimensions were chosen specifically to accommodate the inner diameter of early Murano glass beads and sterling silver spacers, which typically featured a 3.5mm to 4.0mm core hole.
Furthermore, the threading on these vintage chains was rarely standardized across different manufacturers. While modern systems use highly specific, often patented thread pitches, a vintage add a bead necklace 90s piece usually features a simple barrel clasp with a 1.2mm to 1.5mm internal thread pitch. The end caps were often soldered using traditional lead-based or cadmium-bearing solders, which degrade differently over time compared to modern laser-welded joints. Recognizing these baseline specifications is the first step in diagnosing why your vintage necklace is failing.
Troubleshooting Clasp and Threading Failures
Stripped Barrel Clasps and Cross-Threading
The most frequent point of failure on a 90s modular necklace is the barrel clasp. Because the internal threads are cut directly into soft sterling silver or brass-alloy end caps, years of forcing the clasp shut at the wrong angle leads to cross-threading. Once the threads are stripped, the clasp will no longer secure the heavy glass and metal beads, posing a severe risk of catastrophic loss.
The Fix: Do not attempt to re-tap the threads yourself unless you possess a 1.5mm jeweler's tap and a pin vise. Re-cutting soft, degraded silver often results in a complete blowout of the end cap. Instead, take the piece to a professional bench jeweler. In 2026, a jeweler can carefully saw off the damaged barrel clasp and solder on a heavy-duty 5mm x 10mm locking lobster clasp. This upgrade typically costs between $35 and $55, but it provides a vastly superior tensile strength (often exceeding 15 lbs of pull force) compared to the original 90s barrel mechanism.
End Cap Solder Fatigue
If the chain is pulling away from the end cap, you are experiencing solder fatigue. The constant torque applied by heavy 90s enamel beads causes microscopic fractures in the solder joint. A jeweler will need to clean the joint with a mild pickle solution and re-flow the solder using a high-temperature hard silver solder to ensure the joint can withstand the dynamic weight of the beads.
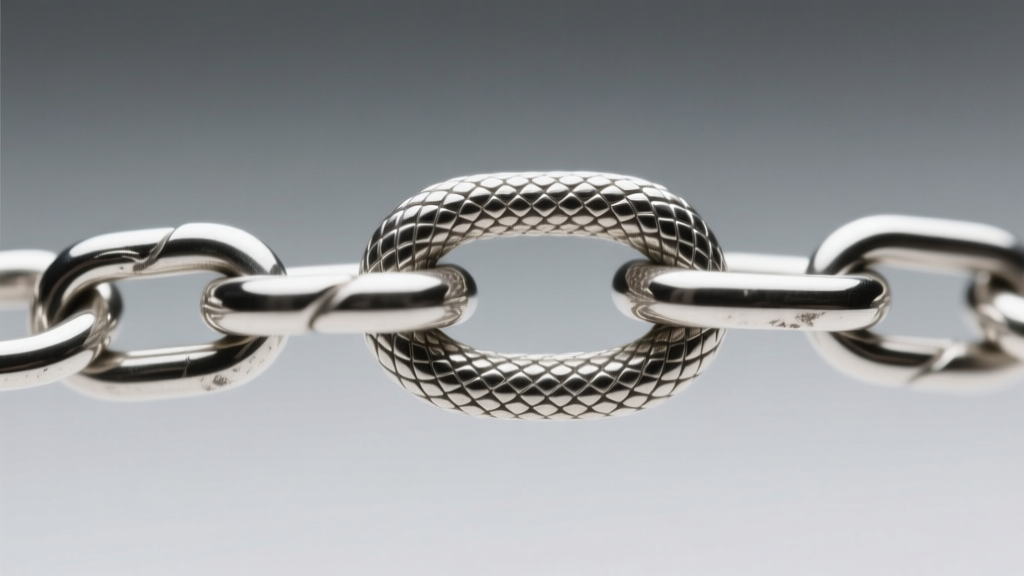
Resolving Snake Chain Kinks and Core Snaps
Snake chains are notorious for kinking, especially when loaded with heavy, asymmetrical bead arrangements. A 90s snake chain is constructed of tightly wound, interlocking metal rings over a flexible inner core. When bent past a 45-degree angle, the outer links crush inward, permanently deforming the chain and creating a weak point that will eventually snap.
The Pencil Roll Method for Minor Kinks
For minor deformations, you can attempt a gentle mechanical straightening. Lay the chain flat on a clean, hard surface. Place a smooth, round wooden pencil over the kinked area and apply very light, even pressure while rolling the pencil back and forth. This can sometimes coax the interlocking links back into their original alignment. Never use metal pliers to pull a kink straight, as this will stretch the outer links and permanently ruin the chain's fluid drape.
When to Seek Laser Welding
If the chain has actually snapped at a kink point, traditional torch soldering is highly discouraged for snake chains. The heat from a torch will melt the surrounding interlocking links, fusing them together and creating a stiff, brittle dead spot. According to the JCK Online bench tips archive, laser welding is the only viable repair method for snake chains. A laser welder targets a microscopic area with intense heat, fusing the broken link without transferring thermal energy to the adjacent links. Expect to pay between $45 and $75 for a professional laser weld on a 2.5mm snake chain.
Material-Specific Tarnish and Enamel Degradation
Cleaning a vintage add a bead necklace 90s piece requires extreme caution due to the materials used in 90s bead manufacturing. Unlike modern vitreous (kiln-fired) enamel, many 90s beads utilized 'cold enamel'—an epoxy-based resin poured into metal recesses. Ultrasonic cleaners and harsh chemical dips will instantly cloud, crack, or dissolve cold enamel.
According to guidelines published by the Gemological Institute of America (GIA), silver should be cleaned using the gentlest methods possible to preserve patina and prevent abrasive scratching. Below is a troubleshooting matrix for cleaning different bead materials found on 90s necklaces.
| Material Type | Common 90s Bead Style | Safe Cleaning Method | Strictly Avoid |
|---|---|---|---|
| Sterling Silver (Bare) | Oxidized spacers, silver clips | Aluminum foil, baking soda, and hot water bath | Ultrasonic cleaners, abrasive polishing cloths |
| Cold Enamel (Epoxy) | Brightly colored opaque beads | Mild dish soap, lukewarm water, soft baby toothbrush | Hot water, chemical silver dips, alcohol |
| Murano Glass | Floral patterned glass beads | Microfiber cloth, gentle glass cleaner on cloth only | Submersion in any chemical bath |
| Rhinestone Pave | Glue-set crystal spacers | Dry, soft-bristled makeup brush to remove dust | Any liquid, which will dissolve 90s glue |
Conservator's Note: When utilizing the aluminum foil and baking soda electrochemical reaction for bare silver beads, ensure the beads are completely removed from the chain, or that the chain's end caps do not contain any glued components. The chemical reaction creates a mild alkaline environment that can weaken vintage adhesives.
Sourcing Authentic Replacement Components
If your 90s necklace is missing its original threaded end caps or specific stopper beads, sourcing replacements requires navigating the secondary market. Because thread pitches from the 90s were largely proprietary to specific brands (like early Trollbeads or independent European silversmiths), modern generic beads often will not thread onto vintage chains securely.
Your best resources in 2026 include specialized vintage jewelry suppliers on platforms like Etsy, searching specifically for 'New Old Stock (NOS) 3.0mm threaded end caps.' Alternatively, a skilled bench jeweler can fabricate custom end caps using a lathe, cutting a male thread that perfectly matches the female thread of your original 90s barrel clasp. While custom fabrication costs upwards of $120, it is the only way to guarantee the structural security of a highly sentimental or rare piece.
2026 Styling: Modernizing the Nostalgic Silhouette
Once your add a bead necklace 90s piece is fully repaired and cleaned, the final step is integrating it into a contemporary 2026 wardrobe. The original 90s method of completely loading the chain with symmetrical beads now reads as dated and overly heavy. Modern styling relies on negative space and mixed metallurgy.
Asymmetrical Bead Placement
Instead of filling the chain, select just three to five of your most meaningful or visually striking vintage beads. Cluster them asymmetrically on one side of the chain, allowing the bare silver snake or box chain to drape freely on the other. This creates a dynamic, modern silhouette that highlights the individual craftsmanship of the 90s beads without overwhelming the neckline.
Mixed Metal Layering
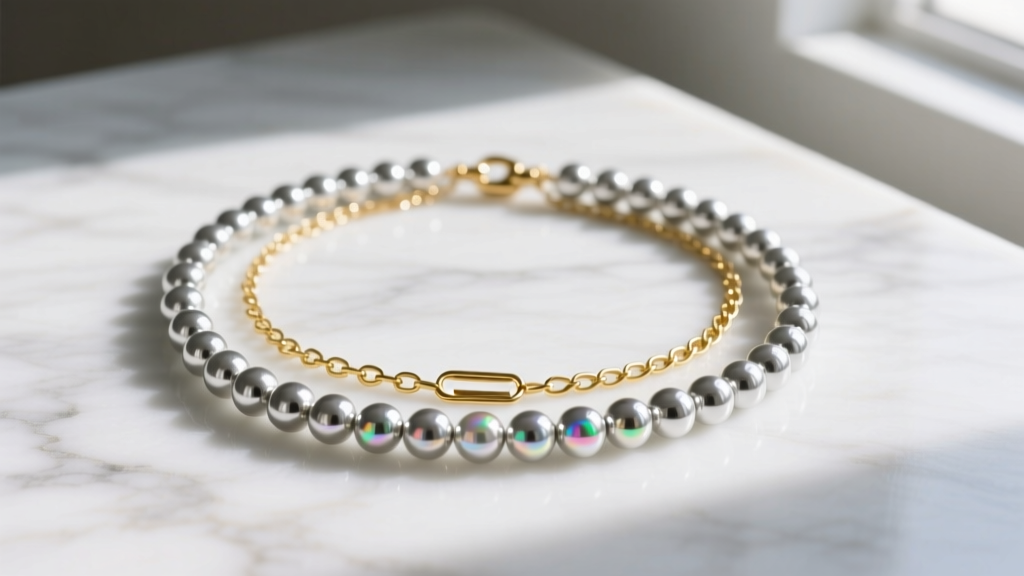
The strict 'match your metals' rule of the 1990s is entirely obsolete. Layer your repaired sterling silver bead necklace with a delicate 14k gold-filled paperclip chain (18 inches) and a minimalist rose gold cable chain (20 inches). The contrast between the heavy, nostalgic 90s silver beads and the ultra-modern, lightweight gold chains creates a curated, multi-generational aesthetic that defines the current jewelry zeitgeist. By applying these expert repair techniques and modern styling frameworks, you ensure your vintage modular necklace remains a wearable, secure, and stylish artifact for decades to come.
For further reading on the historical preservation of vintage jewelry alloys, consult the conservation resources provided by The Silver Institute, which offers extensive data on the long-term oxidation behaviors of late-20th-century sterling silver.


