Beyblade Necklace Repair: Fixing Chains, Bails & Paint
Is your favorite Beyblade necklace broken? Learn expert troubleshooting for snapped chains, detached bails, jammed spinners, and chipped die-cast paint.

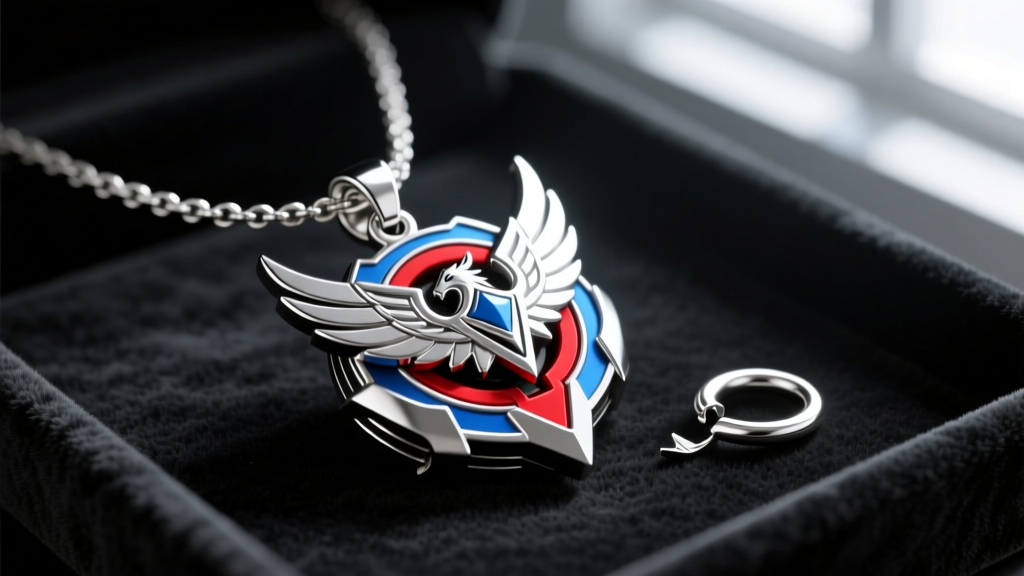
As of 2026, the secondary market for vintage 2000s anime merchandise has surged, turning nostalgic accessories into highly sought-after collector's items. Among the most popular of these is the beyblade necklace, featuring miniature die-cast replicas of iconic tops like Dragoon, Dranzer, and Storm Pegasus. However, whether you own an official Takara Tomy miniature or a custom-forged artisan piece, these pendants present unique structural challenges. The primary issue? A severe mismatch between the heavy mass of the pendant and the tensile limits of standard fashion chains.
If your favorite pendant has snapped its chain, lost its bail loop, or suffered chipped paint from daily wear, do not throw it away. This comprehensive troubleshooting guide will walk you through the metallurgy, mechanics, and jewelry repair techniques required to restore your beyblade necklace to its former glory.
The Core Engineering Flaw: Zamak vs. Tension
Most official die-cast anime merchandise pendants are manufactured using Zamak, a family of alloys with a base of zinc combined with aluminum, magnesium, and copper. While Zamak is excellent for capturing intricate details in miniature molds, it is notoriously brittle and possesses low shear strength. When a heavy Zamak pendant swings and catches on clothing, the sudden kinetic shock transfers directly to the bail (the loop connecting the pendant to the chain). Because the bail is often cast as a single, thin piece of the same brittle alloy, it snaps under lateral torque.
Furthermore, manufacturers frequently pair these heavy pendants with cheap, hollow-core alloy cable chains that cannot support the static weight, let alone dynamic movement. To properly troubleshoot and repair your necklace, we must first address the weight-to-chain ratio.
The Weight-to-Chain Ratio Matrix
Before attempting any bail repairs, you must upgrade the chain and jump rings. Standard 22-gauge fashion chains will inevitably fail. Refer to the matrix below to select the proper findings based on your specific pendant type. For high-quality jewelry components and heavy-duty chains, sourcing from professional suppliers like Rio Grande or Fire Mountain Gems is highly recommended over generic craft stores.
| Pendant Type | Avg Weight | Min Jump Ring Gauge | Recommended Chain Style |
|---|---|---|---|
| Official Mini Die-Cast (Zamak) | 15g - 25g | 18-Gauge (1.0mm) | Solid Curb or Mariner |
| Custom 3D Printed (Resin) | 5g - 12g | 20-Gauge (0.8mm) | Cable or Rope Chain |
| Full-Size Metal Mod / Artisan Cast | 40g - 70g | 16-Gauge (1.3mm) | Cuban Link or Wheat Chain |
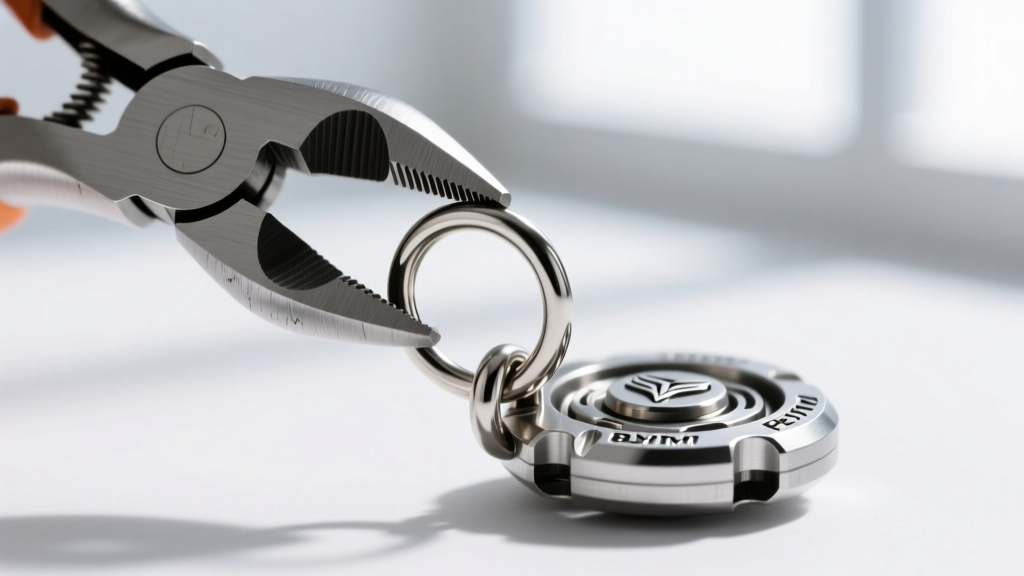
Pro-Tip: Always use soldered jump rings or heavy-duty split rings to connect the pendant to the chain. An unsoldered 18-gauge jump ring with a 5mm outer diameter provides an Aspect Ratio (AR) of roughly 4.9, which resists pulling apart under the pendulum motion of a heavy beyblade necklace.
Troubleshooting a Detached or Snapped Bail
If the bail loop has snapped flush against the top of the metal top, standard cyanoacrylate (superglue) will fail. Superglue lacks the shear strength and gap-filling properties required for porous Zamak alloys. Instead, you must use a mechanical bond reinforced with jewelry-grade epoxy.
The Micro-Pin Epoxy Method
To permanently reattach a broken bail or a replacement sterling silver bail loop, follow this structural repair protocol:
- Surface Preparation: Clean both the broken pendant surface and the new bail with 99% isopropyl alcohol to remove skin oils and oxidation. Lightly scuff the bonding areas with 400-grit sandpaper to create a mechanical key.
- Micro-Drilling: Using a Dremel rotary tool with a 0.8mm diamond core drill bit, carefully drill a shallow 2mm hole into the top center of the pendant, and a corresponding hole into the base of the replacement bail.
- Pin Insertion: Cut a 3mm piece of 20-gauge brass wire. This will act as your structural dowel.
- Epoxy Application: Mix a two-part jewelry epoxy (such as JB Weld ClearWeld). Coat the brass pin and insert it into the pendant hole. Apply a thin layer of epoxy to the mating surfaces and press the bail onto the pin.
- Curing: Secure the piece with a silicone putty mold or painter's tape and let it cure undisturbed for 24 hours. The brass pin absorbs lateral shock, preventing the brittle Zamak from taking the full force of the swing.
Fixing Jammed Bearings in Custom Spinner Pendants
The custom jewelry market has seen a massive influx of functional beyblade necklace pendants that actually spin on a central axis. Artisans often achieve this by embedding micro brass bushings or miniature 608ZZ stainless steel bearings into the metal core. Over time, these spinners jam.
The culprit is almost always a mixture of dead skin cells, sebum, and clothing lint that works its way into the bearing shield, mixing with the factory grease to form a thick sludge. Do not use WD-40. Standard lubricants will attract more dust and eventually ruin the finish of the pendant.
The Ultrasonic Fix: If you have access to a cheap ultrasonic jewelry cleaner, submerge the pendant (if it contains no painted parts or glued gemstones) in a solution of warm water and a drop of dish soap for 3 minutes. Rinse with distilled water and dry with compressed air. Once completely dry, apply a single micro-drop of synthetic watch oil (like Moebius 9010) to the bearing seam using a fine needle. Spin the pendant to distribute the oil. If you lack an ultrasonic cleaner, soaking the bearing mechanism in a bath of 99% isopropyl alcohol for 10 minutes, followed by compressed air, will dissolve the sebum buildup.
Restoring Chipped Paint on Die-Cast Merchandise
Official merchandise, particularly vintage releases from Takara Tomy, features hand-painted or pad-printed enamel details. Because these necklaces rest against the collarbone, the constant friction combined with the slightly acidic pH of human sweat causes the paint to flake and chip, exposing the raw, silvery Zamak underneath.
Enamel Matching and UV Sealing
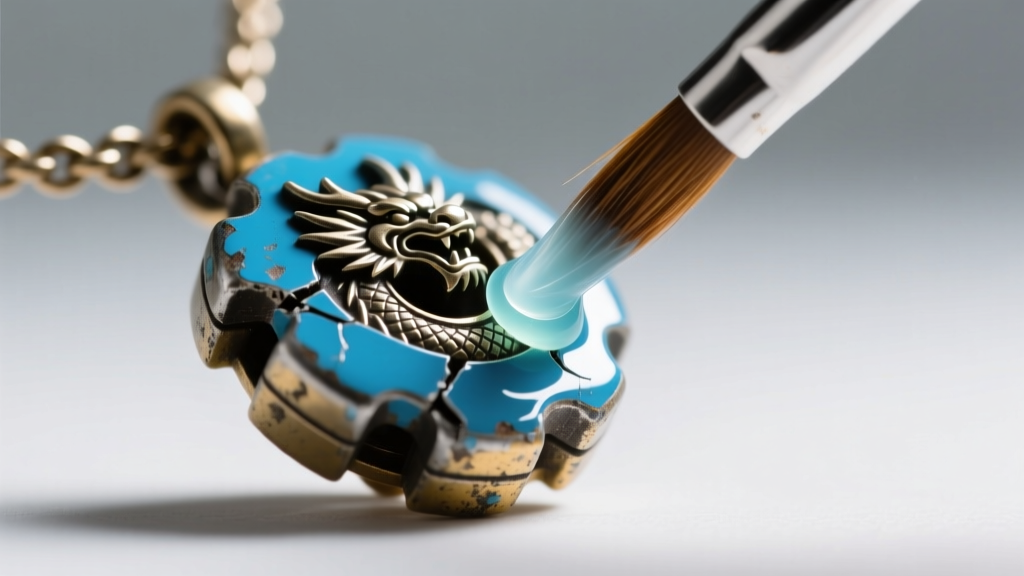
Standard acrylic craft paints will peel off metal within days. To properly restore the color blocking on your beyblade necklace, you must use hobby-grade enamels and a modern sealing technique.
- Color Matching: Tamiya X-series gloss enamels (commonly used for scale model painting) offer the most accurate color matches for anime merchandise. For example, Tamiya X-4 Blue is a near-perfect match for the core of a Dragoon pendant, while X-8 Lemon Yellow works for Pegasus accents.
- Application: Use a 0.5mm detail brush. Apply the enamel in two ultra-thin coats rather than one thick coat, allowing 4 hours of drying time between layers. Enamel paint bites into the microscopic pores of the Zamak alloy far better than acrylics.
- The UV Resin Seal: To protect the new paint from sweat and friction, you must seal it. Apply a microscopic layer of clear, jewelry-grade UV curing resin over the painted recesses. Use a 365nm UV flashlight to cure the resin in 60 seconds. This creates a hard, glass-like dome over the paint that is entirely impervious to skin acids and moisture.
Preventative Maintenance for Daily Wear
A restored beyblade necklace requires minimal but specific maintenance to survive daily wear. Always remove the pendant before showering; the sulfur compounds in hard water and harsh surfactants in body washes will rapidly degrade the clear coat and oxidize the base metal. Once a month, wipe the pendant down with a dry, lint-free microfiber cloth to remove sebum buildup from the crevices. By respecting the material limitations of Zamak and utilizing proper jewelry-making hardware, your nostalgic centerpiece will remain structurally sound and visually pristine for years to come.