How to Fix a Broken Chain Necklace: Expert Repair Guide
Learn how to diagnose and fix a broken chain necklace at home or with a pro. Expert tips on tools, soldering, and preventing future breaks.

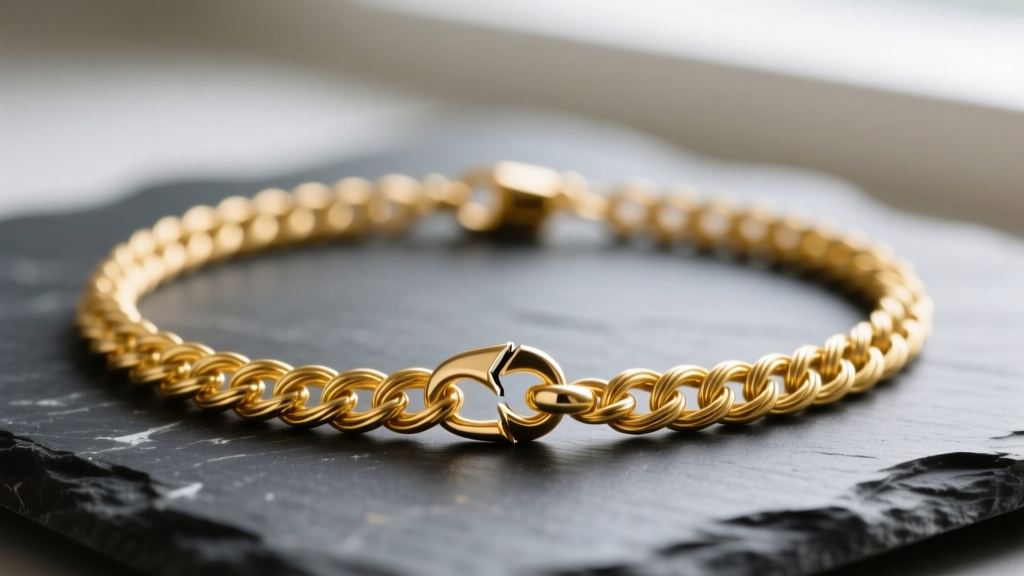
There are few things more frustrating in jewelry care than reaching for your favorite piece only to discover a broken chain necklace. Whether it is a delicate 14k gold cable chain that snapped under the weight of a pendant, or a thick sterling silver Cuban link that caught on a sweater, chain failure is a universal jewelry experience. However, a snapped chain is rarely a death sentence for your piece. With the right metallurgical understanding, proper tools, and technique, many breaks can be addressed at home, while others require specific professional interventions.
In this comprehensive guide, we will explore the mechanical reasons chains fail, the exact tools required for repair, and the preventative maintenance protocols necessary to ensure your necklaces withstand daily tensile stress.
Diagnosing the Break: Where and Why Chains Fail
Before attempting any repair, it is crucial to understand the anatomy of the break. According to industry repair data, chain failures are not random; they cluster around specific stress points. Understanding these points helps you determine whether a DIY fix is viable or if the structural integrity of the metal has been compromised.
- The Jump Ring (60% of breaks): The small circular ring connecting the chain to the clasp is the most common failure point. Over time, the lateral tension of putting the necklace on and off causes the jump ring to slowly pull apart, especially if it was never properly soldered shut by the manufacturer.
- The Clasp Mechanism (25% of breaks): Lobster claws and spring rings contain internal steel springs that can rust or fail, or the external lever can snap off entirely due to metal fatigue.
- Mid-Chain Link Fracture (15% of breaks): This usually occurs due to sudden snagging (tensile shock) or prolonged 'work hardening,' where the metal alloy becomes brittle from years of bending and friction against the skin and clothing.
Essential Tools for Chain Necklace Repair
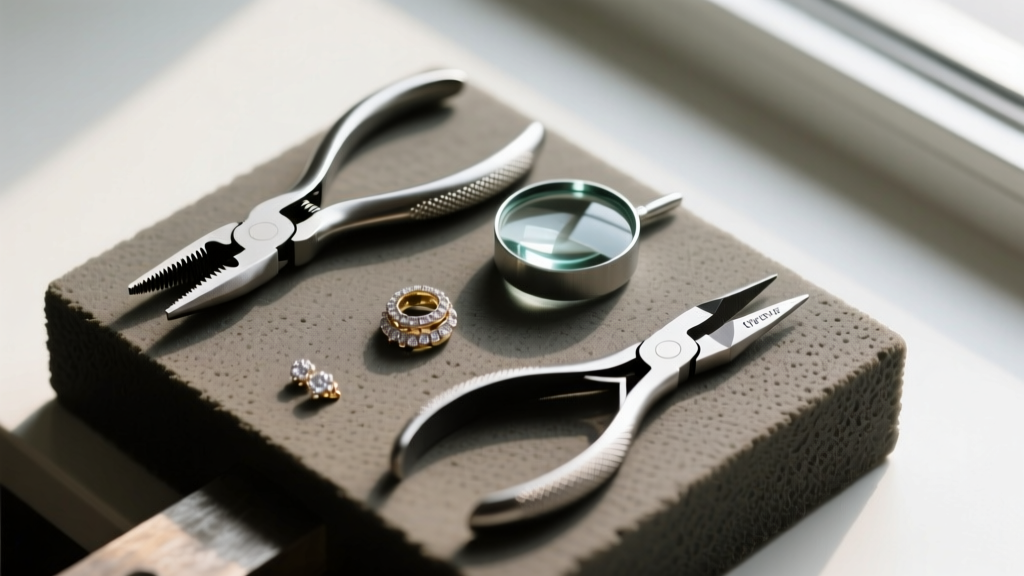
Attempting to fix a broken chain necklace with standard household pliers is a guaranteed way to mar the metal, crush delicate links, and ruin the finish. Professional jewelers rely on precision instruments designed to manipulate precious metals without leaving tool marks.
| Tool | Primary Purpose | Expert Specification |
|---|---|---|
| Flat-Nose Pliers | Gripping and closing jump rings | Must be completely smooth-jawed (no serrations) to prevent scratching 14k/18k gold. |
| Chain-Nose Pliers | Reaching into tight, intricate links | Tapered tips for manipulating micro-chains (under 1.2mm gauge). |
| Jeweler's Loupe | Inspecting link integrity and solder seams | 10x or 20x magnification; triplet lens to avoid edge distortion. |
| Flush Cutters | Removing damaged links cleanly | Micro-flush cutters capable of snipping 20-gauge wire without leaving a sharp burr. |
For sourcing high-quality, jewelry-specific hand tools, professionals frequently rely on specialized suppliers like Rio Grande, which provides the exact grades of pliers and cutters used in commercial bench jewelry.
Step-by-Step Guide: Fixing a Broken Chain Necklace
Scenario A: The Open Jump Ring or Clasp Failure
If your chain simply detached from the clasp, the jump ring has likely ovalized. Never pull a jump ring apart laterally (like opening a book). This permanently distorts the circle, weakens the metal at the apex, and creates a gap that will inevitably catch on your clothing again.
- Secure one side of the jump ring with your flat-nose pliers.
- Grip the opposite side with your chain-nose pliers.
- Apply a gentle twisting motion, pushing one end toward you and pulling the other away. This opens the ring while maintaining its perfect circular geometry.
- Slide the chain and clasp back onto the ring.
- Twist the ends back together until you feel a slight 'click' or friction bump, indicating the two ends are perfectly flush.
Scenario B: The Snapped Mid-Chain Link
If the break is in the middle of a cable, curb, or Figaro chain, the repair complexity increases exponentially.
The Cold Repair (Wire Wrapping): For base metals, gold-filled chains, or costume jewelry that cannot be exposed to high heat, you can use a spool of 24-gauge dead-soft wire to bind the broken links together. While this restores function, it creates a visible, stiff node that ruins the fluid drape of the necklace. This is strictly a temporary, utilitarian fix.
The Soldered Repair: For solid 14k or 18k gold, sterling silver, and platinum, soldering is the only acceptable repair. This requires a jeweler's torch, flux (like borax), and appropriately graded solder (easy, medium, or hard). The broken link is carefully aligned, fluxed, and heated until the solder flows into the microscopic seam via capillary action. Afterward, the link is pickled in an acid bath to remove oxidation. Because matching the exact karat and color of the solder to the chain is notoriously difficult for amateurs, mid-chain breaks are best left to professionals.
Material Limitations: What Cannot Be Soldered?
Not all metals react to heat equally. When dealing with a broken chain necklace, the material composition dictates the repair methodology. The Gemological Institute of America (GIA) outlines specific thermal properties of jewelry metals that every owner should understand before applying heat.
- Gold-Filled and Vermeil: These chains consist of a brass or sterling silver core with a thick outer layer of gold mechanically bonded or electroplated. Torch soldering will instantly burn or melt the outer gold layer, exposing the base metal underneath and ruining the piece. These require laser welding or cold connections.
- Platinum: Platinum has an exceptionally high melting point (approx. 3,215°F / 1,768°C). Traditional torch soldering can easily warp delicate platinum links. Professional jewelers use laser welders to repair platinum chains, as the laser targets a microscopic area without transferring ambient heat to the surrounding links.
- White Gold: White gold is naturally yellowish and plated with rhodium to achieve a bright white finish. Soldering a white gold chain will burn off the rhodium plating at the repair site, requiring the entire necklace to be re-plated after the fix to ensure color uniformity.
Preventative Maintenance: Stop Breaks Before They Happen
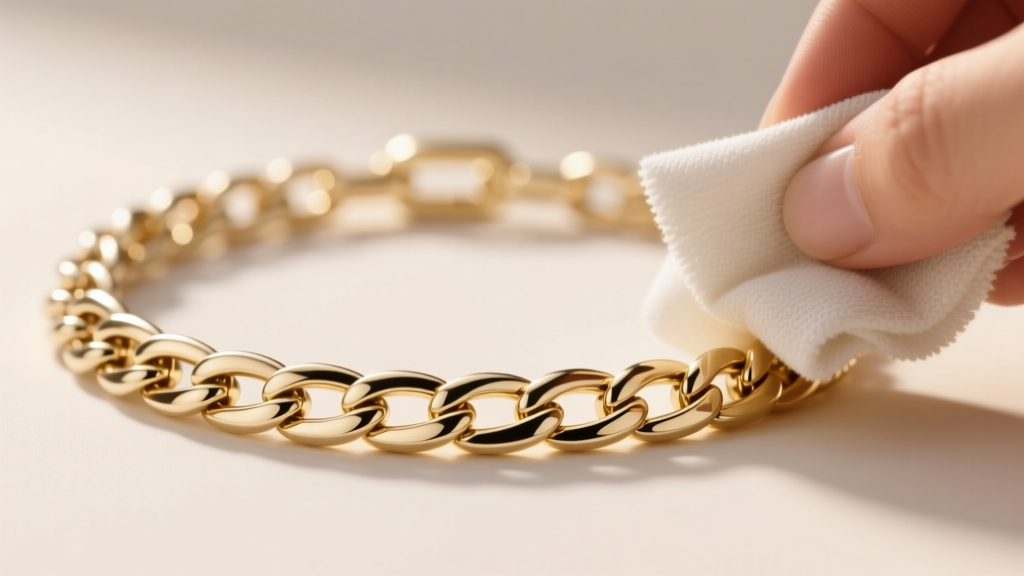
The most effective way to handle a broken chain necklace is to prevent the structural failure from occurring in the first place. Implementing a strict care regimen will extend the lifespan of your chains by decades.
The Pendant-to-Chain Weight Ratio
A primary cause of mid-chain snapping is an improper weight ratio. As a strict rule of thumb, your pendant should never weigh more than 25% of the chain's total weight. If you are hanging a heavy 15-gram gemstone pendant, you must use a chain with a minimum thickness of 2.5mm to 3.0mm (such as a solid wheat or rope chain) to distribute the tensile load. Hanging heavy pendants on 1.0mm box chains guarantees eventual link deformation and failure.
Chemical and Environmental Hazards
Chlorine is the ultimate enemy of gold alloys. According to care guidelines from Jewelers of America, exposing 14k or 18k gold chains to chlorinated pool water or harsh household bleach causes a chemical reaction that attacks the copper and zinc alloys within the gold. This leads to 'stress corrosion cracking,' where the links become incredibly brittle and shatter under minimal pressure. Always remove your necklaces before swimming or cleaning.
The Slide Test and Storage
Once a month, perform the 'Slide Test.' Run your fingers gently along the entire length of the chain, paying special attention to the links nearest the clasp. If you feel any sharp edges, kinks, or notice that a link feels oval rather than round, the metal is fatigued and requires immediate professional tightening before it snaps. Furthermore, never store multiple chains tangled together in a single jewelry box drawer; the friction of gold links rubbing against one another acts like microscopic sandpaper, slowly wearing away the metal at the friction points.
When to Seek Professional Jeweler Intervention
While closing a jump ring is a safe DIY task, you should immediately take your broken chain necklace to a certified bench jeweler if:
- The break occurs on a hollow-core chain (like many thick, lightweight Cuban links). These are nearly impossible to solder without collapsing the hollow tube.
- The chain features integrated gemstone stations. Heat from soldering can shatter heat-sensitive stones like opals, emeralds, or tanzanite.
- The metal is titanium or tungsten. These metals cannot be traditionally soldered and require specialized argon-arc or laser welding equipment.
Cost Expectations: A standard jump ring replacement or simple solder on a solid gold chain typically ranges from $35 to $65. However, laser welding for platinum, gold-filled chains, or intricate micro-pave link repairs can range from $95 to $175, reflecting the advanced technology and precision required to save the piece without compromising its aesthetic integrity.


