How to Fix a Necklace That Broke: DIY Kits vs Pro Repair Guide
Learn how to fix a necklace that broke with our expert buying guide. Compare DIY repair kits, professional jeweler costs, and upgraded chain findings.

The Anatomy of a Broken Necklace
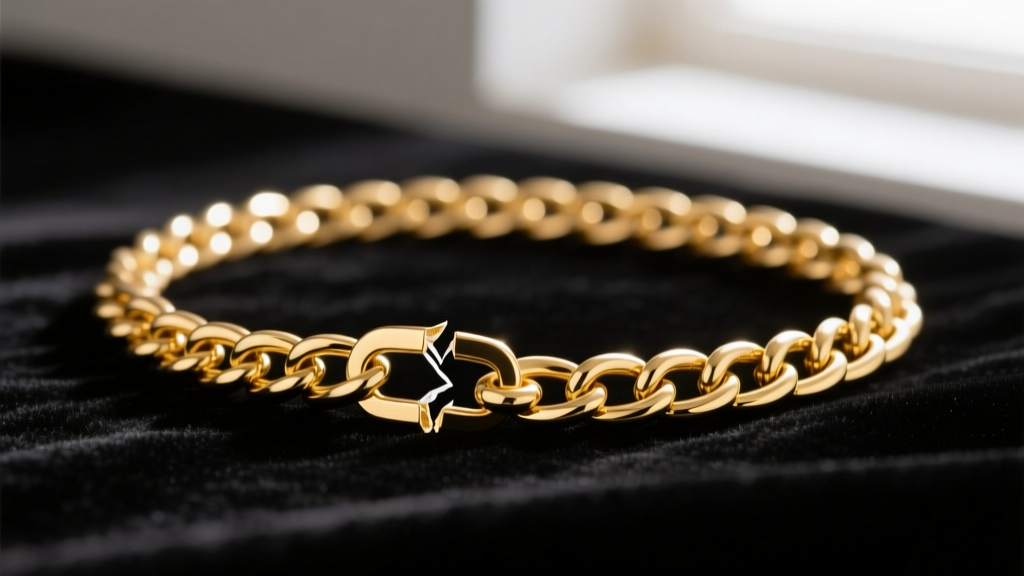
There are few things more frustrating in jewelry ownership than the sudden, weightless sensation of a snapped chain. Whether it is a delicate 14k gold pendant necklace or a heavy sterling silver curb chain, understanding how to fix a necklace that broke starts with diagnosing the exact point of failure. Necklaces rarely break at random; they fail at specific stress points due to metal fatigue, improper gauge sizing, or manufacturing defects. Before you invest in a repair kit or book a bench jeweler, you must assess the damage to determine the most cost-effective and structurally sound solution.
According to the Gemological Institute of America (GIA), regular inspection of your jewelry's findings and links is the best way to prevent catastrophic loss. But when prevention fails, knowing what to look for in repair services and replacement components is critical. This guide breaks down the decision-making process between at-home fixes and professional bench work, complete with pricing expectations and tool recommendations for 2026.
Diagnosing the Break: Where Did It Fail?
The location of the break dictates your repair strategy. Necklaces typically fail in one of three areas:
- The Jump Ring: The small circular ring connecting the clasp to the chain or the pendant to the chain. If this pulls apart, it is usually a gauge issue. Standard commercial jump rings are often 22-gauge (0.64mm), which is too thin for pendants weighing more than 3 grams.
- The Clasp: Spring ring clasps contain a tiny internal steel spring that degrades, rusts, or snaps over time. Lobster clasps are more durable but can suffer from lever fatigue.
- Mid-Chain: A break in the middle of the chain is usually caused by snagging on clothing or hair. This is common in delicate styles like snake chains, herringbone, and fine box chains.
DIY vs. Professional Repair: The Decision Matrix
Not every break requires a professional, but attempting a DIY fix on the wrong chain type can ruin the piece entirely. Use this matrix to decide your next step.
| Break Location | Chain Type | DIY Feasibility | Estimated Pro Cost | Recommended Action |
|---|---|---|---|---|
| Open Jump Ring | Any | High (Easy) | $15 - $25 | DIY with nylon-jaw pliers |
| Broken Spring Ring | Any | Medium | $25 - $40 | Replace clasp (DIY or Pro) |
| Mid-Chain Snap | Cable, Rolo, Curb | Low (Requires Soldering) | $35 - $60 | Pro Torch Soldering |
| Mid-Chain Snap | Snake, Herringbone, Box | Impossible | $75 - $150+ | Pro Laser Welding |
Buying the Right DIY Jewelry Repair Kit
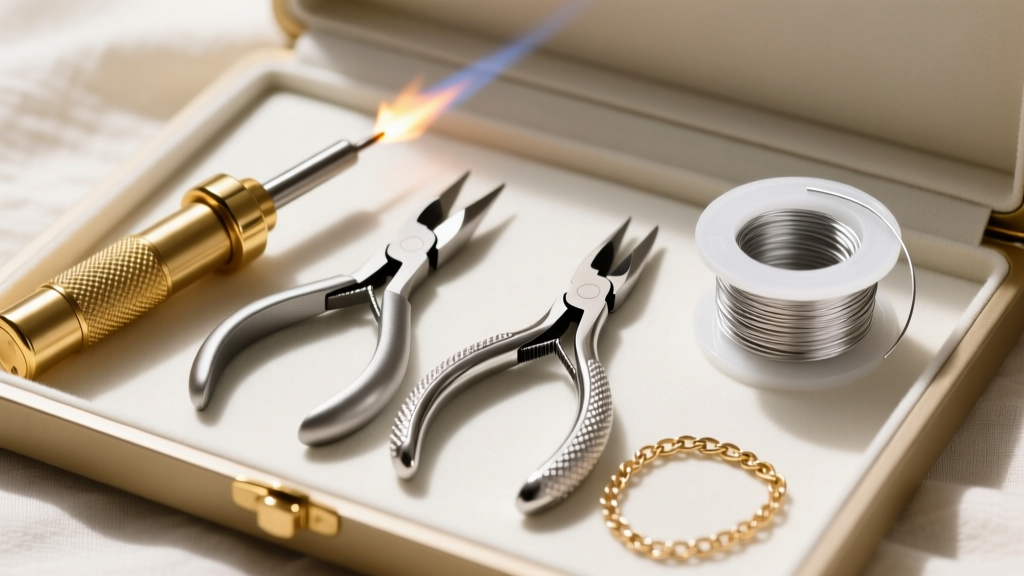
If your necklace broke at an unsoldered jump ring or you need to swap out a faulty clasp, a DIY approach is highly effective. However, the market is flooded with cheap, soft-steel jewelry kits that will mar your precious metals. When shopping for a repair kit, ignore the plastic-box sets and invest in individual, high-quality bench tools.
Essential Tools for At-Home Fixes
- Nylon-Jaw Pliers: Standard steel pliers will leave deep scratches on 14k gold and sterling silver. Brands like Wubbers or PepeTools offer nylon-jaw pliers that grip firmly without marring the metal finish.
- Chain-Nose Pliers: You need two pairs of smooth-jaw chain-nose pliers to properly open and close a jump ring. Never pull a jump ring apart laterally; always twist the ends in opposite directions (one toward you, one away) to maintain the perfect circle.
- Flush Cutters: For trimming excess wire or removing damaged links. Look for carbon steel cutters with a flat back to ensure a perfectly flush cut.
Upgrading Your Findings
If you are repairing a broken connection, do not reuse the damaged component. Buy upgraded findings to prevent a recurrence. Swap out 22-gauge jump rings for 18-gauge (1.02mm) or 20-gauge (0.81mm) options. For heavy pendants, consider buying split rings (which look like miniature keychains) or soldered jump rings, which are fused shut at the factory and physically cannot be pulled apart.
Hiring a Professional Jeweler: What to Look For
When a chain snaps mid-link, or if you are dealing with a complex weave like a Byzantine or wheat chain, you need a professional bench jeweler. But not all repair methods are created equal. When you drop off your necklace, you must ask whether they use torch soldering or laser welding.
Torch Soldering vs. Laser Welding
Torch Soldering ($35 - $60): The traditional method uses a micro-torch and a filler metal (solder) that melts at a lower temperature than the chain itself. This is ideal for standard gold and silver cable chains. However, if the break is near a heat-sensitive gemstone (like an opal, emerald, or turquoise), the ambient heat from a torch can fracture the stone.
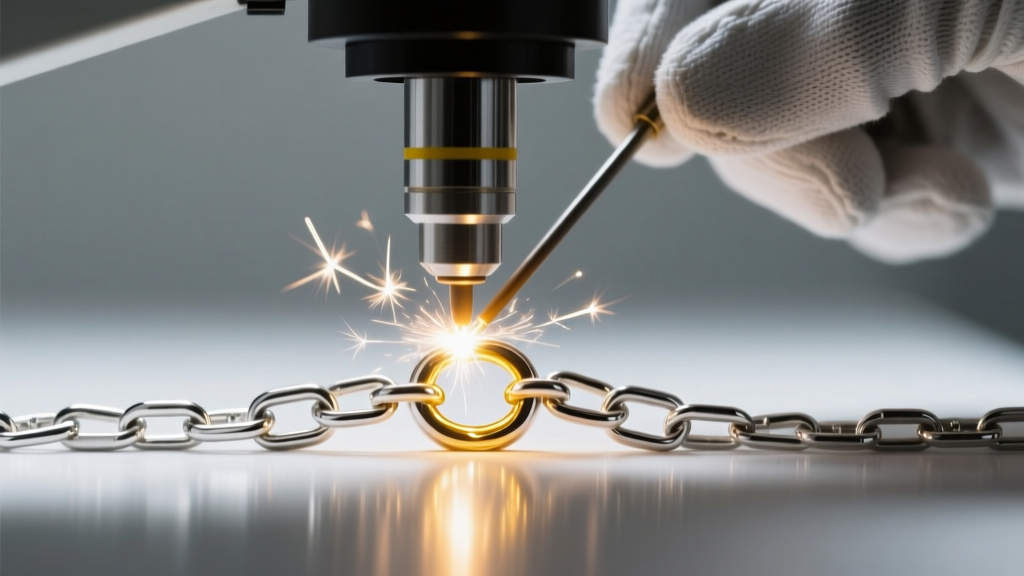
Laser Welding ($75 - $150+): A laser welder uses a concentrated beam of light to fuse metal at a microscopic level without transferring ambient heat to the surrounding area. According to the Jewelers of America, finding a certified jeweler with laser welding capabilities is essential for repairing platinum chains, titanium pieces, or any necklace featuring heat-sensitive stones. Laser welding is also the only viable way to repair flat chains like herringbone without leaving a highly visible, stiff 'dead' spot in the drape of the metal.
Preventing Future Breaks: Chain Styles and Maintenance
The best way to handle a broken necklace is to buy chains that are engineered to withstand daily wear. If you are replacing a broken chain entirely, pay close attention to the structural integrity of the weave.
Most Durable Chain Styles
- Wheat Chains: Featuring interlocking oval links woven in the same direction, wheat chains are incredibly resistant to snagging and pulling.
- Cable and Rolo Chains: The classic uniform links are easy to repair and distribute tension evenly across the necklace.
- Mariner/Curb Chains: Thick, interlocking links that lay flat and offer immense tensile strength, perfect for heavy medallions or cross pendants.
Styles to Avoid for Heavy Pendants
- Snake Chains: These are essentially continuous metal tubes. They kink easily, trap moisture (leading to skin discoloration), and are notoriously difficult to solder seamlessly.
- Herringbone Chains: Beautiful and liquid-like, but a single bent link ruins the entire chain's aesthetic. They are strictly for occasional, pendant-free wear.
Final Checklist for Necklace Repair
Before you finalize your repair strategy, run through this quick checklist to ensure your necklace remains secure for years to come:
- Inspect the clasp: Upgrade spring rings to lobster clasps for better security.
- Check the jump rings: Ensure they are at least 20-gauge and properly closed.
- Consider a safety chain: For high-value pendants, buy a secondary security chain that connects the clasp to the main loop.
- Clean before storing: Body oils and lotions degrade the internal springs of clasps over time. Wash your chains with mild dish soap and a soft brush monthly.
By understanding the mechanics of your jewelry and investing in the right tools or professional services, you can easily salvage your favorite pieces and ensure they remain a staple in your collection for decades.