How to Fix a Broken Kate Spade Pendant Necklace Clasp & Chain
Learn how to troubleshoot, clean, and repair your Kate Spade pendant necklace. Expert fixes for broken clasps, green skin, and chipped enamel.

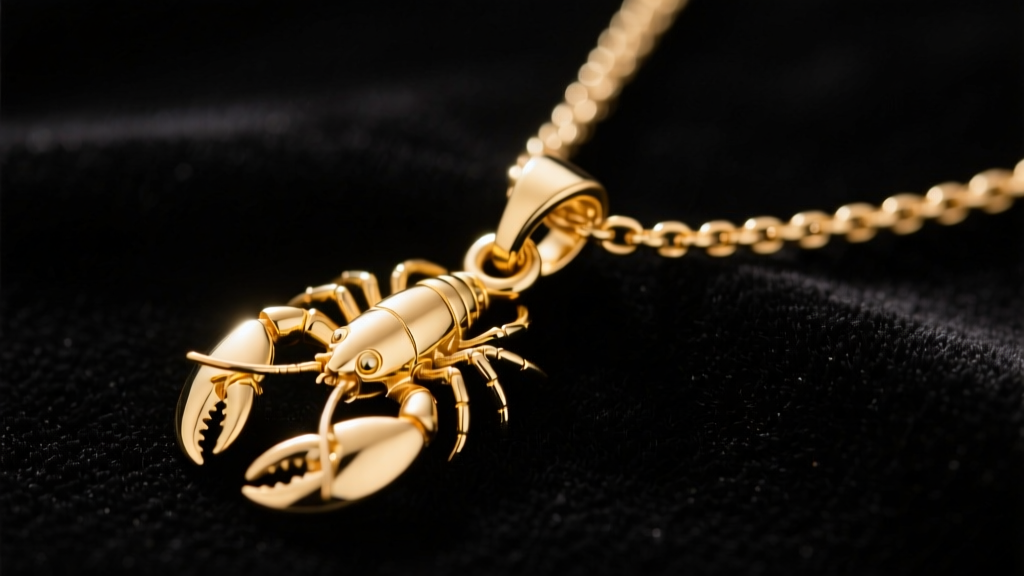
Kate Spade pendant necklaces are beloved for their whimsical designs, signature spade motifs, and versatile layering potential. However, like most fashion jewelry, they are subject to wear and tear. Whether your favorite initial pendant has detached from its chain, the gold plating is tarnishing, or the lobster clasp has lost its spring, troubleshooting these issues requires an understanding of the materials involved. In this comprehensive repair guide, we break down the exact anatomy of a Kate Spade pendant necklace and provide professional, actionable solutions to restore your jewelry to its original glory.
The Anatomy of a Kate Spade Pendant Necklace
Before attempting any repairs, it is crucial to understand what your jewelry is actually made of. According to the Federal Trade Commission (FTC) Jewelry Guides, fashion jewelry must accurately disclose its metal content. Kate Spade necklaces typically feature a base metal of brass (an alloy of copper and zinc) or, less commonly, sterling silver.
Plating and Enamel Specifics
The gold or rose-gold finish is achieved through electroplating. Standard fashion jewelry plating is usually between 0.1 and 0.5 microns thick. This thin layer is beautiful but highly susceptible to friction and chemical erosion. Furthermore, the vibrant colors on many Kate Spade pendants are achieved using "cold enamel" (an epoxy-based resin), rather than traditional vitreous enamel (fused glass). Cold enamel cures at room temperature, meaning it is highly sensitive to heat, acetone, and ultrasonic cleaners. Knowing this prevents catastrophic mistakes during the cleaning and repair process.
Troubleshooting the "Green Skin" Reaction
One of the most common complaints with brass-based fashion jewelry is the green or black discoloration left on the skin. This is not an allergic reaction, but rather a chemical oxidation process. The copper in the brass base reacts with the acids, salts, and moisture in your sweat, creating copper chloride.
- The Barrier Method (Quick Fix): Apply a thin coat of clear polyurethane or clear nail polish to the back of the pendant and the inside of the clasp. This creates a physical barrier between the copper and your skin. Reapply every few weeks as the polish wears off from friction.
- The Rhodium Plating Method (Permanent Fix): Take the necklace to a local bench jeweler and request a rhodium flash. Rhodium is a hypoallergenic, tarnish-resistant platinum group metal. A jeweler can plate the brass base with a thick layer of rhodium, permanently sealing the copper and eliminating the green skin reaction.
- Daily Maintenance: Wipe the necklace down with a dry, lint-free microfiber cloth immediately after wearing it to remove acidic sweat and lotions before they can eat through the 0.5-micron gold plating.
Fixing Broken Clasps and Detached Jump Rings
The weakest point on any Kate Spade pendant necklace is the jump ring connecting the pendant to the chain, or the jump ring attaching the chain to the lobster clasp. These are typically 18-gauge or 20-gauge brass rings. If your pendant has fallen off, it is likely because the jump ring was "butt-cut" (a straight cut with no solder) and the metal fatigued, causing it to pull apart.
How to Properly Close a Pull-Apart Jump Ring
Never pull a jump ring open by widening the circle into an oval; this permanently distorts the metal and weakens it. Instead, use two pairs of flat-nose pliers to grip the ring on either side of the cut. Twist one hand toward you and the other away from you (laterally). To close it, twist it back until the ends align perfectly, then apply a slight inward pressure to ensure a flush, gapless seal. For a permanent fix, replace the standard jump ring with a soldered closed ring or a micro split-ring, which functions like a miniature keyring and physically cannot pull apart.
Replacement Parts Sizing Chart
If your lobster clasp has lost its internal spring or the lever has snapped, you will need to source replacement findings. The Rio Grande Jewelry Supply catalog is an excellent reference for matching these exact specifications.
| Component | Standard Kate Spade Spec | Replacement Recommendation |
|---|---|---|
| Lobster Clasp | 10mm or 12mm Brass | 12mm Gold-Plated Brass with Soldered Closed Catch Ring |
| Pendant Jump Ring | 18-Gauge (1.0mm wire), 4mm OD | 18-Gauge Soldered Closed Ring or 10mm Micro Split Ring |
| Chain Type | 1.2mm to 1.5mm Cable Chain | 1.5mm Gold-Plated Brass Cable (ensure links are soldered) |
Restoring Tarnished Plating and Chipped Enamel
Cleaning a Kate Spade pendant requires a delicate touch. Because the gold plating is microscopic and the enamel is epoxy-based, harsh chemicals and abrasive polishes will strip the finish entirely.
The Safe Cleaning Protocol
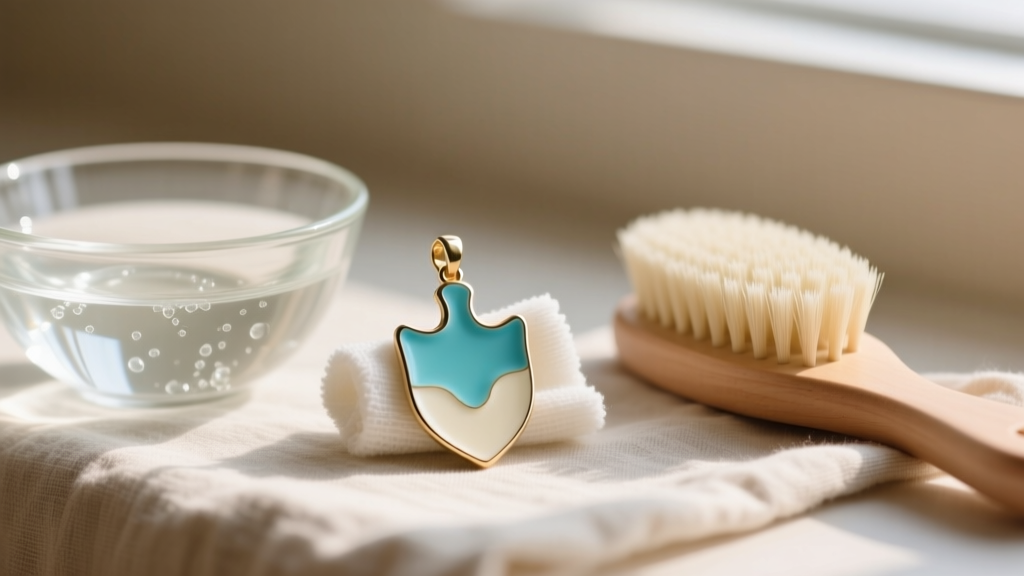
The Gemological Institute of America (GIA) recommends using only mild, phosphate-free dish soap and lukewarm water for plated jewelry. Mix a few drops of soap into a bowl of lukewarm (never hot) water. Submerge the necklace for no more than three minutes. Use a baby-hair brush or an extra-soft makeup brush to gently agitate dirt from the crevices of the spade motif. Rinse under a gentle stream of distilled water to prevent hard water spots, and pat dry immediately with a microfiber cloth.
Pro-Troubleshooting Warning: Never use silver dip, ammonia, baking soda paste, or toothpaste on a Kate Spade necklace. These abrasives and chemicals will instantly dissolve the cold enamel and strip the gold flash plating down to the raw brass base.
Dealing with Chipped Cold Enamel
If the black or colorful enamel on your pendant has chipped, it cannot be "melted" back into place. For a DIY fix, you can use a high-quality, jewelry-grade epoxy resin tinted with mica powder to match the original color. Apply it with a fine-tipped needle, let it self-level, and cure it under a UV lamp if using UV resin. For high-sentiment pieces, a professional jeweler can carefully drill out the remaining epoxy and cast a new vitreous enamel fill, though this is often cost-prohibitive for fashion jewelry.
Untangling Micro-Knots in Delicate Cable Chains
Kate Spade's delicate 1.2mm cable chains are notorious for tangling, especially when layered. Do not pull the knot tight. Lay the necklace flat on a smooth surface. Apply a tiny drop of baby oil or a dusting of talcum powder directly to the center of the knot to lubricate the brass links. Use two fine sewing needles to gently pick the center link of the knot outward, working from the inside out. Once untangled, wash the chain using the safe cleaning protocol mentioned above to remove the oil.
Repair Cost and Decision Matrix
When deciding how to handle a broken Kate Spade pendant necklace, weigh the sentimental value against the financial cost of repair. Use the matrix below to guide your decision.
| Issue | DIY Fix Cost | Local Jeweler Cost | Best Course of Action |
|---|---|---|---|
| Detached Jump Ring | $0 (Reuse existing) | $15 - $25 | DIY (if you have pliers) or Jeweler for a soldered ring. |
| Broken Lobster Clasp | $5 - $10 (Buy part) | $25 - $40 | Jeweler (requires soldering the new clasp to the chain). |
| Severe Plating Loss | N/A | $45 - $80 (Replating) | Jeweler (Gold or Rhodium electroplating). |
| Chipped Enamel | $15 (Epoxy kit) | $100+ (Custom fill) | DIY Epoxy or retire the piece (professional is too costly). |
Final Thoughts on Fashion Jewelry Maintenance
A Kate Spade pendant necklace is a fantastic accessory, but it requires proactive care to survive daily wear. By understanding the limitations of brass-based, flash-plated jewelry, you can avoid the harsh chemicals and mechanical stresses that lead to premature failure. Keep your necklaces stored individually in anti-tarnish flannel pouches to prevent the chains from scratching the soft gold plating and tangling with other pieces. When a clasp breaks or a jump ring pulls apart, resist the urge to use superglue—glue will ruin the brass and make professional soldering impossible later. Instead, rely on proper jewelry findings, lateral jump-ring manipulation, and gentle cleaning techniques to keep your favorite pendants shining for years to come.


