Master the Slip Knot for Necklace: Troubleshooting & Fixes
Learn how to tie, adjust, and troubleshoot a slip knot for necklace cords. Fix sliding, fraying, and stuck knots with our expert jewelry guide.

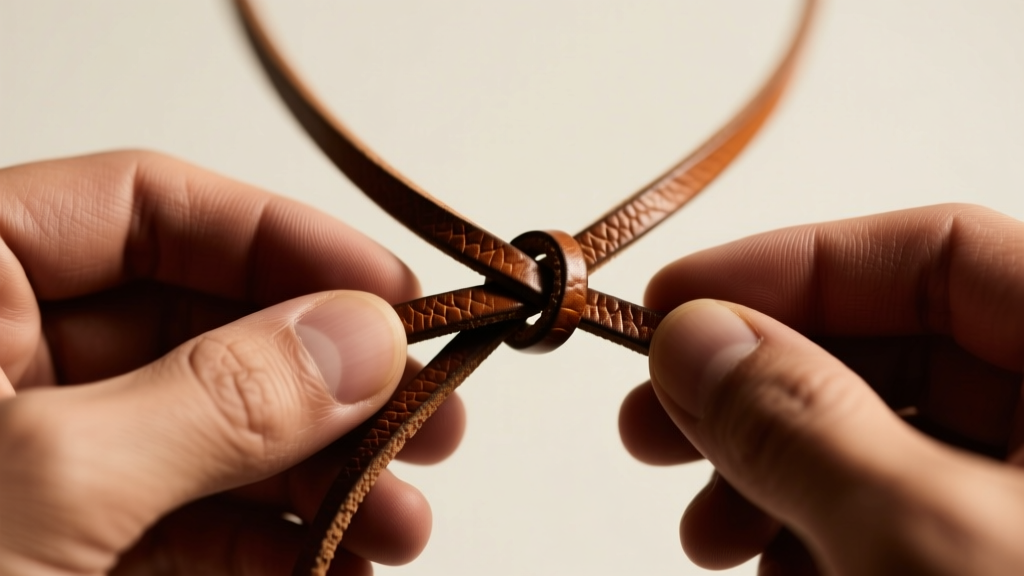
The Anatomy of a Perfect Adjustable Necklace Knot
When crafting, repairing, or simply wearing adjustable jewelry, mastering the slip knot for necklace cords is an essential skill that bridges the gap between amateur crafting and professional jewelry design. An adjustable sliding knot relies entirely on the physics of friction. When executed correctly, it allows the wearer to seamlessly modify the length of a pendant or choker without the need for bulky metal clasps, jump rings, or extender chains. However, when the mechanics fail, the results are incredibly frustrating: the knot either jams completely, refusing to slide, or it slips open under the weight of the pendant, risking the loss of a cherished piece.
At Jewel Style Radar, we frequently receive questions from DIY jewelers and collectors about why their adjustable cords fail. The truth is that a slipping or jammed knot is rarely a result of poor tying technique alone; it is usually a mismatch between the cord material, the cord diameter, and the environmental factors affecting the jewelry. In this comprehensive troubleshooting guide, we will dissect the most common failures associated with adjustable necklace knots and provide actionable, expert-level solutions to ensure your jewelry stays secure and functional.
Common Slip Knot Failures (And Why They Happen)
Before you can fix a problematic slip knot for necklace adjustments, you must diagnose the specific point of failure. Adjustable knots generally suffer from three distinct issues.
1. The "Stuck" Knot (Friction Overload)
If your knot refuses to slide along the base cord, you are dealing with friction overload. This happens when the coefficient of friction between the wrapping cord and the base cord is too high. Common culprits include using rough hemp cords, accumulated skin oils and lotions, or microscopic debris trapped within the knot’s core. Over time, natural fibers like cotton and linen absorb moisture and swell, effectively locking the knot in place.
2. The "Slip-Through" Knot (Lack of Grip)
Conversely, a knot that constantly unravels or slides open lacks sufficient grip. This is notoriously common with highly polished materials such as satin silk, microfiber, or tightly braided nylon. If the pendant is heavy (over 15 grams), gravity will easily overcome the minimal surface friction of these slick materials, causing the necklace to slowly lengthen until it falls off.
3. Cord Fraying and Breakage at the Bend Radius
Leather and suede cords are particularly susceptible to structural failure at the knot site. Every material has a minimum bend radius—the tightest curve it can withstand before the outer fibers begin to crack and snap. If you tie a tight sliding knot on a thick (3mm+) rigid leather cord, the repeated stress of sliding will eventually cause the cord to snap right at the knot’s edge.
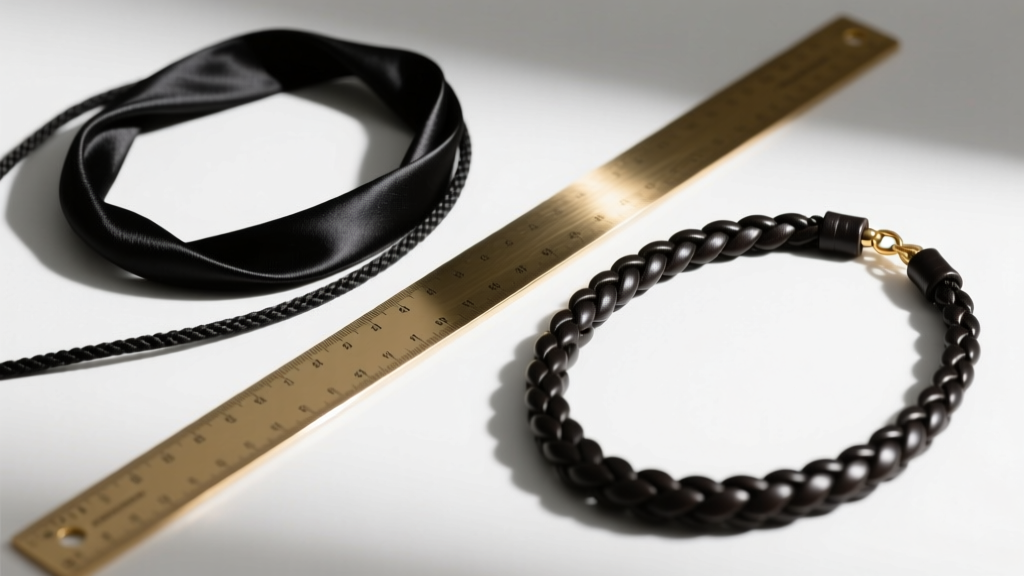
The Physics of Cord Friction and Material Selection
To troubleshoot effectively, you must understand how different materials interact. According to leatherworking authorities at Tandy Leather, round leather cords possess a smooth exterior that reduces surface grip, meaning knots tied with them require a specific wrapping technique to maintain tension. On the other hand, waxed cotton provides excellent natural grip but is highly susceptible to humidity.
When selecting a cord for a sliding knot, the ideal diameter ranges between 1.0mm and 2.0mm. Anything thinner than 0.8mm lacks the structural integrity to hold a bulky knot, while anything thicker than 2.5mm creates a bend radius that is too large, resulting in an unsightly, bulky knot that resists sliding.
Material Compatibility Matrix: Cord vs. Knot Type
Use the following data table to match your cord material with the correct knotting strategy and troubleshooting fix. This matrix is based on extensive wear-testing across various jewelry environments.
| Cord Material | Ideal Diameter | Best Sliding Knot | Friction Level | Troubleshooting Fix |
|---|---|---|---|---|
| Waxed Cotton | 1.0mm - 1.5mm | Macrame Square Knot | High | Apply a micro-dab of beeswax to reduce sticking. |
| Round Leather | 1.5mm - 2.0mm | Lark’s Head Slider | Medium | Condition with mink oil to prevent cracking and ease sliding. |
| Braided Nylon / Paracord | 1.5mm - 2.0mm | Double Wrap Sliding Knot | Medium-High | Melt the ends with a precision lighter to prevent fraying. |
| Satin Silk | 0.8mm - 1.2mm | Snake Knot | Very Low | Use a drop of G-S Hypo Cement on the knot tails to lock it. |
| Hemp / Jute | 1.0mm - 1.5mm | Barrel Knot | Very High | Avoid for adjustable sliders; use for fixed-length ties only. |
Step-by-Step Troubleshooting: Fixing Your Slip Knot for Necklace Cords
If your current necklace knot is failing, do not simply pull harder or retie it blindly. Follow this systematic approach to restore functionality, drawing on best practices recommended by jewelry supply experts at Fire Mountain Gems.
Step 1: Safely Untying a Jammed Knot
Never use metal pliers to force a jammed fiber knot, as the serrated jaws will instantly sever the cord. Instead, use a pair of smooth-jawed nylon pliers or simply roll the knot firmly between your thumb and index finger against a hard, flat surface. This rolling motion breaks the internal friction lock and loosens the core wraps, allowing you to gently tease the cord apart with a blunt tapestry needle.
Step 2: Re-Tying with Proper Tension
When re-tying the slip knot for necklace adjustments, the tension of the wrapping cord is critical. The wraps must be tight enough to grip the base cord but loose enough to allow movement. A professional trick is to place a standard wooden toothpick alongside the base cord while you wrap the knot. Once the wraps are complete and secured, slide the toothpick out. This leaves a perfect, uniform micro-channel that guarantees the knot will slide smoothly without jamming.
Step 3: Securing the Tails
The tails of the knot must be secured to prevent unraveling, but the method depends entirely on the material:
- Synthetic Cords (Nylon, Paracord, Polyester): Trim the tail to 3mm and use a precision butane lighter to melt the tip. Press the molten plastic flat against the knot body using the side of the lighter. Never use a candle, as the soot will stain the cord black.
- Natural Fibers (Cotton, Silk, Hemp): Trim the tail to 5mm. Apply a microscopic drop of G-S Hypo Cement or flexible jewelry glue directly into the gap where the tail meets the knot. Avoid cyanoacrylate (Super Glue), as it dries brittle and will crack when the knot flexes.
- Leather Cords: Cut the tail at a sharp 45-degree angle and apply a tiny amount of flexible leather adhesive. Do not burn leather.
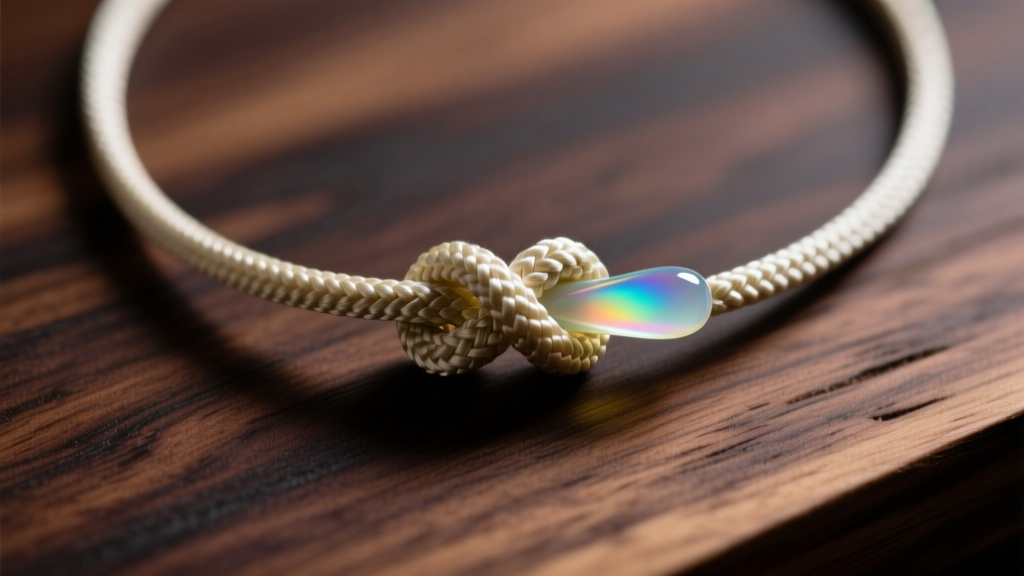
Pro Tips for Long-Lasting Adjustable Necklaces
Maintenance is just as important as the initial construction. To ensure your adjustable necklaces survive daily wear, environmental changes, and the natural oils from the wearer’s skin, implement these professional care routines.
"The secret to a flawless sliding knot isn’t just in the tying; it’s in the preparation. Pre-stretching your cotton or silk cords before knotting eliminates the ’creep’ factor, ensuring the knot doesn’t loosen as the fibers naturally relax over the first week of wear." — Master Macrame Artisan & Jewelry Designer
Furthermore, always consider the weight of the pendant. If you are hanging a heavy gemstone or metal pendant (over 20 grams), a single sliding knot is insufficient. You must upgrade to a dual-knot system or use a thicker, textured cord like braided leather to increase the surface area and friction. For more advanced knotting techniques and pendant integration, crafting resources like The Spruce Crafts offer excellent visual tutorials on integrating wire-wrapped bails with adjustable cord systems.
Conclusion
A perfectly functioning slip knot for necklace cords is a hallmark of quality jewelry design. By understanding the physics of friction, matching the correct cord material to the appropriate knot style, and utilizing professional finishing techniques, you can eliminate the frustration of jammed or slipping necklaces. Whether you are working with delicate satin silk or rugged braided leather, the troubleshooting frameworks outlined above will ensure your adjustable jewelry remains secure, stylish, and effortless to wear for years to come.


