Troubleshooting & Restoring Your Favorite Talbots Necklace
Learn how to troubleshoot, clean, and repair a vintage Talbots necklace. Fix tarnished plating, broken clasps, and tangled chains with expert tips.


The Enduring Appeal of Heritage Fashion Jewelry
As we navigate the 2026 vintage jewelry revival, heritage mall-brand pieces are highly sought after for their classic, professional aesthetics. A vintage Talbots necklace—particularly those produced in the 1990s and early 2000s—represents a golden era of fashion jewelry manufacturing. Unlike modern fast-fashion accessories that utilize paper-thin 'flash' plating, older Talbots pieces were built with durability in mind. However, decades of wear inevitably lead to specific failure modes: tarnished gold-tone finishes, cloudy faux pearls, and fatigued clasps. This guide provides professional-grade troubleshooting and repair frameworks to restore your favorite pieces to their original glory.
The Anatomy of a Classic Talbots Necklace
Before attempting any repairs, it is crucial to understand the materials you are working with. Most vintage Talbots necklaces feature a solid brass or zinc-alloy base metal. This base is typically electroplated with a gold-tone or silver-tone finish ranging from 0.5 to 1.5 microns in thickness. While this is substantially thicker than the 0.1-micron plating found on contemporary budget jewelry, it is still a surface layer that can be easily stripped by improper cleaning techniques.
Furthermore, Talbots is renowned for its extensive use of simulated pearls, acrylic resins, and enameled metals. These materials dictate a strict set of chemical boundaries for cleaning and restoration. Applying the wrong solvent can melt acrylics or strip the pearlescent lacquer off glass beads in seconds.
Troubleshooting Common Failure Modes
Issue 1: Gold-Plating Wear and 'Green Skin'
The most common complaint with vintage brass-based fashion jewelry is the galvanic reaction that causes the wearer's skin to turn green. This is not an allergic reaction, but rather a chemical oxidation caused when the brass base (which contains copper) is exposed to sweat, lotions, and oxygen. Once the 0.5-micron gold plating wears away at the neckline's friction points, the raw brass reacts with your skin's natural acids.
- The Quick Fix: Apply a thin coat of clear, non-yellowing polyurethane skin guard (like Jewelerskin) to the back of the pendant and the inner links of the chain. This creates an invisible, hypoallergenic barrier.
- The Permanent Fix: Take the necklace to a local jeweler for a professional rhodium or 24k gold re-plating. Expect to pay between $45 and $85 depending on the chain's complexity. Note that the jeweler must polish out the brass corrosion before plating, or the new finish will pit and flake.
Issue 2: Tarnished Finishes and Cloudy Faux Pearls
Never use commercial silver dips (like Tarn-X) or abrasive jewelry polishing cloths (like Sunshine Cloths) on a Talbots necklace. These products contain micro-abrasives and thiourea chemicals designed for solid sterling silver; they will instantly strip the gold-tone electroplating down to the bare brass.
Similarly, simulated pearls require extreme care. According to the Gemological Institute of America (GIA), simulated pearls are highly sensitive to ammonia and acidic cleaners, which will cause the pearlescent coating to peel or cloud. To clean these strands, use only a microfiber cloth dampened with distilled water and a single drop of pH-neutral baby shampoo. Wipe gently and allow them to air dry flat to prevent the internal cotton or nylon thread from stretching.
Step-by-Step Clasp and Jump Ring Repair
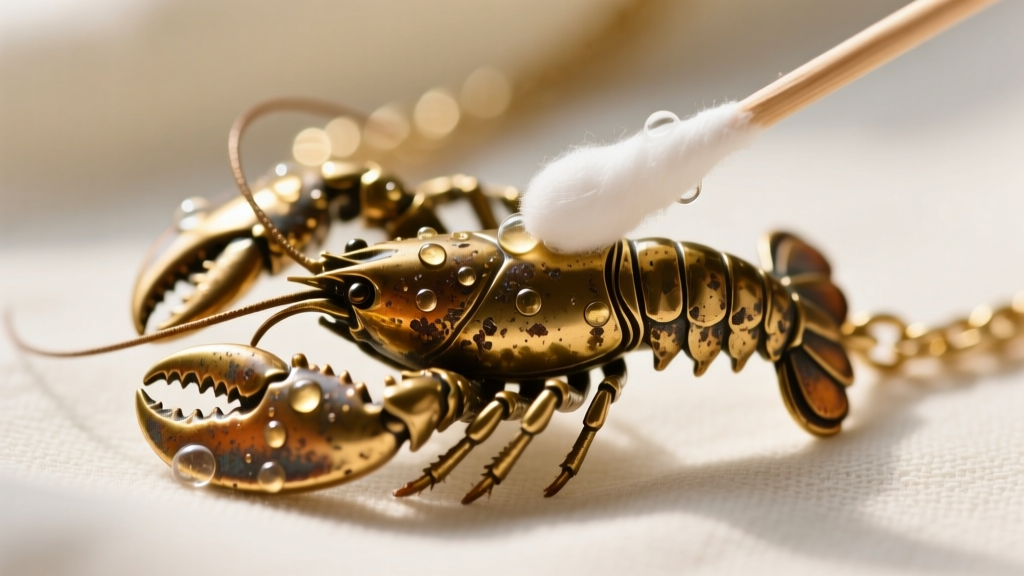
The lobster claw clasps and spring rings on vintage fashion necklaces frequently fail due to the degradation of the internal steel tension spring, or the fatigue of the jump ring connecting the clasp to the chain. If your necklace keeps slipping off, the jump ring has likely pulled apart.
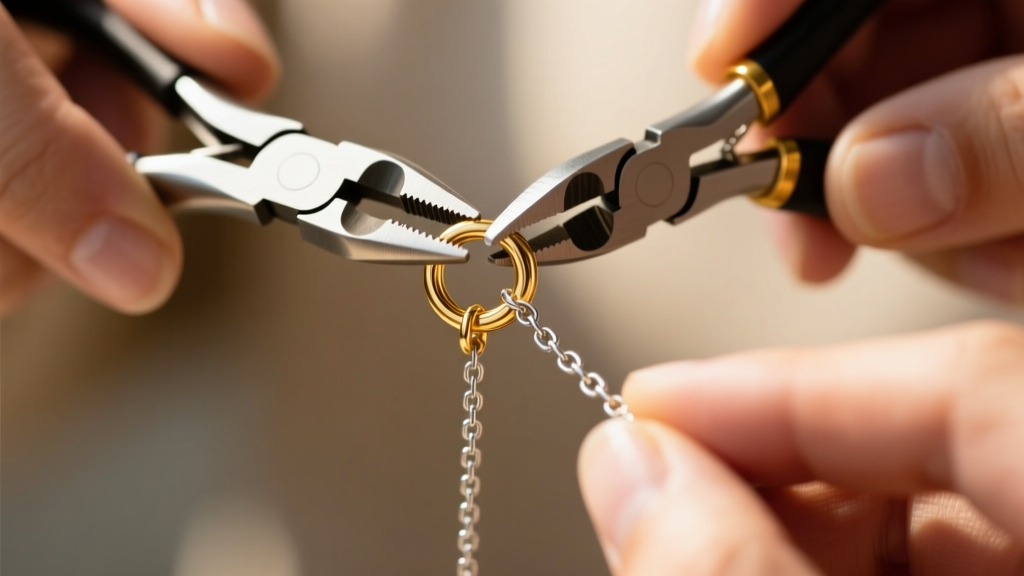
Pro-Tip: Never pull a jump ring apart laterally (left and right). This warps the circle and weakens the metal. Always use two pairs of flat-nose pliers to twist the jump ring open and closed in a lateral, 'door-hinge' motion to maintain its structural integrity and perfect circular shape.
When sourcing replacement hardware, you must match the base metal and gauge to prevent galvanic corrosion between dissimilar metals. Refer to the Rio Grande jewelry making guides for proper jump ring manipulation techniques.
| Component | Standard Size / Gauge | Material Recommendation | Estimated Cost (2026) |
|---|---|---|---|
| Lobster Clasp | 12mm x 7mm | Brass with gold flash plating | $2.50 - $4.00 |
| Jump Rings | 5mm OD, 20 AWG | Brass (soldered if possible) | $0.15 each |
| Spring Ring | 10mm | Brass base, gold-tone | $1.50 - $3.00 |
Restringing a Talbots Beaded or Faux Pearl Strand
Many classic Talbots necklaces feature heavy resin beads, acrylic stones, or faux pearls strung on nylon thread or basic beading wire. Over time, the weight of the beads causes the thread to stretch, creating unsightly gaps between the beads and increasing the risk of a catastrophic snap. If your necklace has visible gaps or feels brittle, it requires immediate restringing.
Selecting the Right Wire and Crimps
Do not reuse the original nylon thread. Upgrade the structural integrity by restringing the piece on 49-strand, 0.018-inch nylon-coated stainless steel beading wire. This specific gauge is flexible enough to drape elegantly around the collarbone but possesses a tensile strength of up to 40 pounds, easily supporting heavy acrylic and glass beads.
- Thread the Wire: Pass the 0.018" wire through a 2x2mm sterling silver or copper crimp tube, then through a wire guardian (French wire) to protect the loop from friction.
- Secure the Clasp: Loop the wire back through the crimp tube and the first two beads. Use a specialized crimping plier to fold and secure the tube, ensuring no sharp wire ends protrude.
- String and Tension: String your Talbots beads in their original pattern. Leave exactly 2mm of slack before crimping the clasp side; zero slack will cause the necklace to buckle and kink when worn.
Preventative Maintenance for Longevity
Once your Talbots necklace is restored, proper storage is the single most effective way to prevent future degradation. Brass and zinc alloys are highly reactive to ambient humidity and sulfur in the air.
- Isolate the Pieces: Store each necklace individually in a sealed, airtight polyethylene zip-lock bag. This prevents the chains from tangling and limits oxygen exposure.
- Use Anti-Tarnish Strips: Drop a 3M anti-tarnish strip into each bag. These strips absorb airborne sulfur compounds and hydrogen sulfide, effectively halting the tarnishing process for up to 12 months.
- The 'Last On, First Off' Rule: Always put your fashion jewelry on after applying perfume, hairspray, and lotions, and remove it before showering or exercising. The alcohols and acids in cosmetics are the primary catalysts for plating deterioration.
By understanding the specific metallurgy and material constraints of vintage fashion jewelry, you can easily troubleshoot common issues and keep your favorite Talbots necklaces in rotation for decades to come.


