How to Fix a Thin Necklace Chain at Home: Metal Guide
Learn how to fix a thin necklace chain at home. Compare gold, silver, and platinum properties to choose the right DIY repair or soldering method.

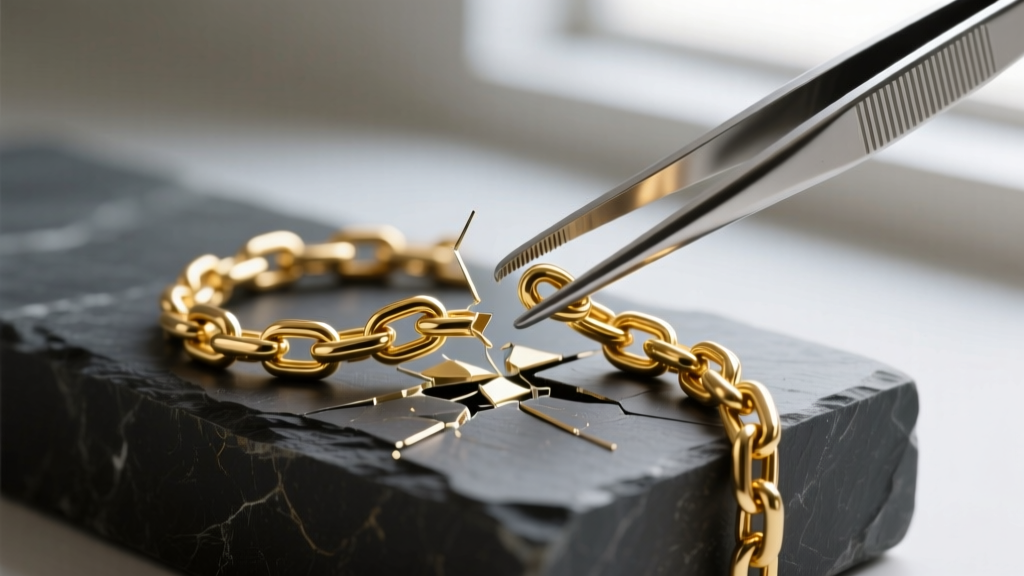
There are few jewelry emergencies more frustrating than the sudden snap of a delicate chain. When a necklace measuring under 1.5mm in thickness breaks, the immediate instinct is often to reach for superglue or attempt a clumsy twist-tie fix. However, understanding how to fix a thin necklace chain at home requires a fundamental grasp of metallurgy. A chain is only as strong as its weakest link, and the success of your repair depends entirely on the elemental composition of the metal.
In this comprehensive guide, we will explore the material properties of precious metals, compare their repair feasibility, and provide a professional-grade, step-by-step framework for restoring your delicate necklaces safely at home.
The Metallurgy of Broken Chains: Why Material Matters
Before applying heat or adhesive, you must identify your chain's material. Different alloys react uniquely to thermal shock, oxidation, and mechanical stress. According to the Gemological Institute of America (GIA) Gem Encyclopedia, the presence of alloying metals (like copper, zinc, or nickel) drastically alters a metal's melting point and malleability.
- Sterling Silver (925): Composed of 92.5% silver and 7.5% copper. It has a relatively low melting point (approx. 1,640°F / 893°C) and excellent thermal conductivity, making it the most forgiving metal for home soldering.
- 14k Yellow Gold: Contains 58.5% pure gold alloyed with copper and silver. It melts around 1,500°F (815°C). It is highly susceptible to 'fire scale' (a dark copper oxide layer) if heated without proper chemical flux.
- 18k Gold: With 75% pure gold, this metal is significantly softer and more prone to warping under the localized heat of a butane torch.
- Platinum & Stainless Steel: These metals possess exceptionally high melting points (platinum melts at 3,215°F / 1,768°C) and require specialized laser welding or argon-shielded environments. They cannot be safely repaired with standard home DIY methods.
Essential Tools for Home Chain Repair
To execute a permanent metallurgical bond, you must abandon hardware-store adhesives. Two-part jeweler's epoxies (like Devcon 5-Minute Epoxy) offer a tensile strength of roughly 2,500 PSI, but they degrade under UV light and body heat. True chain repair requires soldering. Here is your required toolkit:
- Micro Butane Torch: For precise, localized heat application.
- Flush Cutters & Chain Nose Pliers: Must be smooth-jawed to prevent marring soft precious metals.
- Precious Metal Jump Rings: For a 1.2mm chain, use 22-gauge (0.64mm) or 24-gauge (0.51mm) wire jump rings with a 2.5mm outer diameter.
- Solder, Flux, and Pickle: You will need grade-specific solder (e.g., 'Easy' or 'Medium' silver solder), a borax-based flux to prevent oxidation, and a warm Sparex #2 (sodium bisulfate) pickle solution to clean the metal post-soldering.
Material-by-Material Repair Guide
Sterling Silver: The Forgiving Metal
Silver is the ideal candidate for home repair. Because of its high thermal conductivity, the heat from your torch will travel quickly along the chain. You must use a heat sink (like a wet charcoal block or a titanium soldering pick) to protect the surrounding links. Consult Rio Grande's comprehensive solder chart to match your solder's flow temperature to your specific silver alloy. Always use 'Easy' silver solder (flowing at approx. 1,325°F) for chain repairs to avoid melting the base chain links.
14k and 18k Gold: Managing Karat Hardness
Gold requires meticulous temperature control. If you use silver solder on a gold chain, the joint will appear visibly silver, ruining the aesthetic. You must use karat-specific gold solder. Furthermore, when heating gold, you must coat the chain in a boric acid and alcohol flux solution to prevent the copper alloys from rising to the surface and creating permanent dark fire scale.
Platinum and Stainless Steel: The 'Do Not DIY' Zone
If your thin chain is platinum or stainless steel, stop immediately. Attempting to solder platinum with a standard butane torch will not only fail to reach the required flow temperature of the solder, but the prolonged, excessive heat will severely embrittle the surrounding platinum links, leading to catastrophic failure later. These materials require a professional jeweler equipped with a Nd:YAG laser welder, which fuses the metal in milliseconds without transferring ambient heat to the adjacent links.
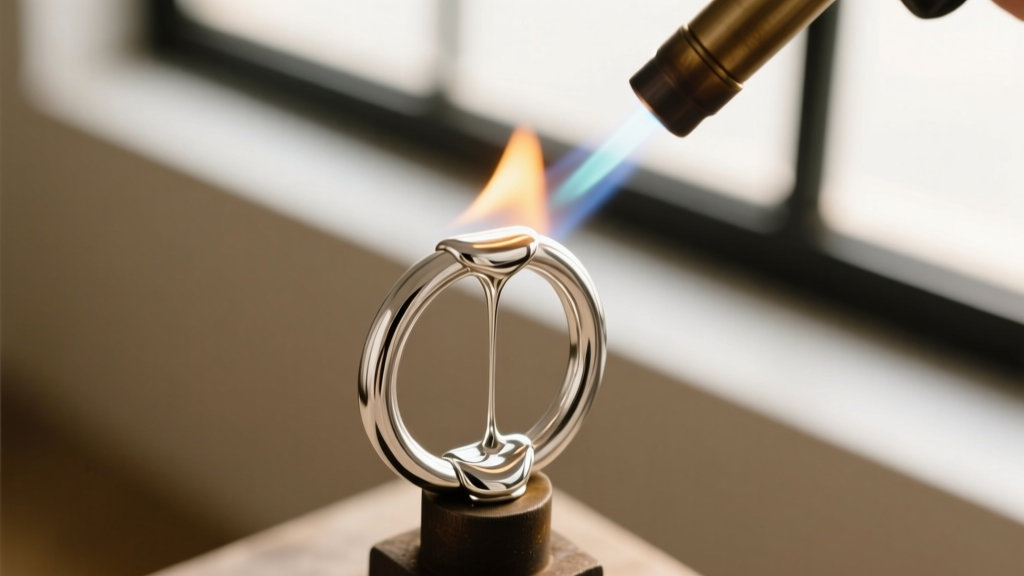
Step-by-Step: How to Fix a Thin Necklace Chain at Home
Assuming you are working with sterling silver or 14k gold, follow this professional protocol for a seamless repair.
- Preparation: Use your flush cutters to trim any jagged, stretched, or deformed links at the break point. A clean, flat surface is required for the solder to wick properly.
- Link Integration: Thread a correctly sized 22-gauge jump ring through the two terminal links of the broken chain. Close the jump ring flush using your chain nose pliers. There should be no visible gap.
- Fluxing: Paint a thin layer of liquid flux over the jump ring joint. This chemical barrier prevents oxygen from reacting with the heated metal.
- Soldering: Place a tiny pallion (chip) of 'Easy' solder on the joint. Ignite your micro-torch and use a soft, bushy flame. Heat the chain links adjacent to the joint, not the solder itself. The solder will only flow when the base metal reaches its specific flow temperature via capillary action.
- Pickling: Once the solder flashes and flows into the seam, quench the chain in water, then drop it into a warm pickle solution for 5 minutes to dissolve the flux and oxides. Expert Warning: Never use steel tweezers to retrieve gold from a pickle pot; the chemical reaction will flash-plate a permanent layer of copper onto your gold chain. Always use copper, wood, or plastic tongs.
- Polishing: Rinse in water and gently buff the joint with a fiberglass scratch brush to blend the repair.
Chain Weave Vulnerabilities: Cable vs. Box vs. Rope
The physical geometry of your chain dictates the difficulty of the repair just as much as the material.
- Cable Chains: Composed of simple interlocking oval links. These are the easiest to repair at home, as the open structure allows for easy jump ring insertion and unobstructed torch access.
- Box Chains: Made of folded, interlocking square links. If a box chain snaps, the structural integrity of the adjacent links is usually compromised. Soldering a box chain at home often results in a stiff, locked joint. Laser welding is highly recommended for box weaves.
- Rope Chains: These twisted, multi-strand chains are notoriously difficult to repair. When they break, the tension releases, causing the ends to fray and untwist. Realigning the twist and soldering without fusing the moving interior strands together is nearly impossible without professional magnification and micro-torches.
Material Properties & Repair Feasibility Matrix
| Metal Type | Approx. Melting Point | DIY Solder Feasibility | Required Solder Grade | Primary Home Repair Risk |
|---|---|---|---|---|
| Sterling Silver (925) | 1,640°F (893°C) | High | Easy / Medium Silver | Melting adjacent links due to high thermal conductivity |
| 10k / 14k Gold | 1,500°F (815°C) | Moderate | Karat-Matched Gold (Easy) | Severe fire scale and spring-clasp temper loss |
| 18k Gold | 1,700°F (926°C) | Low | 18k Gold Solder | Warping of thin links due to high pure-gold content |
| Platinum (950) | 3,215°F (1,768°C) | Impossible | Platinum Laser Wire | Catastrophic embrittlement and oxidation |
| Stainless Steel | 2,500°F (1,370°C) | Impossible | N/A (Requires TIG/Laser) | Instant, irreversible chromium oxide scaling |
When to Abandon the DIY Approach
Knowing when to stop is a hallmark of jewelry expertise. You should immediately cease home repair attempts and take the necklace to a professional bench jeweler if:
- The break occurred inside the clasp mechanism: Spring rings and lobster clasps contain internal steel springs. Applying a torch to the clasp will instantly ruin the temper of the spring, rendering the clasp useless.
- The chain features gemstone beads or pave diamonds: Heat travels through metal rapidly. If a diamond or gemstone is within two inches of the break, the ambient heat from a butane torch can fracture the stone or melt the resin holding pave settings in place.
- The metal is heavily oxidized or plated: Gold-plated or vermeil chains will blister and peel when exposed to soldering temperatures. They must be repaired via laser welding and subsequently re-plated.
Conclusion
Mastering how to fix a thin necklace chain at home is a rewarding skill that bridges the gap between artisan craftsmanship and practical maintenance. By respecting the unique metallurgical properties of your chain—whether it is the forgiving nature of sterling silver or the temperamental heat requirements of 14k gold—you can achieve seamless, durable repairs. Remember that true longevity comes from metallurgical fusion, not chemical adhesives. Equip yourself with the right micro-torch, precise gauges of solder, and a deep understanding of your materials, and your delicate chains will continue to grace your neckline for decades to come.


