How to Clean and Repair a Gold Bail for Necklace Pendants
Learn expert techniques to clean, inspect, and repair a gold bail for necklace pendants. Prevent chain friction and extend your jewelry's lifespan.

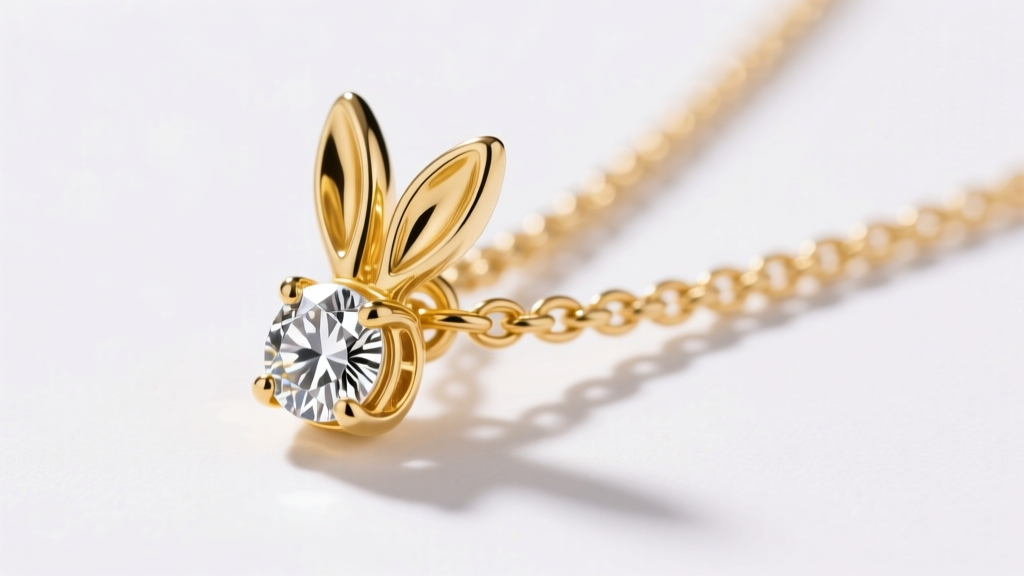
The Hidden Stress Point: Why Your Gold Bail Needs Special Care
When jewelry enthusiasts think about necklace maintenance, they typically focus on polishing the pendant's gemstones or untangling the chain. However, the most critical and vulnerable component of any necklace assembly is the bail. The bail is the loop or finding that connects the pendant to the chain, and it bears the brunt of mechanical stress, friction, and environmental exposure. Understanding how to properly care for a gold bail for necklace pendants is essential to preventing catastrophic failures, such as a snapped bail and a lost heirloom.
The primary enemy of a gold bail is friction. Every time you move, the chain slides back and forth through the bail's interior loop. Over months and years, this micro-abrasion acts like a slow-moving saw, gradually thinning the gold. The metallurgy of your bail plays a massive role in its longevity. According to the Gemological Institute of America (GIA), 14k gold (58.5% pure gold alloyed with copper, silver, and zinc) possesses a Vickers hardness of approximately 135 HV. In contrast, 18k gold (75% pure gold) is significantly softer at around 115 HV. While 18k gold offers a richer color, a 14k gold bail will inherently resist chain friction much better over a decade of daily wear.
Step-by-Step Cleaning Routine for Pendant Bails
Grime, dead skin cells, and cosmetic residues accumulate heavily inside the bail loop. This buildup not only dulls the appearance of the gold but also creates an abrasive paste that accelerates metal wear when the chain moves. Cleaning a gold bail for necklace attachments requires a gentle but thorough approach to avoid damaging the pendant below.
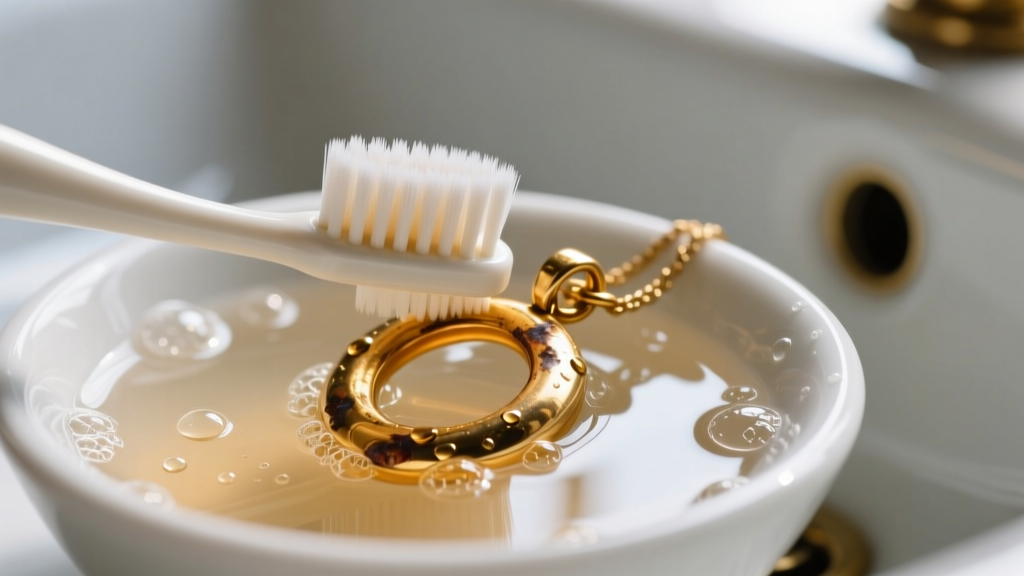
The Warm Soap Soak Method
For standard rabbit ear bails, tube bails, and solid snap bails, a mild surfactant is your best option. Mix three drops of neutral-pH liquid dish soap (like Dawn) into a bowl of lukewarm water. Submerge the top half of the necklace, ensuring the bail is fully covered, and let it soak for 15 minutes. This softens sebum and cosmetic buildup without risking chemical damage to the gold alloy.
Targeted Agitation
After soaking, use a soft-bristled baby toothbrush to gently scrub the interior of the bail loop. Pay special attention to the lowest point of the curve, where chain friction is most concentrated. Rinse thoroughly under lukewarm running water and dry immediately with a microfiber cloth to prevent water spots.
Ultrasonic Cleaner Warnings
While ultrasonic cleaners are excellent for diamond pendants, they can be disastrous for certain bail types. If your pendant utilizes a glued peg bail (commonly used for pearls or cabochon opals), the high-frequency vibrations can shatter the cyanoacrylate or epoxy adhesive, causing the bail to detach entirely. Always verify the bail attachment method before using ultrasonic or steam cleaning equipment.
Inspecting for Wear: When to Replace Your Bail
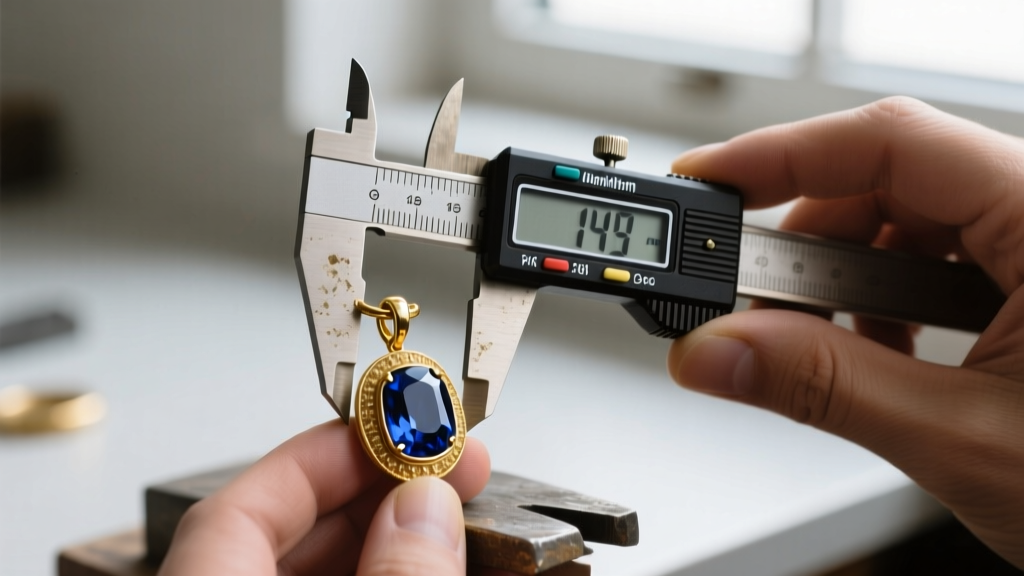
Routine visual inspection is not enough to determine the structural integrity of a gold bail. Because the thinning occurs on the interior curve where it rubs against the chain, you must use precision tools to measure the remaining metal. Professional jewelers use digital calipers to measure the wire thickness of the bail. If you are maintaining your collection at home, investing in a basic digital caliper (accurate to 0.01mm) is highly recommended.
| Bail Type | Standard Wire Gauge | Original Thickness (mm) | Danger Threshold (mm) | Recommended Action |
|---|---|---|---|---|
| Rabbit Ear Bail | 18-Gauge | 1.02 mm | 0.60 mm | Reinforce or replace |
| Snap Bail (Pinch) | 16-Gauge | 1.29 mm | 0.80 mm | Replace immediately |
| Tube Bail | 20-Gauge | 0.81 mm | 0.50 mm | Solder a new loop |
| Glue-on Peg Bail | N/A (Cast) | Varies | Adhesive failure | Re-glue with jeweler's epoxy |
Once the interior curve of an 18-gauge bail drops below 0.60mm, the structural integrity is compromised. A sudden snag on a sweater can generate enough tensile force to snap the weakened gold, resulting in a lost pendant. For more detailed guidelines on jewelry wear and tear, the Jewelers of America provides excellent consumer resources on when to seek professional bench repairs.
Lubrication and Friction Reduction Techniques
If you have a heavy pendant that puts excessive strain on a delicate gold bail, reducing friction is paramount. One highly effective, bench-tested method used by master jewelers is the application of micro-crystalline wax.
Applying Renaissance Wax
Renaissance Wax, originally developed by the British Museum for artifact preservation, is a safe, non-reactive micro-crystalline wax. Using a cotton swab, apply a microscopic amount of the wax to the interior loop of the gold bail and the corresponding section of the chain. Buff it gently with a soft cloth. This creates a dry, invisible lubricating barrier that drastically reduces the coefficient of friction between the chain and the bail, slowing down the abrasive wear process without attracting dust or grime like liquid oils do.
Chain Polishing
Friction is a two-way street. If your gold chain has become rough, tarnished, or kinked, it will act like a file against the inside of your gold bail. Regularly polishing your chain with a treated jeweler's cloth ensures the surface remains smooth, thereby protecting the bail from unnecessary micro-abrasions.
Soldering and Professional Repair Options
When inspection reveals that your gold bail for necklace use has crossed the danger threshold, professional repair is required. The method of repair depends heavily on the pendant's gemstones and the bail's design.
Torch Soldering vs. Laser Welding
Traditional torch soldering involves using a gas flame and gold solder to rebuild the worn area or attach a new bail. However, heat travels rapidly through gold. If your pendant contains heat-sensitive stones like emeralds, opals, or tanzanite, torch soldering can cause thermal shock, fracturing the gems. In 2026, laser welding is the industry standard for bail repairs on delicate or heat-sensitive pendants. A laser welder uses highly focused light energy to melt gold wire directly into the worn groove of the bail, rebuilding its thickness in seconds without transferring heat to the surrounding setting or gemstones.
Cost Expectations
Replacing a standard 14k gold rabbit ear bail typically costs between $45 and $85, depending on the weight of the gold and the complexity of the jump ring attachment. Laser welding a worn bail to restore its thickness generally ranges from $60 to $120. While this may seem like a premium service, it is a fraction of the cost of replacing a lost diamond or heirloom pendant.
Summary Checklist for Bail Longevity
- Monthly Cleaning: Use a neutral-pH dish soap and a baby toothbrush to clear abrasive sebum from the bail loop.
- Bi-Annual Inspection: Use digital calipers to measure the interior curve; replace 18-gauge bails if they thin below 0.60mm.
- Friction Control: Apply micro-crystalline wax to the bail interior and keep your chain polished to reduce abrasive wear.
- Material Awareness: Opt for 14k gold bails for heavy pendants due to higher Vickers hardness, reserving 18k gold for lighter, occasional-wear pieces.
- Professional Care: Utilize laser welding for bail repairs on pendants featuring heat-sensitive gemstones to prevent thermal shock.
By shifting your maintenance focus to this small but vital component, you ensure that your favorite pendants remain securely attached and beautifully preserved for decades to come.


