Master the Necklace Shortener Clasp: A Step-by-Step Guide
Learn how to use a necklace shortener clasp to adjust chain lengths, create custom layers, and secure pendants with this step-by-step jewelry guide.

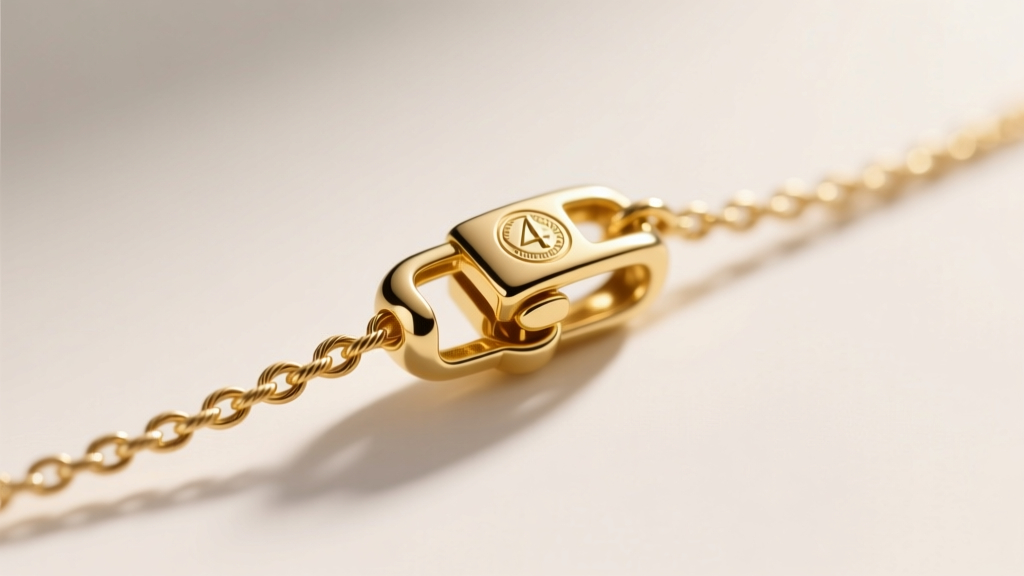
Finding the perfect necklace length is one of the most persistent challenges in jewelry styling. You purchase a stunning 20-inch pendant chain, only to find it sits awkwardly low on your collarbone, completely ruining the intended drape. Enter the necklace shortener clasp—an indispensable, non-destructive jewelry finding that allows you to customize chain lengths, achieve flawless layering stacks, and adapt heirloom pieces to modern necklines without ever visiting a jeweler for a permanent soldering cut.
In this comprehensive guide, we break down the exact mechanics of shortener clasps, provide a step-by-step threading tutorial, and share expert troubleshooting tips to prevent chain kinking and slider failure.
What Is a Necklace Shortener Clasp?
A necklace shortener clasp (often referred to as a converter clasp, adjustable slider, or shortening tube) is an intermediary hardware component designed to reduce the wearable circumference of a chain. Unlike traditional extenders that add length, shorteners work by either creating a friction-grip fold-back point or by utilizing a slide-through mechanism that locks the chain in a doubled-over position.
According to jewelry manufacturing standards outlined by Rio Grande's chain mechanics guide, the effectiveness of a shortener depends entirely on the chain's link geometry. A smooth snake chain requires a completely different internal gripping mechanism than a textured rope chain. Using the wrong clasp type will result in metal fatigue, slipping, or permanent creasing of the links.
Types of Shortener Clasps and Chain Compatibility
Not all shorteners are created equal. The market is flooded with cheap, poorly engineered sliders that damage delicate metals. Below is a technical breakdown of the three primary shortener clasp types available in 2026, matched with their ideal chain counterparts.
| Clasp Mechanism | Best Chain Styles | Max Width / Gauge | Pros & Cons |
|---|---|---|---|
| Silicone-Lined Slide Tube | Box, Snake, Herringbone | 1.5mm - 3.0mm | Pros: Seamless look. Cons: Silicone degrades over time; can slip on oily skin. |
| Lobster + Jump Ring Fold | Cable, Curb, Figaro | Any (Link dependent) | Pros: Extremely secure, no friction damage. Cons: Adds a visible bulky hardware point. |
| Neodymium Magnetic Slider | Rope, Wheat, Bead | 2.0mm - 4.5mm | Pros: Easy one-handed use. Cons: Weak magnets fail; heavy pendants pull sliders apart. |
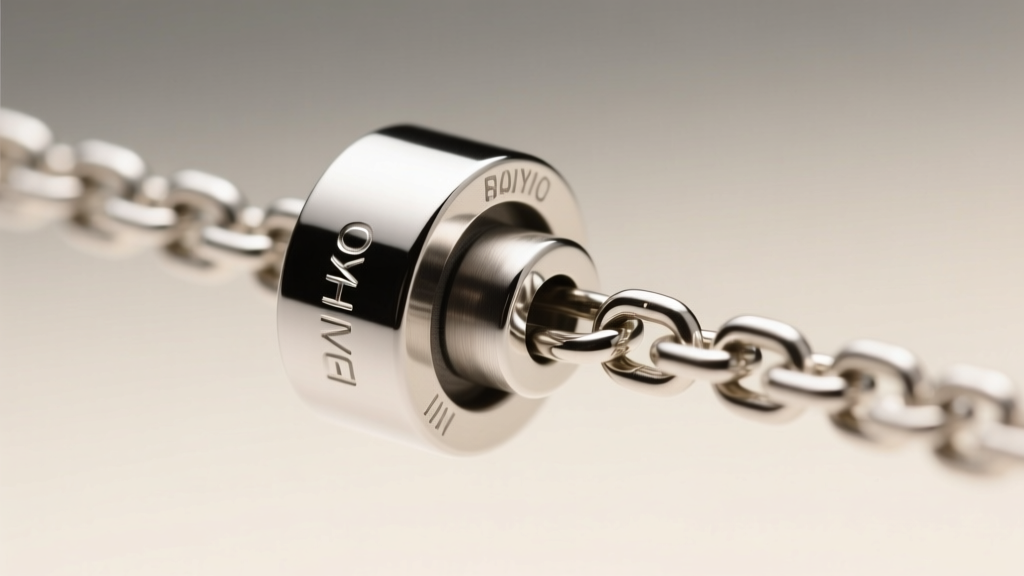
Step-by-Step Guide: How to Thread and Secure Your Chain
The installation process varies based on whether you are using a slide-through converter or a fold-back lobster mechanism. Here is the exact methodology for both.
Method A: The Slide-Through Converter (For Pendants)
This method is ideal when you want to maintain a single, continuous drape at the front of the neck while gathering the excess chain at the back.
- Unclasp and Prep: Open the main spring ring or lobster clasp of your necklace. Ensure the pendant bail is already threaded onto the chain.
- Feed the Tail: Take the open, unclasped end of the chain and feed it completely through the hollow tube of the necklace shortener clasp. Pull the chain through until the pendant rests at your desired sternum height.
- Lock the Friction Grip: If using a silicone-lined tube, the internal O-ring will catch the links. Gently tug the excess chain to ensure the friction grip is engaged. Do not pull aggressively, as this can tear the internal silicone plug.
- Re-Clasp: Attach the main necklace clasp to the jump ring on the shortener tube, effectively locking the excess chain in a loop behind your neck.
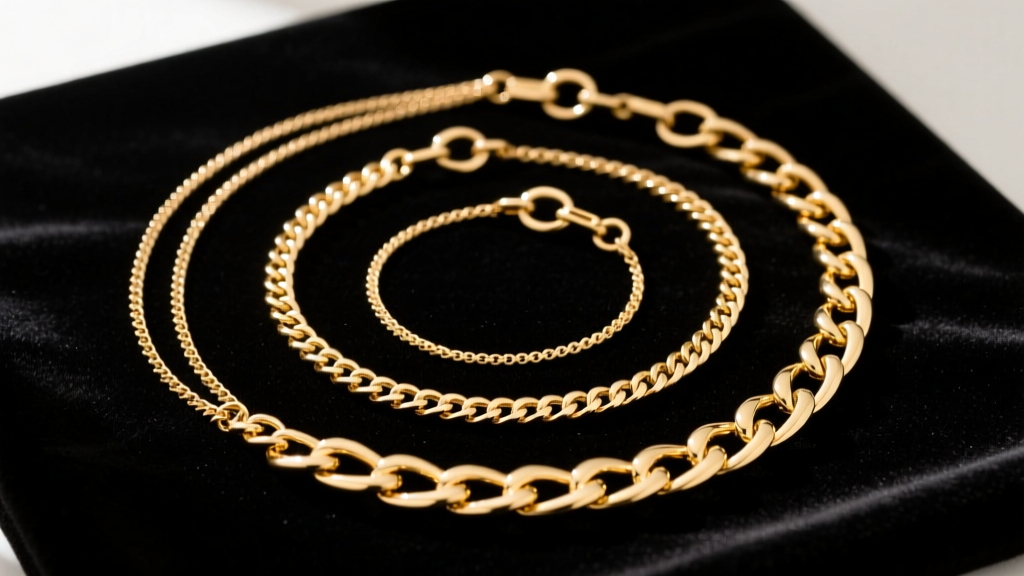
Method B: The Fold-Back Loop (For Layering)
This method is best for creating choker-length layers out of standard 20-inch or 24-inch chains.
- Identify the Anchor Link: Drape the necklace around your neck and pinch the chain at the exact point where you want the new neckline to sit (e.g., collarbone level).
- Attach the Shortener: Clip the shortener's lobster claw directly into the link you are pinching.
- Close the Circuit: Take the main clasp of the necklace and attach it to the jump ring on the opposite end of the shortener clasp. The chain is now folded in half, creating a secure, double-strand choker.
Weight Distribution and Pendant Physics
A critical mistake many make when using a necklace shortener clasp is ignoring pendant physics. When you fold a chain back on itself, the pendant's bail must be large enough to accommodate the new drape angle. If you use a slide-through tube, the pendant will slide freely. However, if you use a fold-back method, the pendant will be trapped at the bottom of the U-curve.
Expert Rule: If your pendant has a tight, soldered bail (under 3mm interior diameter), you must thread the entire chain through the bail before attaching the shortener clasp. Forcing a tight bail over a doubled-over chain or a bulky clasp jump ring will permanently warp the bail's solder joints.
Troubleshooting Common Shortener Clasp Failures
Even high-end jewelry findings can fail if misused. Here is how to diagnose and fix the most common issues:
- The Slider Keeps Slipping: This happens frequently with snake chains and herringbone weaves because their smooth, flush surfaces lack the textured edges needed for a silicone O-ring to grip. Fix: Switch to a magnetic slider with an N52-grade neodymium core, or use a micro-lobster clasp anchored to a specific jump ring soldered onto the chain.
- Chain Kinking at the Fold Point: Box chains and herringbone chains are notorious for developing permanent creases when folded sharply over a small jump ring. Fix: Use a "figure-8" safety converter or a wide-bar slide clasp that forces the chain into a gentle, teardrop-shaped loop rather than a sharp 180-degree pinch.
- Magnetic Clasp Popping Open: Cheap magnetic sliders use weak ferrite magnets that cannot support the kinetic swing of a heavy gemstone pendant. Fix: Verify the product specs for N52 Neodymium magnets. As noted in modern metallurgy reviews, N52 magnets provide up to 14 lbs of pull force, easily securing heavy gemstone pendants during daily movement.
Material Grades and Pricing: What to Buy
When purchasing a necklace shortener clasp, metal matching is vital not just for aesthetics, but to prevent galvanic corrosion. Mixing a sterling silver slider with a 14k gold chain can cause accelerated tarnishing where the metals rub together due to micro-galvanic reactions.
According to the FTC Jewelry Guides, if you are buying a gold-toned shortener clasp to match a solid gold chain, ensure it is stamped 14k or 18k. If you opt for Gold Vermeil, the FTC mandates a minimum of 2.5 microns of gold plating over a sterling silver base. Anything less (standard gold plating) will wear through the friction point of the slider within weeks, exposing the brass or copper core beneath.
- Sterling Silver (925) Sliders: $15 - $35. Best for everyday wear. Look for rhodium-plated exteriors to prevent sulfur tarnish.
- 14k Solid Gold Converters: $90 - $180. Essential for heirloom pieces and heavy diamond pendants. Will not degrade or corrode.
- Gold Vermeil Magnetic Clasps: $30 - $55. Ensure the internal magnet housing is lined with resin to prevent the magnet from scratching your gold chains.
Final Thoughts on Customizing Your Stack
Mastering the necklace shortener clasp transforms a static jewelry box into a dynamic styling toolkit. By understanding chain geometry, respecting pendant bail tolerances, and investing in properly graded metals, you can achieve the exact 16-inch choker or 18-inch princess length you need on demand. For further reading on preserving delicate chain links, consult the GIA's guide on gold alloys and metal durability to ensure your shortener hardware is perfectly matched to your chain's tensile strength.


