How to Make a Necklace With a Guitar Pick: Expert DIY Jewelry Guide
Learn how to make a necklace with a guitar pick using pro jewelry techniques. Master drilling, bail selection, and chain pairing for durable wear.

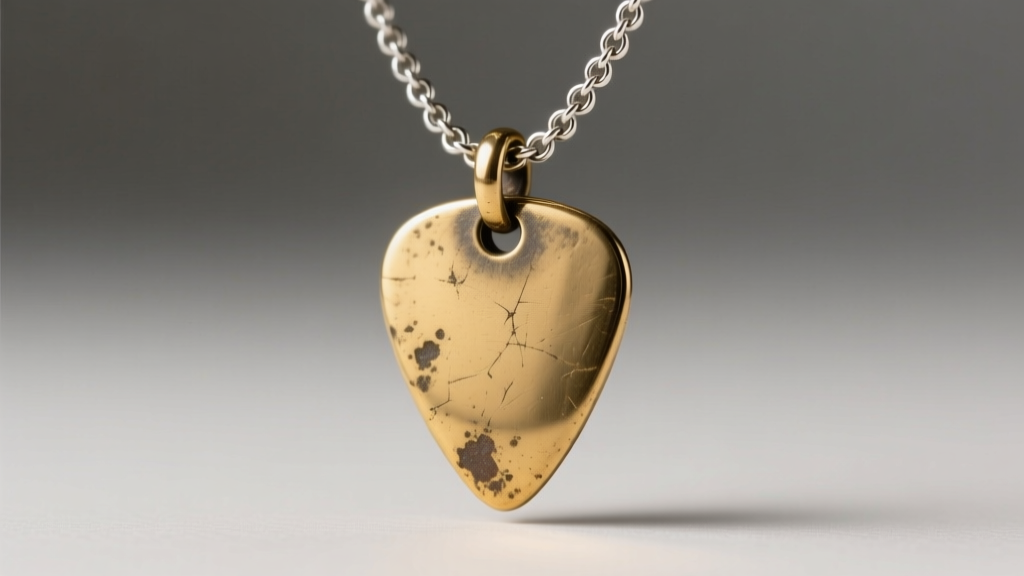
Transforming a functional music accessory into a piece of enduring jewelry requires more than just a hole punch and a piece of string. When learning how to make a necklace with a guitar pick, amateur crafters often encounter material failure, bail detachment, and chain breakage. As a jewelry fabrication expert, I approach this process through the lens of material science and structural mechanics. This guide bypasses generic DIY fluff, providing precise technical parameters for drilling, bail engineering, and chain selection to ensure your guitar pick pendant survives daily wear.
The Material Science of Guitar Picks
Before applying any rotary tool, you must identify the pick's polymer or metallic composition. Different materials dictate your drill bit geometry, RPM settings, and cooling requirements.
- Celluloid: The vintage standard. It is highly flammable and thermoplastic, meaning it softens and melts at relatively low friction temperatures (around 150°C / 302°F). It requires slow drilling and sharp bits to prevent gumming.
- Delrin (POM / Polyoxymethylene): Extremely tough and rigid. Delrin does not melt easily but produces long, stringy swarf (shavings) that can wrap around drill bits and snap the pick if not cleared frequently.
- Ultem (PEI): A high-performance thermoplastic with exceptional heat resistance. It machines cleanly but requires higher torque.
- Metals (Brass, Copper, Stainless Steel): Require high-speed steel (HSS) or cobalt drill bits, cutting fluid, and rigid clamping to prevent work-hardening (especially in stainless steel).
Precision Drilling: Preventing Melt and Fracture
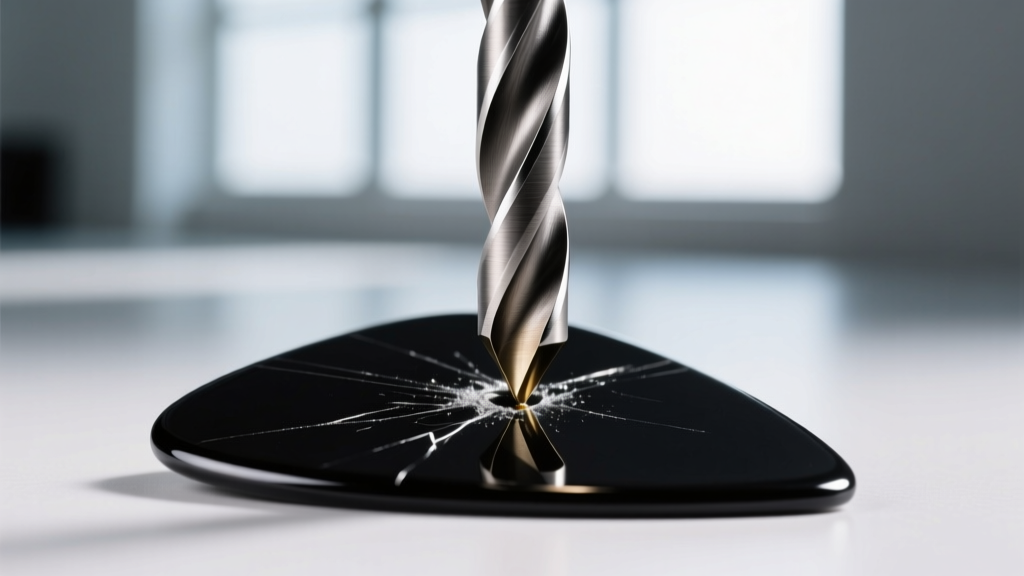
The most common point of failure in pick necklaces is a cracked or melted drill hole. To achieve a clean, structurally sound aperture, follow these machining parameters:
- Bit Selection: For plastics (Celluloid, Delrin, Ultem), use a brad-point bit or a specialized plastics drill bit with a 60-degree point angle and high rake. Standard 118-degree twist bits tend to grab and shatter the material upon breakthrough. For metal picks, use a cobalt split-point bit.
- Clamping: Never hand-hold the pick. Secure it in a jeweler's pin vise or a drill press vise with soft jaws (leather or rubber pads) to prevent surface marring and rotational slipping.
- RPM and Feed Rate: For polymers, set your rotary tool or drill press to a low speed: 500 to 1,000 RPM. Apply light, consistent downward pressure. If you smell burning plastic, your RPM is too high or your bit is dull. For brass or copper, increase to 1,500 to 2,500 RPM and apply a drop of lightweight cutting oil (like Tap Magic).
- Blowout Prevention: Always drill into a sacrificial backing board (MDF or hardwood). As the bit exits the bottom of the pick, the backing board supports the polymer fibers, preventing a jagged blowout crater on the back of your pendant.
For authoritative guidance on machining jewelry plastics, refer to the material safety and fabrication guidelines provided by Rio Grande Jewelry Supplies, which details specific burr and bit geometries for synthetic materials.
Bail Selection and Attachment Mechanics
Once the hole is drilled (typically 1.5mm to 2.5mm depending on the pick's thickness), you must attach a bail. Avoid glue-on bails; cyanoacrylate (Super Glue) becomes brittle and fails under the shear stress of a swinging pendant, while two-part epoxies degrade when exposed to skin oils and sweat.
| Bail Type | Best For | Attachment Method | Durability Rating |
|---|---|---|---|
| Soldered Jump Ring | Drilled Holes (1.5mm+) | Threaded and soldered shut | Excellent (Permanent) |
| Pinch Bail | Thick Metal Picks | Prongs bent into a drilled hole | Good (Prongs may loosen) |
| Glue-On Peg Bail | Thick Celluloid/Delrin | Two-part jeweler's epoxy | Fair (Fails over time) |
| Wire-Wrapped Loop | Edge-drilled or top-drilled | 20ga or 22ga sterling wire | Very Good (If work-hardened) |
The Expert Choice: The soldered jump ring is the undisputed standard for durability. Thread a 20-gauge or 18-gauge sterling silver or stainless steel jump ring through the drilled hole. Using a jeweler's torch and hard solder, fuse the seam of the jump ring completely shut. This creates a closed loop that is mechanically impossible to pull apart, ensuring the pick remains secured to the chain indefinitely.
Chain Gauge and Clasp Engineering
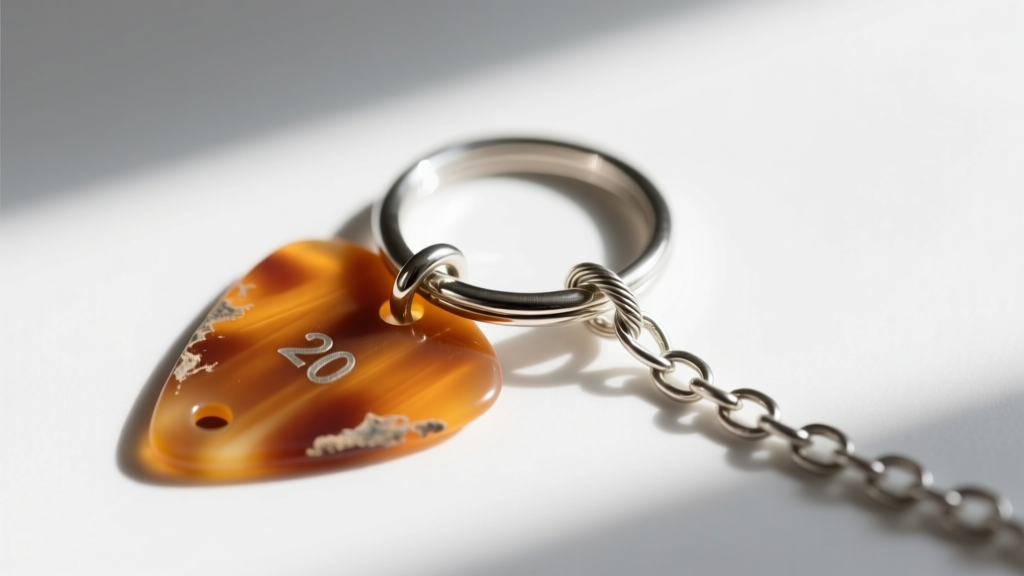
A heavy metal pick will snap a delicate chain, while a thick chain will overpower a thin celluloid pick. You must balance the tensile strength of the chain with the mass of the pendant.
- Lightweight Picks (Celluloid, Nylon, thin Delrin): Pair with a 1.2mm to 1.5mm cable chain or box chain. These chains offer high flexibility and sufficient tensile strength (typically 10-15 lbs break strength) without adding unnecessary weight.
- Heavyweight Picks (Brass, Copper, Stainless Steel, thick Ultem): Require a 2.0mm to 3.0mm Rolo chain or Wheat chain. The interlocking geometry of a wheat chain distributes lateral stress evenly, preventing kinking and snapping under the pendulum motion of a heavy metal pick.
Clasp Mechanics: Discard spring-ring clasps; their internal springs are prone to fatigue and failure. Upgrade to a lobster claw clasp with a forged lever mechanism. For chains over 2.5mm, utilize a toggle clasp or a magnetic neodymium clasp with a safety chain, ensuring the magnetic pull force exceeds the weight of the chain and pick combined.
Edge Finishing and Polishing Protocols
Drilling and cutting leave microscopic burrs that will abrade the jump ring and eventually cause metal fatigue or chain failure. Furthermore, raw polymer edges look unprofessional.
- Deburring: Use a tapered needle file or a specialized deburring tool to chamfer the inside of the drilled hole at a 45-degree angle. This removes the sharp arris that would otherwise act as a knife against your jump ring.
- Sanding: Progress through wet/dry sandpaper grits: 400, 800, 1500, and finally 3000. Always sand in a single direction to remove scratches from the previous grit.
- Polishing: For plastics, apply a micro-mesh polishing compound or a specialized plastic polish (like Novus) using a soft muslin buffing wheel at low RPM. For metal picks, use tripoli compound followed by rouge for a mirror finish.
Expert Warning on Celluloid Degradation: Vintage celluloid picks are highly susceptible to celluloid rot, an off-gassing process where the camphor plasticizer evaporates, turning the pick brittle and highly acidic. If you are encasing a vintage 1950s Fender or Gibson pick, do not seal it in an airtight resin or glass vial without a buffering agent, as the trapped nitric acid vapors will destroy the metal bail and chain from the inside out. Store and display these pieces in ventilated environments.
Final Wear-Testing and Maintenance
Before delivering or wearing the piece, conduct a simple stress test. Hold the clasp and let the pick hang. Apply a gentle, rhythmic pendulum motion to simulate walking. Listen for any clicking (indicating a loose bail) and inspect the jump ring for rotation. If the jump ring rotates freely, the hole may be too large; consider adding a microscopic drop of UV-curing resin inside the hole to act as a friction bushing.
For further reading on the historical composition of guitar picks and their material evolution, Sweetwater's comprehensive guide on pick materials offers excellent context on why certain polymers behave the way they do under mechanical stress.
By treating the guitar pick not just as a novelty, but as a specific engineering material, you elevate a simple craft project into a piece of heirloom-quality jewelry. Master the drill speed, respect the polymer's thermal limits, and engineer the bail for permanence, and your guitar pick necklace will endure as long as the music that inspired it.


