Hawaiian Bead Necklace Repair: Troubleshooting & Care
Learn how to troubleshoot, clean, and restring a broken Hawaiian bead necklace. Expert tips on fixing kukui nut, shell, and seed bead leis.

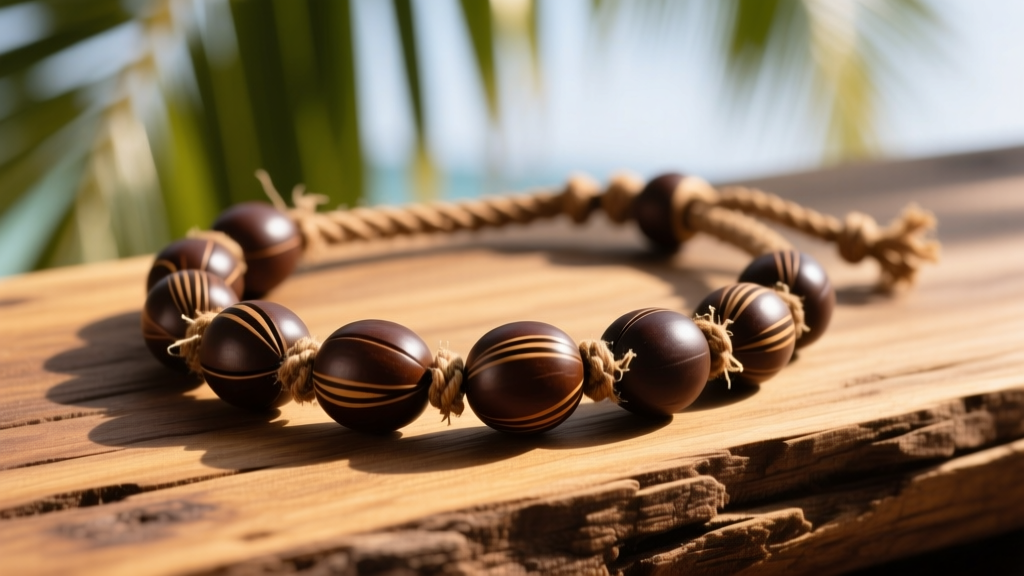
Hawaiian bead necklaces, traditionally known as lei ʻāʻī (neck leis) or lei kūpeʻe (wrist leis), are profound cultural artifacts and beloved jewelry pieces. Whether crafted from polished kukui nuts, intricate glass seed beads (often called pukapuka), or carved ocean shells, these necklaces face unique environmental stressors. The high humidity, salt air, and intense UV exposure inherent to tropical climates accelerate material degradation far faster than in temperate regions.
If your Hawaiian bead necklace has snapped, lost its luster, or developed structural weaknesses, standard jewelry repair techniques often fail. Organic beads require specific cord tensions, and traditional finishing knots differ vastly from modern metal clasps. This comprehensive troubleshooting guide will walk you through diagnosing failures, selecting the correct synthetic restringing materials, and safely restoring your necklace without compromising its cultural or structural integrity.
Diagnosing Common Hawaiian Bead Necklace Failures
Before attempting any repair, you must identify the root cause of the damage. Hawaiian bead necklaces typically fail in one of three ways: stringing material rot, bead surface degradation, or clasp/knot slippage.
The Humidity Factor: Stringing Material Degradation
Traditional leis are often strung on natural cotton or silk threads. While historically accurate and culturally significant, natural fibers are highly susceptible to hydrolysis. In environments where ambient humidity regularly exceeds 70%, cotton and silk absorb moisture, creating a breeding ground for microscopic mold and bacteria. This leads to dry rot from the inside out. If your necklace feels stiff in some areas and overly brittle in others, or if you notice a faint musty odor, the internal thread is actively decomposing. Restringing is not optional; it is an emergency intervention to prevent catastrophic bead loss.
Surface Degradation of Organic Beads
Kukui nuts are frequently coated with natural tung oil, polyurethane, or commercial lacquers to achieve a high-gloss finish. Human sweat, which contains lactic acid and urea, breaks down these finishes over time, leaving a cloudy, white oxidation layer. Similarly, porous shells and carved bone beads can absorb skin oils and lotions, leading to deep-seated discoloration that cannot be wiped away with a standard jewelry cloth.
Material-Specific Troubleshooting Matrix
Different bead materials require vastly different repair protocols. Using the wrong cord diameter or cleaning agent can permanently ruin the necklace. Refer to the matrix below to determine the correct approach for your specific Hawaiian bead necklace.
| Bead Material | Common Failure Mode | Recommended Restringing Cord | Cleaning Protocol |
|---|---|---|---|
| Kukui Nut (Polished) | Lacquer peeling; heavy weight snaps thin silk | 1.2mm Braided Nylon (e.g., PowerPro) | Microfiber cloth; mild mineral oil re-conditioning |
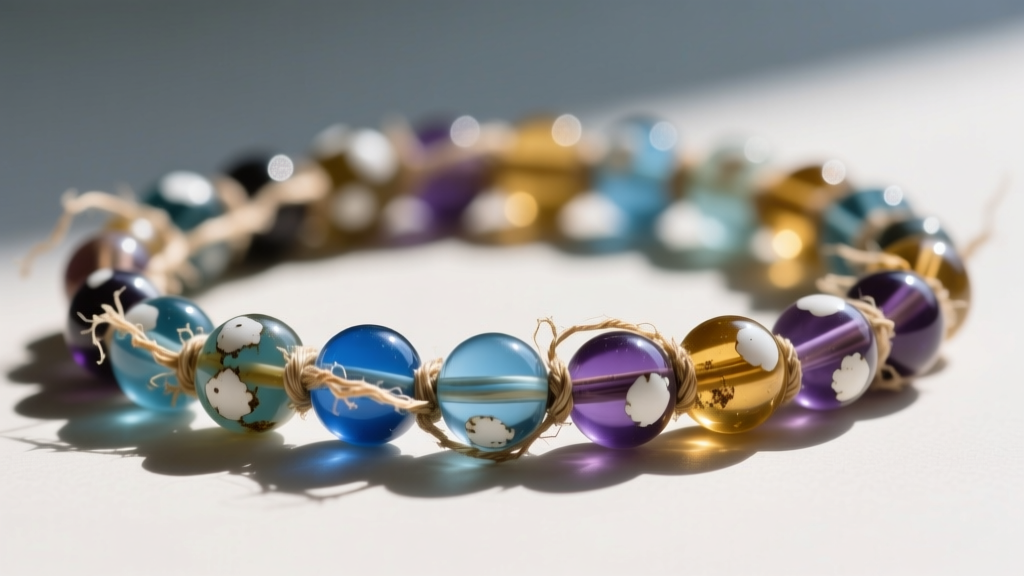
| Glass Seed Beads (Pukapuka) | Thread rot; beads cutting through weak cord | 0.8mm C-Lon or Super-Lon Nylon | Warm water with a drop of mild dish soap; air dry |
| Carved Shell / Bone | Porous staining; brittle edges fraying cord | 1.0mm Waxed Polyester Cord | Damp cloth only; NEVER use ultrasonic or chemicals |
The Restringing Protocol: Upgrading to Modern Synthetics
When repairing a Hawaiian bead necklace for everyday wear, it is highly recommended to upgrade from traditional natural fibers to modern synthetic cords. Synthetics offer superior tensile strength and are completely impervious to humidity and sweat.
Step 1: Safe Bead Extraction
Do not simply pull the broken thread out, as this can chip the delicate edges of shell or glass beads. Use a pair of flush-cut beading nippers to carefully snip the old cord between each bead, allowing the beads to slide off into a velvet-lined tray. If the beads are sticky with degraded oil, clean them individually before restringing to prevent trapping grime inside the drill holes.
Step 2: Needle Selection and Threading
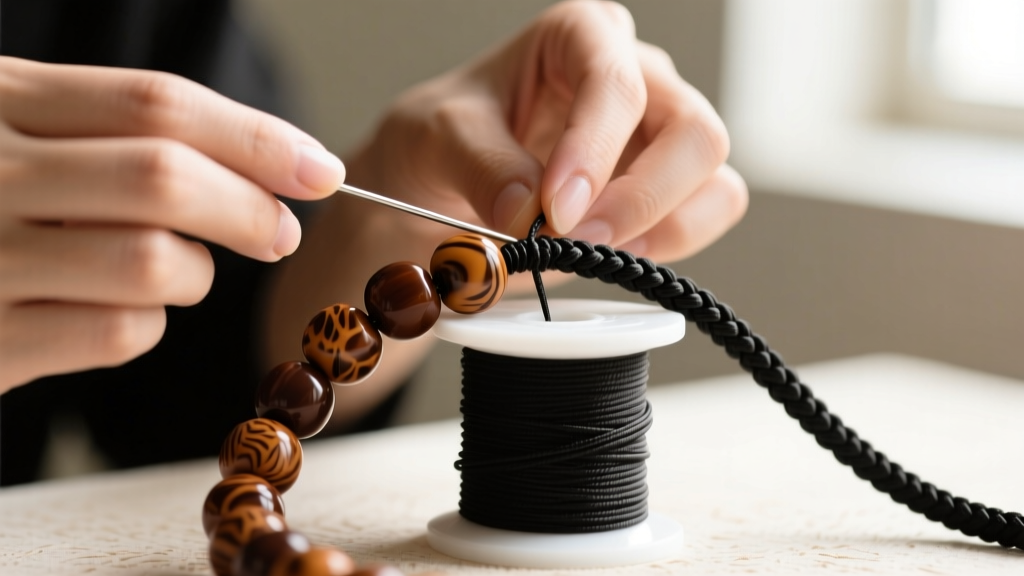
For seed bead leis, a standard metal needle will not fit through the bead and the knot. Use a flexible twisted wire beading needle (size #10 or #12). Thread your 0.8mm nylon cord through the eye, and apply a microscopic drop of flexible jewelry glue (like E6000) to the tail to prevent fraying. For heavy kukui nuts, you do not need a needle; the 1.2mm braided cord is stiff enough to pass directly through the large 2mm to 3mm drill holes.
Step 3: Securing the Closure (The Macrame Sliding Knot)
Authentic Hawaiian bead necklaces rarely use metal lobster clasps, which can detract from the organic aesthetic and introduce points of mechanical failure. Instead, they utilize a macrame sliding square knot. Here is how to execute it properly:
- Overlap the two ends of your cord by at least 4 inches.
- Take a separate 12-inch piece of the same cord material to act as your knotting cord.
- Place the knotting cord under the overlapping main cords.
- Bring the right side of the knotting cord over the main cords and under the left side of the knotting cord.
- Bring the left side over the main cords and through the loop created on the right side.
- Pull tight to form the first half of the square knot.
- Reverse the direction (left over, right under) to complete the full square knot.
- Repeat this process until you have a sliding knot channel about 1/2 inch long.
- Melt the very tips of the nylon knotting cord with a thread zapper or lighter to create a small bead that prevents the knot from unraveling.
Safe Cleaning and Restoration Techniques
Cleaning organic and semi-organic Hawaiian beads requires a gentle touch. According to the Gemological Institute of America (GIA), organic gems like shell, bone, and pearl are highly sensitive to acids, heat, and ultrasonic vibrations. Never place a Hawaiian shell or bone necklace in an ultrasonic jewelry cleaner; the high-frequency waves will cause micro-fractures in the calcium carbonate structure, leading to catastrophic shattering.
Restoring Kukui Nut Luster
If your kukui nuts have developed a cloudy, white film, the factory lacquer has likely degraded. You can gently buff the surface with a dry, lint-free microfiber cloth. If the nuts are unfinished or the oil has completely dried out, apply a single drop of food-grade mineral oil to a soft cloth and rub it into the wood. Allow it to sit for 10 minutes, then buff away the excess. Avoid olive oil or vegetable oils, as they will eventually turn rancid and emit a foul odor.
Reviving Glass Seed Beads
Glass seed beads are non-porous and can be safely washed. Fill a bowl with lukewarm water and a few drops of pH-neutral dish soap. Submerge the necklace for no more than five minutes. Use a soft-bristled baby toothbrush to gently agitate the spaces between the beads. Rinse thoroughly with distilled water to prevent hard water spots, and lay the necklace flat on a towel to air dry completely before storing.
When to Consult a Master Lei Maker or Conservator
Not every Hawaiian bead necklace should be repaired at home. If your piece is an antique, a family heirloom, or crafted from culturally protected materials (such as certain rare shells or endangered woods), DIY repair can severely diminish its historical and monetary value.
"When dealing with historical Hawaiian adornments, the materials and the methods of assembly are intrinsically linked to the cultural narrative of the piece. Inappropriate modern synthetic repairs can erase vital historical context." — Archival guidelines adapted from the Bernice Pauahi Bishop Museum collections philosophy.
If your necklace features traditional niho palaoa (whale tooth) pendants, ancient shell work, or intricate featherwork integration, bypass standard jewelers. Seek out a certified Hawaiian cultural practitioner or a museum-affiliated textile conservator who understands the ethnographic significance of the stringing techniques and materials.
Proper Storage to Prevent Future Damage
Troubleshooting is only half the battle; proper storage is the ultimate preventative measure. Never store your Hawaiian bead necklace in a sealed plastic bag, as this traps ambient moisture and accelerates mold growth on natural fibers. Instead, store the necklace flat in a breathable cotton pouch or a cedar-lined jewelry box. Keep it out of direct sunlight to prevent UV fading of dyed seed beads and bone. By understanding the unique material science behind these beautiful cultural pieces, you can ensure your Hawaiian bead necklace remains intact and vibrant for generations to come.


