How Much Necklace Length You Need: Troubleshooting Fit
Struggling with necklace fit? Discover exactly how much necklace length you need, troubleshoot chain tangles, and fix pendant sliding issues.


Buying a necklace online or in-store often leads to a universal moment of frustration: the piece simply does not sit right. Whether it is choking you, tangling endlessly, or allowing your favorite pendant to slide off-center, the root cause almost always traces back to a fundamental misunderstanding of proportions. When figuring out how much necklace length you actually need, most consumers rely on generic size charts that ignore individual anatomy, pendant weight, and chain metallurgy.
As we navigate the jewelry landscape in 2026, layering trends have become more precise, and the tolerance for poorly fitted chains is lower than ever. This comprehensive troubleshooting guide will help you diagnose your necklace fit disasters, understand the mechanical failures of specific chain weaves, and apply professional jeweler fixes to your existing collection.
The Anatomy of a Fit Disaster: Why Generic Charts Fail
The standard jewelry industry categorizes necklaces into rigid buckets: 16-inch (choker), 18-inch (princess), and 20-inch (matinee). However, according to sizing guidelines referenced by Jewelers of America, a 16-inch chain will fit like a comfortable choker on a 14-inch neck, but act like a restrictive tourniquet on a 15.5-inch neck.
To accurately determine how much necklace chain is required for your specific anatomy, you must measure your neck with a flexible tailor's tape and add a minimum of 2 inches for a standard fit, or 4 inches for a relaxed drape. If you are buying a rigid collar or a herringbone chain that lacks flexibility, you must add an additional 0.5 to 1 inch to accommodate the stiffness of the metal weave.
Troubleshooting Common Length & Sizing Disasters
The 'Choker Choke' (14 to 16 Inches)
The Problem: The necklace sits too high, restricts breathing, and causes skin irritation due to constant friction against the thyroid cartilage.
The Diagnosis: You have purchased a standard 16-inch chain but have a neck circumference greater than 14.5 inches, or the chain features a heavy, stiff clasp that pulls the metal taut.
The Fix: Do not attempt to stretch the chain, which will warp the links. Instead, purchase a 2-inch 14k gold-filled cable extender chain. Attach it to the existing jump ring at the clasp. This drops the necklace into the 18-inch 'princess' zone, instantly relieving tension.
The Pendant Slide-Off (18 to 24 Inches)
The Problem: Your pendant continuously migrates to the side of your neck, resting awkwardly on your collarbone instead of centering on your sternum.
The Diagnosis: The chain is too long for the weight of the pendant, or the chain weave is too smooth (like a snake or box chain), offering zero friction to keep the bail centered.
The Fix: Introduce a silicone pendant stopper or a small, clear rubber O-ring on the chain behind the bail. Alternatively, have a jeweler solder two tiny metal beads onto the chain exactly 1 inch to the left and right of the center point to create a physical barrier.
The 2026 Chain Weave Matrix: Tangles and Breakage
Not all chains behave the same way. The structural integrity and tangling propensity of a necklace depend entirely on its weave. Below is a diagnostic matrix to help you troubleshoot why your favorite chain keeps failing.
| Chain Weave | Tangle Risk | Durability & Repairability | Best Use Case |
|---|---|---|---|
| Cable / Link | Low | High (if soldered). Easy to repair. | Heavy pendants, daily wear, active lifestyles. |
| Herringbone | High (kinks permanently) | Very Low. Almost impossible to fix once kinked. | Statement pieces worn flat against the skin, no pendants. |
| Snake | Medium (catches on hair) | Medium. Prone to snapping if bent sharply. | Lightweight pendants, sleek modern aesthetics. |
| Rope | Low | High. Excellent tensile strength. | Heavy gemstone pendants, layering bases. |
| Box | Low | Medium. Hinges can wear out over time. | Geometric pendants, medium-weight stones. |
Expert Insight: According to metallurgical breakdowns from the GIA Gem Encyclopedia, the durability of a chain is heavily dictated by whether the jump rings are soldered. Unsoldered cable chains will pull apart under the weight of a 10-gram pendant, while soldered links distribute the tension across the entire wire gauge.
Bail-to-Chain Ratios: Solving the Stuck Pendant
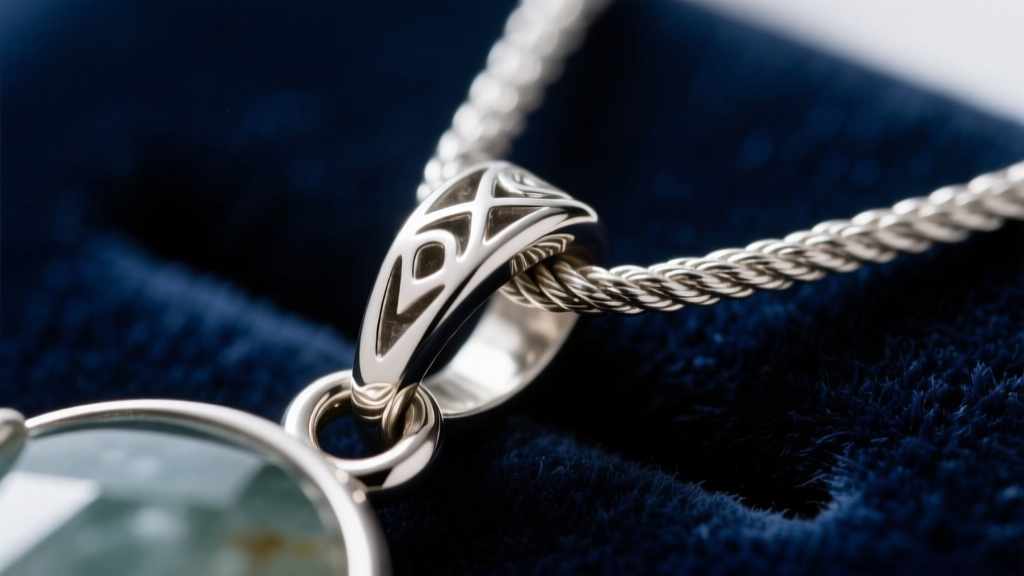
One of the most frequent troubleshooting queries we receive is: 'I bought a beautiful pendant, but it won't fit on my chain.' This is a failure of understanding the Bail Inner Diameter (ID) versus the Chain Outer Diameter (OD).
- The European Bail Trap: Many vintage or European-cut pendants feature narrow, tapered bails with an ID of just 2.5mm. A standard 3mm rope chain will physically force its way through, but the friction will eventually wear down the soft metal of the bail, leading to a lost pendant.
- The Hidden Clasp Issue: Even if the pendant fits the chain, the chain's clasp might be too bulky to pass through the bail. If you are threading a chain through a fixed pendant, ensure the clasp width is at least 1mm smaller than the bail ID.
- The Fix: Take the piece to a bench jeweler to have a 'snap-on' or 'pinch bail' installed. This replaces the narrow loop with a hinged mechanism that snaps directly onto thicker chains (up to 5mm) without requiring the chain to thread through a tiny hole.
Clasp Failures: Why Your Necklace Keeps Unfastening
If you are constantly checking your neck to ensure your jewelry is still there, your clasp is failing. The type of clasp must be matched to the overall gram weight of the necklace.
Spring Ring Clasps (Under 5 Grams)
Spring rings rely on a tiny internal steel spring. Over time, or when exposed to lotions and oils, the spring degrades or the tension arm bends. Never use a spring ring on a chain heavier than 5 grams; the weight will pull the tension arm open, resulting in loss.
Lobster Clasps (5 to 25 Grams)
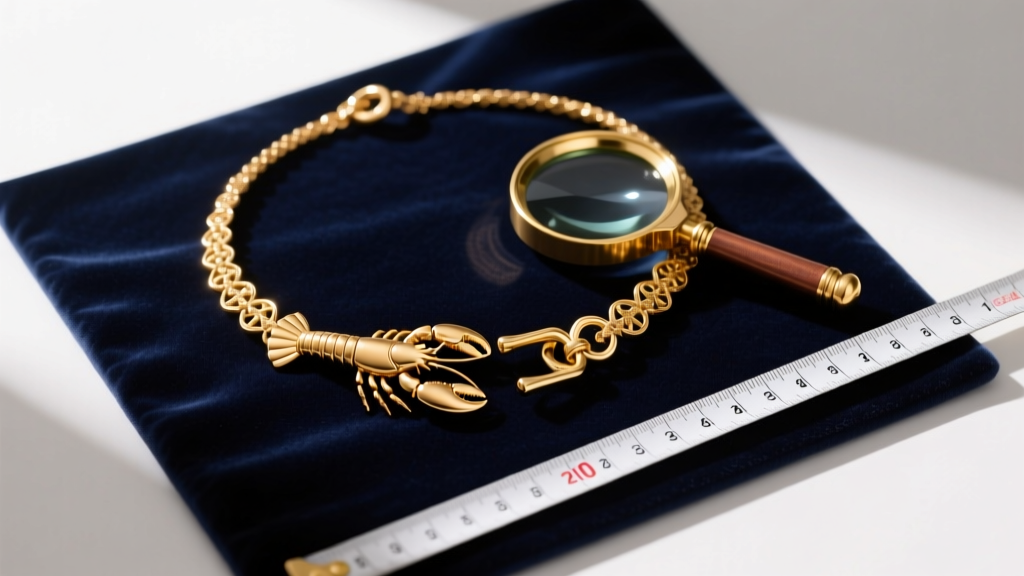
Lobster clasps feature a solid, spring-loaded lever that is far more secure. However, a common failure mode is the 'catch' hitting the skin and depressing the lever. To troubleshoot this, ensure the lobster clasp is paired with a sufficiently large, soldered jump ring on the opposite end, allowing the clasp to sit flat rather than twisting sideways.
Toggle and Magnetic Clasps (25+ Grams)
For heavy, chunky chain necklaces popular in 2026 streetwear and high-fashion layering, toggle clasps are mandatory. The weight of the chain itself pulls the T-bar securely through the O-ring. If a toggle keeps slipping, the T-bar is too short. A jeweler can easily solder a 3mm extension wire to the T-bar to increase its security ratio.
Quick Fixes for Your Existing Collection
You do not always need to buy a new chain to solve a fit or function problem. Here are three bench-jeweler-approved hacks to salvage poorly fitted necklaces:
- The Paperclip Extender Hack: If you need an immediate 0.5-inch drop for a choker, open a small, heavy-gauge sterling silver or gold-filled jump ring (often sold as 'paperclip' links in craft stores) and attach it between the clasp and the chain. This provides instant relief without altering the original piece.
- Clear Nail Polish on Threads: If you are wearing a delicate silk-threaded pearl necklace and the knots are slipping or fraying near the clasp, apply a microscopic drop of clear, non-yellowing nail polish to the knot. Let it cure for 24 hours. This acts as a temporary liquid solder to prevent unraveling until you can get it professionally re-strung.
- The Layering Spacing Rule: To prevent three necklaces from tangling into a single knot, the length differential must be mathematically precise. The 2026 styling standard dictates a minimum 2-inch gap between the first and second chain, and a 3-inch gap between the second and third. (e.g., 16", 18", and 21").
Final Measurements & Sizing Framework
Ultimately, answering the question of how much necklace you need requires moving beyond arbitrary size labels and focusing on millimeter-precise anatomy and hardware compatibility. Measure your neck, weigh your pendants, and inspect your jump rings. By treating your jewelry as a mechanical system of weights, tensions, and friction points, you can eliminate fit issues, prevent heartbreaking losses, and ensure your necklaces drape flawlessly every single time you wear them.


