How to Choose and Style a Necklace Pendant: Step-by-Step Guide
Learn how to choose, attach, and style a necklace pendant. Our step-by-step guide covers chain gauges, bail types, metal compatibility, and proportion.

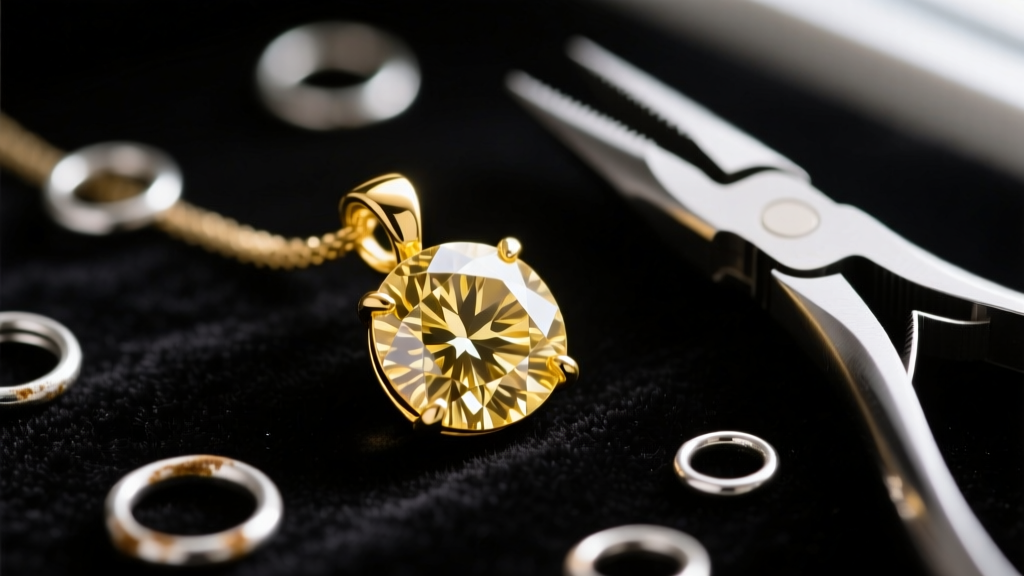
Selecting the right components for a necklace pendant goes far beyond simple aesthetics. Whether you are a bespoke jewelry maker assembling a custom piece or a collector looking to re-chain a vintage heirloom, understanding the structural mechanics of pendants is critical. A poorly matched chain can snap under the dynamic load of a heavy piece, while incompatible metals can lead to irreversible galvanic corrosion. In this comprehensive step-by-step guide, we break down the exact metallurgical and structural considerations you need to master when configuring a necklace pendant for daily wear.
The Anatomy of a Necklace Pendant
Before attaching anything, you must understand the structural anatomy of a necklace pendant. The bail is the primary suspension loop that connects the pendant body to the chain. Bails generally fall into four categories:
- Soldered Bails: Permanently fused to the pendant during casting. These offer the highest tensile strength but limit chain thickness based on the fixed inner diameter.
- Pinch Bails: Feature prongs that insert into a top-drilled hole (typically 2mm to 3mm). Ideal for gemstone teardrops but prone to loosening if the stone is subjected to lateral torsion.
- Glue-On Bails: Secured with two-part epoxy (like G-S Hypo Cement). Best for flat-backed cabochons, but the bond can degrade over time when exposed to ultrasonic cleaners or harsh solvents.
- Hidden Bails: Thread the chain directly through a hollowed-out channel in the pendant, creating the illusion that the piece is floating. These require precise chain-width matching to prevent excessive friction wear.
Step 1: Match the Chain Gauge to the Pendant Weight
The most common failure point in jewelry assembly is pairing a heavy pendant with a delicate chain. Chains are rated by their width (in millimeters) and their link structure. A 1.2mm cable chain relies on single-loop links that can easily pull apart under a 20-gram dynamic load. Conversely, interlocking structures like rope or wheat chains distribute weight across multiple contact points, drastically increasing their load-bearing capacity.
According to technical fabrication guidelines from Rio Grande, you must account for the 'swing weight'—the kinetic force exerted on the chain when the wearer moves. Use the following framework to match your chain gauge to your pendant's static weight:
| Chain Structure | Recommended Width | Max Static Weight | Best Use Case |
|---|---|---|---|
| Cable / Curb | 1.0mm - 1.5mm | Under 10g | Lightweight solitaires, delicate lockets |
| Box Chain | 1.2mm - 2.0mm | 10g - 20g | Medium geometric pendants, daily wear |
| Wheat / Spiga | 1.5mm - 2.5mm | 20g - 35g | Heavy gemstone clusters, thick metal casts |
| Rope Chain | 2.5mm - 4.0mm | 35g - 60g+ | Oversized statement pieces, heavy medallions |
Step 2: Select the Correct Bail or Jump Ring
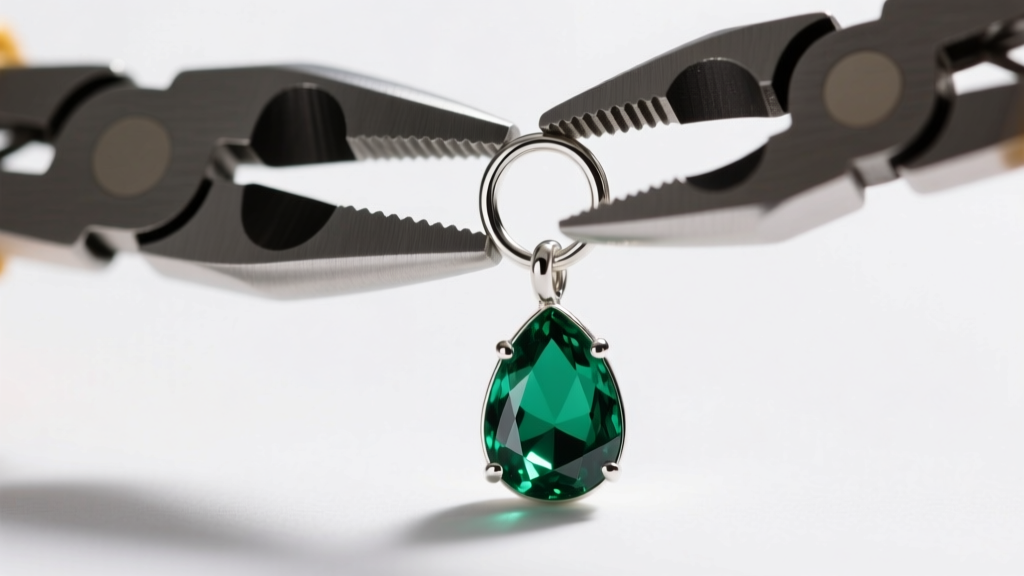
If your necklace pendant does not have an integrated bail, you will need to use a jump ring. The structural integrity of a jump ring depends on its gauge (wire thickness) and whether it is soldered shut. For pendants weighing under 5 grams, a 20-gauge (0.81mm) jump ring is sufficient. For medium pieces (5-15g), upgrade to an 18-gauge (1.02mm) ring. For anything heavier, a 16-gauge (1.29mm) or 14-gauge (1.63mm) jump ring is mandatory.
Critical Technique: Never pull a jump ring apart laterally to open it, as this permanently distorts the circle and weakens the metal's crystalline structure. Instead, use two pairs of flat-nose pliers to twist the ends of the ring in opposite directions (one toward you, one away). This lateral torsion preserves the ring's shape and ensures a flush, seamless closure when twisted back together.
Step 3: Prevent Galvanic Corrosion in Mixed Metals
When configuring a necklace pendant, material compatibility is just as important as structural strength. Galvanic corrosion occurs when two dissimilar metals are in physical contact in the presence of an electrolyte (such as human sweat or high humidity). In this electrochemical reaction, the more 'noble' metal acts as a cathode, while the less noble metal acts as an anode, rapidly accelerating the oxidation and degradation of the anode.
For example, pairing a sterling silver chain (92.5% silver, 7.5% copper) with a brass pendant (copper and zinc alloy) will cause the brass to corrode aggressively at the point of contact. The Gemological Institute of America (GIA) recommends keeping metals within the same galvanic family. If you must mix metals for aesthetic reasons, isolate them using a non-conductive barrier, such as a clear silicone o-ring placed between the bail and the jump ring, or opt for a chain with a protective rhodium or PVD (Physical Vapor Deposition) coating.
Step 4: Apply the Rule of Proportion and Placement
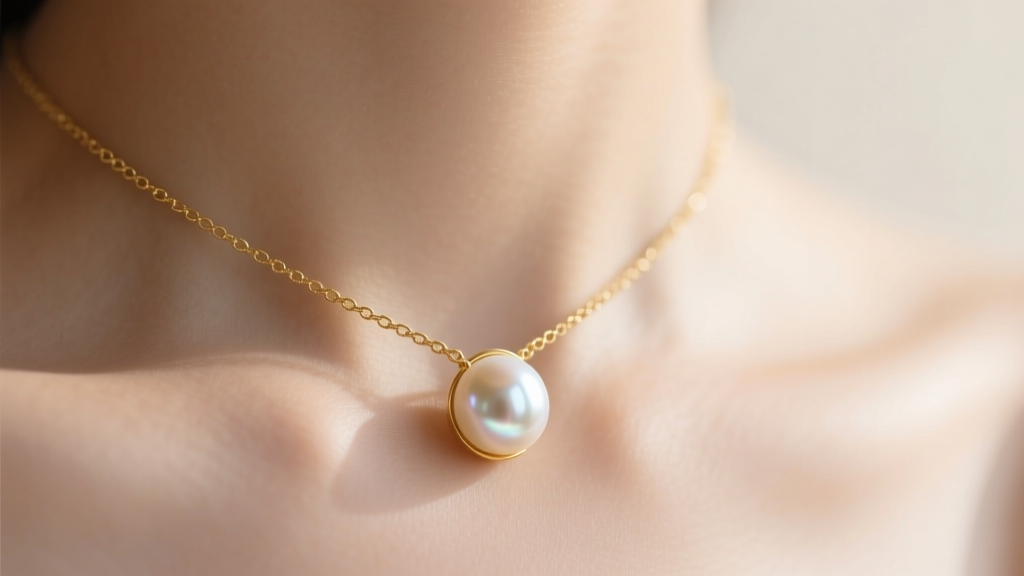
Aesthetic success relies heavily on proportion. The 'Rule of Thirds' in jewelry design dictates that a necklace pendant should occupy roughly one-third of the visual space between the collarbone and the neckline of the garment.
- Petite Frames: Opt for pendants measuring 10mm to 15mm in diameter. Larger pieces will overwhelm the collarbone and visually shorten the neck.
- Average Frames: Pendants between 15mm and 25mm provide a balanced focal point without dominating the décolletage.
- Statement Styling: For pendants exceeding 30mm, utilize a thicker chain (minimum 2.5mm) to visually anchor the piece. A massive pendant on a microscopic chain creates a jarring visual disconnect and implies structural fragility.
Placement is equally crucial. A standard 18-inch chain places the pendant at the lower sternum, ideal for V-necklines. A 16-inch choker length rests at the clavicle, perfectly complementing scoop necks and off-the-shoulder tops.
Troubleshooting Common Pendant Issues
Even with perfect assembly, wearers often encounter mechanical annoyances. Here is how to troubleshoot the most frequent issues:
- The Bail Flips Upside Down: This happens when the pendant's center of gravity is higher than the bail's pivot point. Fix: Add a tiny drop of clear museum wax to the inside of the bail to increase friction, or have a jeweler solder a small counterweight bead to the bottom edge of the pendant.
- The Clasp Slides to the Front: A lightweight clasp paired with a heavy chain will inevitably migrate to the front of the neck. Fix: Attach a small, decorative 'counterweight' charm directly to the jump ring adjacent to the clasp to anchor it at the nape of the neck.
- Chain Kinking: Herringbone and omega chains are notorious for permanent kinking if bent backward. Fix: Never use these chains for heavy pendants. Swap them for a box or wheat chain, which possess multi-directional flexibility and resist permanent deformation.
By treating the assembly of a necklace pendant as an exercise in both engineering and design, you ensure that the final piece is not only visually striking but structurally resilient enough to withstand the rigors of daily wear.


