How to Fix Broken Necklace Chain: DIY vs Pro Repair Guide
Learn how to fix broken necklace chain links at home or when to seek a jeweler. Expert troubleshooting for gold, silver, and delicate chains.

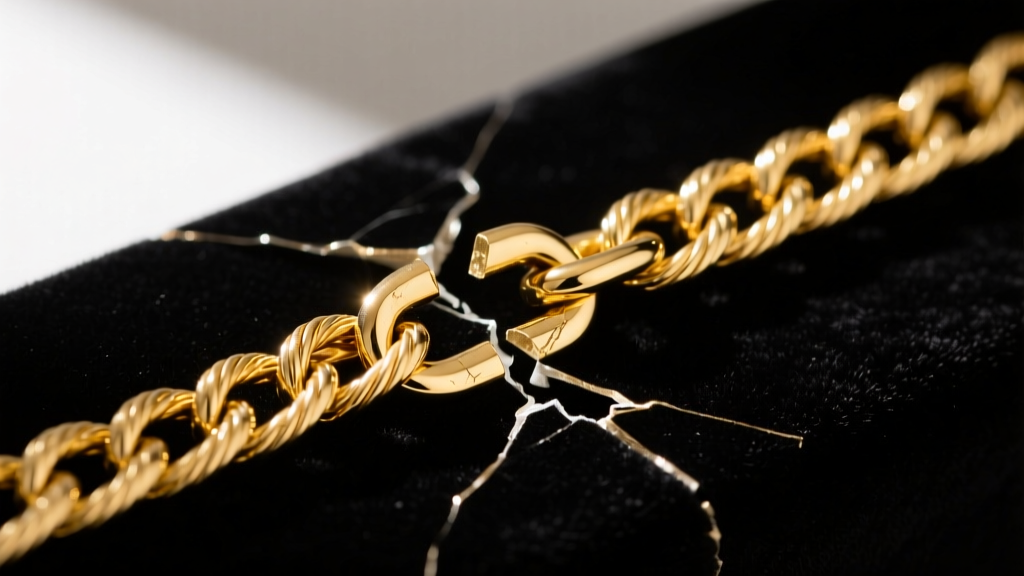
There are few things more frustrating in jewelry ownership than the sudden, weightless snap of a favorite necklace. Whether it is a sentimental heirloom or a daily-wear staple, a broken chain demands immediate attention. However, not all chain breaks are created equal, and applying the wrong repair method can permanently ruin the piece. Understanding how to fix broken necklace chain links requires a basic grasp of metallurgy, chain architecture, and the limitations of DIY adhesives versus professional soldering.
In this comprehensive troubleshooting guide, we will diagnose the most common chain failures, outline the exact tools needed for safe at-home jump ring repairs, and explain why laser welding has become the gold standard for delicate chains in 2026. Before you reach for the super glue, read this expert breakdown.
Diagnosing the Break: Why Chains Fail
To properly fix a necklace, you must first identify the chain style and the nature of the break. According to metalworking standards outlined by the Gemological Institute of America (GIA), precious metals like sterling silver and 14k gold undergo work-hardening. Over time, friction and bending cause the metal's crystalline structure to become brittle, leading to micro-fractures.
Tension Snaps vs. Wear-and-Tear
- Tension Snaps: Occur when a chain is yanked. The break usually happens at the clasp or the jump ring connecting the clasp to the chain. This is highly repairable at home.
- Wear-and-Tear Thinning: Occurs when links rub against each other for years, wearing the wire down from 1.2mm to a fraction of a millimeter until it simply gives out. This requires removing the weakened links and soldering the chain back together.
Chain Architecture Matters
Cable, Curb, and Figaro chains consist of distinct, interlocking loops. If a link opens or breaks, it can often be reconnected using a replacement jump ring or traditional torch soldering. Conversely, Snake, Box, and Herringbone chains are constructed from tightly wound, continuous metal ribbons or microscopic interlocking plates. If these snap, they cannot be fixed with jump rings. Attempting to solder them with a traditional torch will melt the surrounding intricate links into a useless blob of metal. These require specialized laser welding.
The DIY Jump Ring Fix (For Cable and Curb Chains)
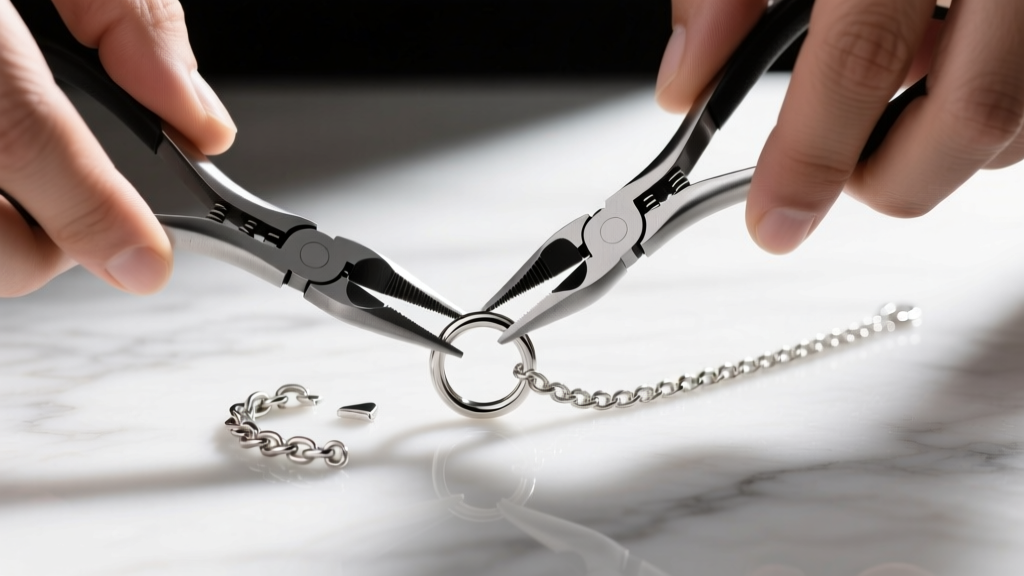
If your cable or curb chain (typically ranging from 0.9mm to 2.5mm in thickness) has broken near the clasp, or if a single large link has failed, you can execute a temporary or semi-permanent repair at home using a jump ring. This method is widely supported by jewelry supply companies like Stuller for basic findings repairs.
Tools Required
- Two pairs of flat-nose jewelry pliers (never use needle-nose, as the serrated teeth will gouge precious metals).
- A replacement jump ring that matches the wire gauge of your chain. For a standard 1.0mm cable chain, you will typically need a 20-gauge or 22-gauge jump ring with a 2.5mm outer diameter (OD).
- A jeweler's loupe (10x magnification) to inspect the closure.
Step-by-Step Execution
- Inspect the Ends: Use your loupe to examine the broken ends. If the links are stretched or severely thinned, you must use wire cutters to snip off the damaged links until you reach healthy, round metal.
- Open the Jump Ring: Grip the jump ring with your two flat-nose pliers on opposite sides of the split. Twist one hand toward you and the other away. Never pull the ring apart laterally, as this distorts the circle and weakens the metal.
- Attach the Chain: Slide the two healthy ends of the broken necklace onto the open jump ring.
- Close the Ring: Twist the ends back together until you feel a slight 'click' or friction bump, indicating the two ends are perfectly flush. If a gap remains, the chain will slip out and break again.
Expert Warning: While a jump ring repair restores wearability, it introduces a new, slightly larger link into the visual pattern of the chain. For seamless repairs on high-karat gold or platinum, professional soldering is always recommended.
Why Super Glue and E6000 Will Ruin Your Jewelry
One of the most common mistakes consumers make when researching how to fix broken necklace chain links is reaching for cyanoacrylate (Super Glue) or industrial adhesives like E6000. Do not glue metal jewelry.
Adhesives do not possess the tensile strength to hold metal links under the dynamic tension of a moving neck. Furthermore, cyanoacrylate adhesives 'outgas' as they cure. This chemical vapor will permanently fog and cloud any gemstones, diamonds, or pearls located near the break. Finally, the glue residue will clog the microscopic gaps between links, making it incredibly difficult for a professional jeweler to clean the area and perform a proper solder repair later. If you cannot use a jump ring or a jeweler, leave the chain broken until it can be professionally welded.

Professional Repairs: Soldering vs. Laser Welding
When a break occurs in the middle of a chain, or involves a delicate style like a 0.8mm box chain, professional intervention is mandatory. Modern jewelry repair relies on two primary techniques, and knowing the difference will save you money and preserve your piece.
Traditional Torch Soldering
Torch soldering involves using a micro-torch to heat the broken metal links and introducing a filler metal (solder) that flows into the joint. This is highly effective for thick, robust chains like 3.0mm Cuban links or heavy Figaro chains. However, the broad heat distribution of a torch poses a severe risk to delicate chains, as it can melt adjacent links or alter the temper of the metal, leaving a stiff, discolored spot on the necklace.
Laser Welding
As highlighted by industry publications like JCK Online, laser welding has revolutionized chain repair. A laser welder uses concentrated pulses of light to melt and fuse the existing metal at a microscopic level, often without adding filler. Because the heat-affected zone is less than a millimeter, a jeweler can weld a snapped 0.5mm snake chain or a platinum link right next to a heat-sensitive gemstone without causing damage. Laser welding leaves a seamless, flexible joint that is virtually invisible to the naked eye.
Repair Cost & Success Rate by Chain Type and Metal
The cost and feasibility of repairing a broken necklace depend heavily on the metal's melting point and the chain's complexity. Below is a 2026 market estimate for professional chain repairs.
| Chain Type & Gauge | Metal Composition | Required Repair Method | Est. Cost Range | DIY Feasibility |
|---|---|---|---|---|
| Cable (1.2mm / 20ga) | 14k Yellow Gold | Jump Ring or Torch Solder | $25 - $45 | High (Jump Ring) |
| Box (0.8mm / 24ga) | Sterling Silver (925) | Laser Welding | $40 - $65 | None |
| Snake (1.5mm) | 18k White Gold | Laser Welding | $55 - $85 | None |
| Cuban (3.5mm / 14ga) | 10k Gold | Torch Soldering | $35 - $60 | Low |
| Herringbone (2.0mm) | Gold Vermeil | Often Unrepairable | N/A | None |
Note: Gold vermeil and gold-plated chains are notoriously difficult to solder or weld, as the intense heat will burn off the microscopic layer of gold plating, exposing the base brass or copper underneath. In these cases, replacement is often more cost-effective than repair.
Preventative Maintenance to Stop Future Snaps
Once you have learned how to fix broken necklace chain links, the ultimate goal is to prevent the issue from recurring. Implement these three professional maintenance habits:
- The Clasp Tug Test: Once a month, gently pull on the jump ring connecting your clasp to the chain. If it opens even a fraction of a millimeter, use your flat-nose pliers to twist it tightly shut. This single joint bears 90% of the tension when a necklace is caught on clothing.
- Proper Storage: Never toss necklaces into a communal jewelry box. The friction of tangled chains accelerates link thinning. Store chains flat, or hang them from a velvet-lined jewelry arbor to maintain their structural integrity.
- Sleep and Shower Rules: Sterling silver and gold alloys are vulnerable to the chemicals in shampoos and the friction of cotton sheets. Removing your necklace before sleeping prevents the chain from being crushed against your collarbone, which is a primary cause of box and snake chain kinking and subsequent snapping.
By understanding the mechanics of your jewelry and respecting the limitations of DIY repairs, you can ensure your favorite pendants and chains remain secure and beautiful for a lifetime.


