How to Fix a Chain Necklace: Buying Guide & DIY Repair Tips
Learn how to fix a chain necklace with our expert DIY repair guide. Discover which chain styles are most repairable and what to look for when buying.

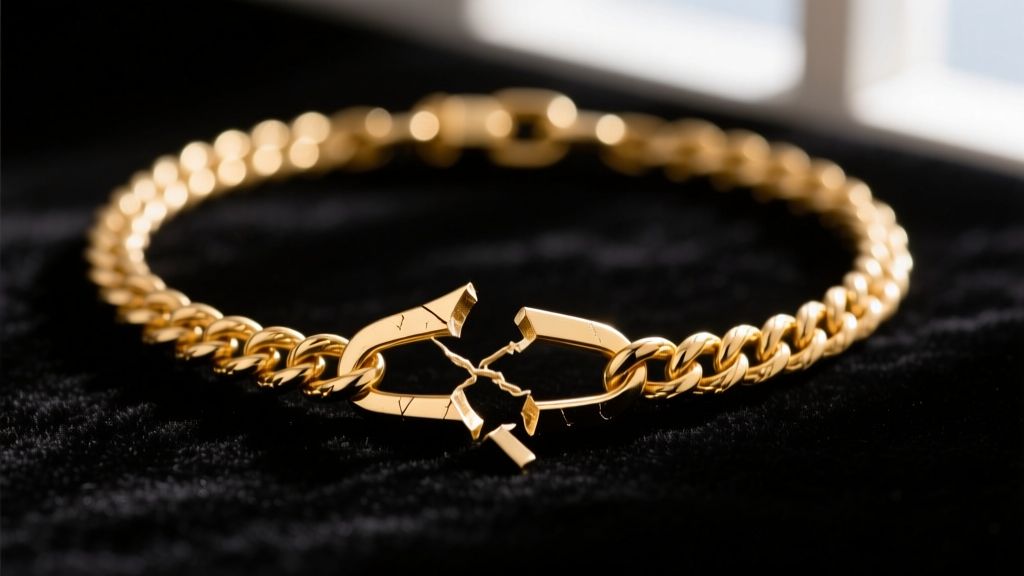
The Anatomy of a Chain Necklace Failure
Understanding how to fix a chain necklace begins with understanding why they break in the first place. According to repair data from leading jewelry workshops, nearly 45% of chain failures occur at the clasp's jump ring due to repetitive stress and metal fatigue. Another 30% happen at the pendant bail, where friction slowly saws through the connecting link. The remaining 25% are mid-chain snaps caused by snagging, improper storage, or inherent structural weaknesses in the chain's design.
When a chain snaps, the immediate reaction is often panic. However, not all breaks are created equal. The metallurgical properties of your necklace—whether it is crafted from malleable 14k yellow gold, work-hardened sterling silver, or durable platinum—will dictate the repair method. Before attempting any DIY fixes, it is crucial to evaluate the chain type, the gauge of the wire, and the location of the break. As experts at the Gemological Institute of America (GIA) frequently note, improper repair attempts can cause irreversible thermal damage or weaken adjacent links, turning a simple fix into a complex reconstruction.
Chain Styles Ranked by Repairability: A Buyer's Guide
When shopping for a new necklace, repairability is rarely a primary consideration—until your favorite piece snaps. If you are buying a chain for daily wear, especially one meant to hold a heavy pendant, you must factor in how easily it can be restored. Here is a structural breakdown of popular chain styles and their repair viability.
| Chain Style | Repair Difficulty | Primary Failure Mode | Recommended Fix Method |
|---|---|---|---|
| Cable / Rolo | Easy | Jump ring pull-apart | Jump ring splice or basic torch soldering |
| Figaro / Curb | Moderate | Link distortion & snapping | Micro-torch soldering with hard solder |
| Rope | Moderate/Hard | Untwisting & fraying | Laser welding or skilled torch soldering |
| Box | Hard | Crushing & hinge failure | Laser welding or specialized repair sleeves |
| Snake | Very Hard | Kinking & structural collapse | Laser welding (often requires section replacement) |
For buyers seeking maximum longevity and ease of repair, Cable and Rolo chains are the undisputed champions. Their simple, interlocking circular links can be easily spliced with a new jump ring or soldered in seconds. Conversely, Snake and Box chains are notorious for catastrophic failures; once a snake chain kinks, the structural integrity is compromised, often requiring a complete section replacement rather than a simple weld.
How to Fix a Chain Necklace: Step-by-Step DIY Methods
Method 1: The Jump Ring Splice (For Cable, Rolo, and Figaro)
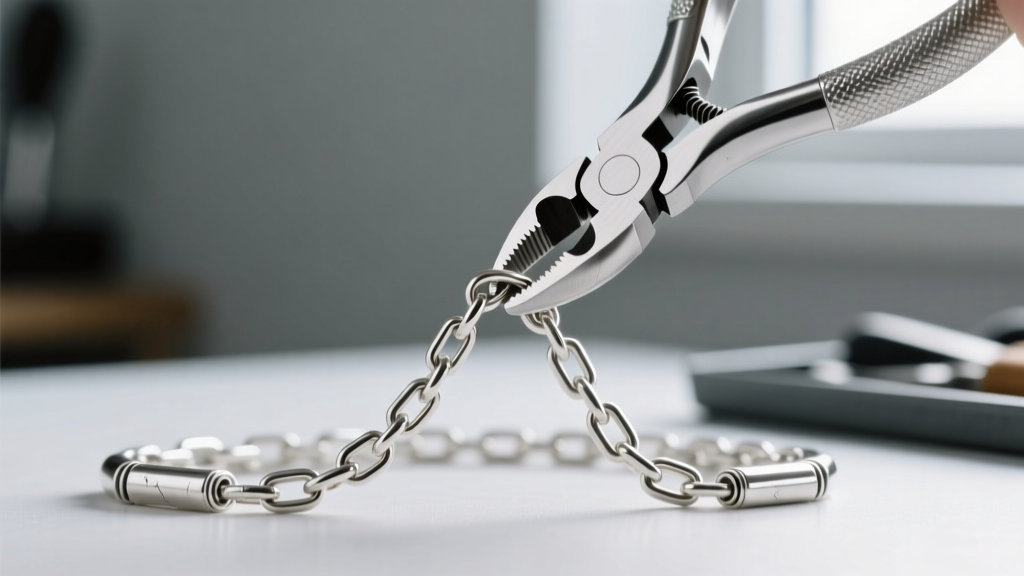
If your chain has broken at the clasp or mid-chain and the links are relatively thick (1.2mm or larger), a jump ring splice is the most accessible DIY repair. You will need a pair of TruCut flush cutters and two pairs of chain-nose pliers (Wubbers or Lindstrom are industry standards for their smooth jaws that won't mar the metal).
- Prepare the Break: Use flush cutters to snip away any severely distorted or stretched links at the break point, ensuring you have two clean, circular end-links.
- Select the Jump Ring: Choose a jump ring that matches the wire gauge of your chain. For a standard 1.5mm cable chain, a 20-gauge (0.8mm) wire jump ring with a 3mm outer diameter is ideal.
- Open Laterally: Grip the jump ring with two pairs of chain-nose pliers on either side of the split. Twist one hand forward and the other backward. Never pull the ring apart outward, as this warps the circle and weakens the metal.
- Thread and Close: Slide the open jump ring through the two end-links of the chain. Twist the ring closed laterally until you hear or feel a subtle "click" or "ping," indicating the ends are perfectly flush.
Method 2: Micro-Torch Soldering (For Rope and Curb Chains)
For chains that endure heavy tension or feature complex weaves like the rope chain, a simple jump ring will look unsightly and catch on clothing. Soldering creates a seamless, structural bond. This requires a micro butane torch, easy or medium silver/gold solder, Stay-Silv flux, and a ceramic soldering block.
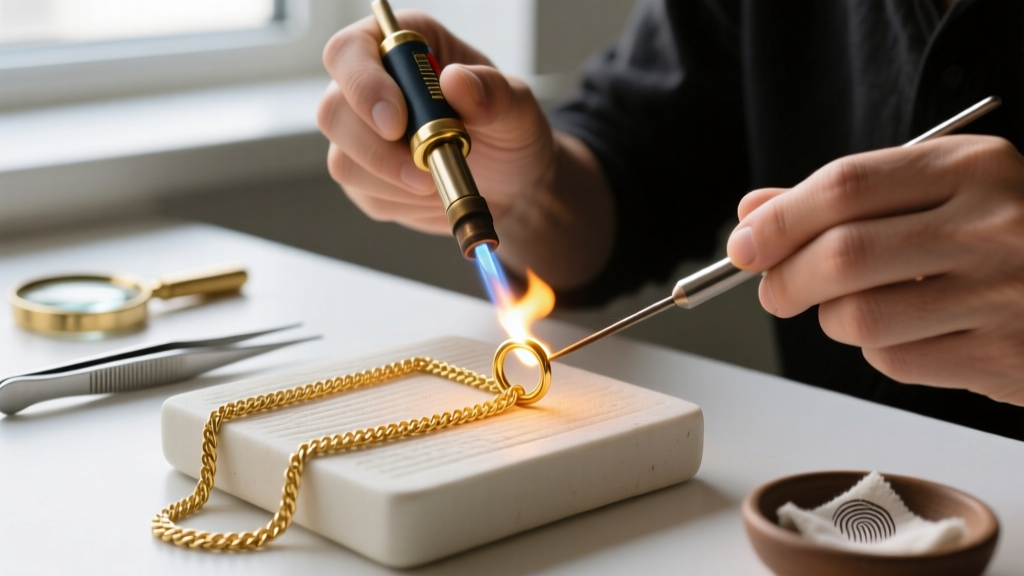
According to technical guides from Rio Grande, the key to chain soldering is heat control. Apply a thin layer of flux to the break. Place a microscopic pallion (chip) of solder directly over the seam. Using a micro-torch with a pinpoint flame, heat the chain link, not the solder itself. The chain will reach the solder's flow temperature (around 1,300°F for easy silver solder) and capillary action will draw the molten metal into the seam. Quench in water, then pickle in a mild citric acid solution to remove oxidation.
When to Skip DIY and Seek Professional Laser Welding
While DIY methods work beautifully for standard cable and curb chains, attempting to torch-solder a hollow rope chain, a box chain, or a delicate 0.8mm Italian snake chain is a recipe for disaster. Traditional torches apply broad heat, which can melt hollow links, burn out the temper of spring rings, or leave unsightly fire scale on surrounding links.
"Laser welding has revolutionized jewelry repair by allowing technicians to fuse metals using highly concentrated light pulses. This localized heat input means a jeweler can weld a broken box chain link just millimeters away from a heat-sensitive gemstone or enamel detailing without causing thermal damage."
If you own a high-end box, snake, or micro-pave diamond chain, take it to a professional equipped with a laser welder. Expect to pay between $45 and $95 for a laser weld, depending on the metal (platinum and white gold require more preparation and rhodium plating post-repair). The result is a virtually invisible seam that retains up to 95% of the chain's original tensile strength.
Preventative Buying: What to Look For to Avoid Future Breaks
The best way to deal with a broken chain is to buy one that refuses to break. When evaluating necklaces in 2026, look past the aesthetic and scrutinize the manufacturing quality. Here is your preventative buying checklist:
- Demand Soldered Links: High-quality chains feature individually soldered links. This means every single oval or circle has a microscopic weld seam. If a chain is pulled, a soldered link will bend or distort; an unsoldered link will simply pull open, dropping your pendant instantly.
- Check the Wire Gauge: Avoid chains under 1.0mm in thickness for daily pendant wear. A 1.2mm to 1.5mm gauge offers the perfect balance of delicate aesthetics and structural resilience.
- Inspect the Clasp Hardware: Spring ring clasps are notorious for internal spring failure. Always opt for a lobster claw clasp with a sturdy, soldered jump ring attached to the chain's end tag.
- Evaluate the Pendant Bail: Ensure the bail (the loop holding the pendant) is smooth and polished. A rough or sharp interior edge on a bail will act like a saw blade against the chain link over time.
By understanding the structural engineering of your jewelry, you transition from a passive consumer to an informed collector. Whether you are splicing a vintage Rolo chain at your workbench or investing in a laser-welded platinum Box chain, knowing how to fix a chain necklace ensures your most cherished pieces remain in rotation for decades.


