How to Layer a Choker and Necklace: A Step-by-Step Guide
Master the art of layering a choker and necklace with our step-by-step guide. Learn chain spacing, texture mixing, and anti-tangling hardware tricks.

The Physics of Necklace Tangling (And How to Beat It)
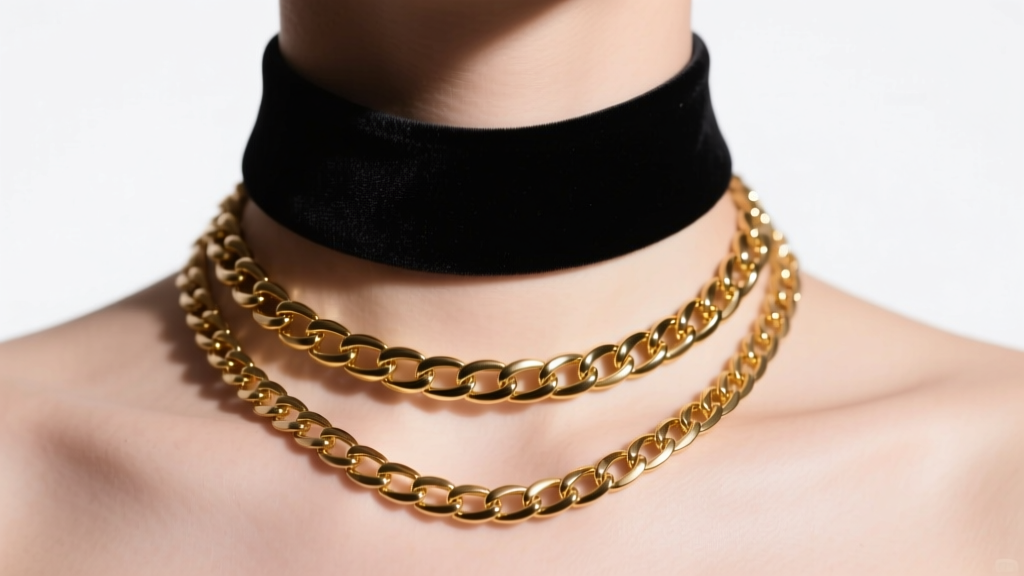
Layering a choker and necklace combination is a staple of modern jewelry styling, but it often ends in frustration. You leave the house looking perfectly curated, only to find your chains twisted into an inseparable knot by lunchtime. This isn't a failure of your styling skills; it is a failure of physics. When two metal chains rest against each other, kinetic friction and electrostatic attraction cause the links to interlock. To master the layering of a choker and necklace, you must stop treating it as a purely visual exercise and start engineering it like a mechanical one.
According to the Gemological Institute of America (GIA), the alloy composition of your gold chains also plays a hidden role. An 18k gold chain is softer and more pliable than a 14k gold chain, making it significantly more prone to micro-bending and catching on adjacent links. By understanding chain weaves, exact length differentials, and hardware gauges, you can create a layered look that remains flawless from morning to night.
Step 1: Establish the Golden 2-Inch Gap
The most common mistake when pairing a choker and necklace is choosing lengths that are too similar. If your choker sits at 15 inches and your secondary necklace sits at 16 inches, the chains will constantly overlap and rub together, creating a high-friction zone right at the hollow of your throat.
The Measurement Matrix
- The Choker (14 to 16 inches): This should sit snugly against the base of your neck or collarbone. If you are using a rigid metal choker, ensure it matches your exact neck circumference plus 0.5 inches for breathing room.
- The Princess (18 to 20 inches): Your secondary necklace must be at least 2 to 3 inches longer than the choker. This creates a physical gap that prevents the pendants or links from colliding.
- The Matinee (22 to 24 inches): If you are adding a third layer, maintain that same 2-inch minimum buffer zone from the princess length.
Pro Tip: Avoid relying on cheap extender chains to create this gap. Extender chains (usually 2 inches of loose cable chain) are notorious for catching on the links of the necklace beneath them. Instead, purchase chains in exact, pre-measured lengths.
Step 2: Mix Chain Textures to Reduce Friction
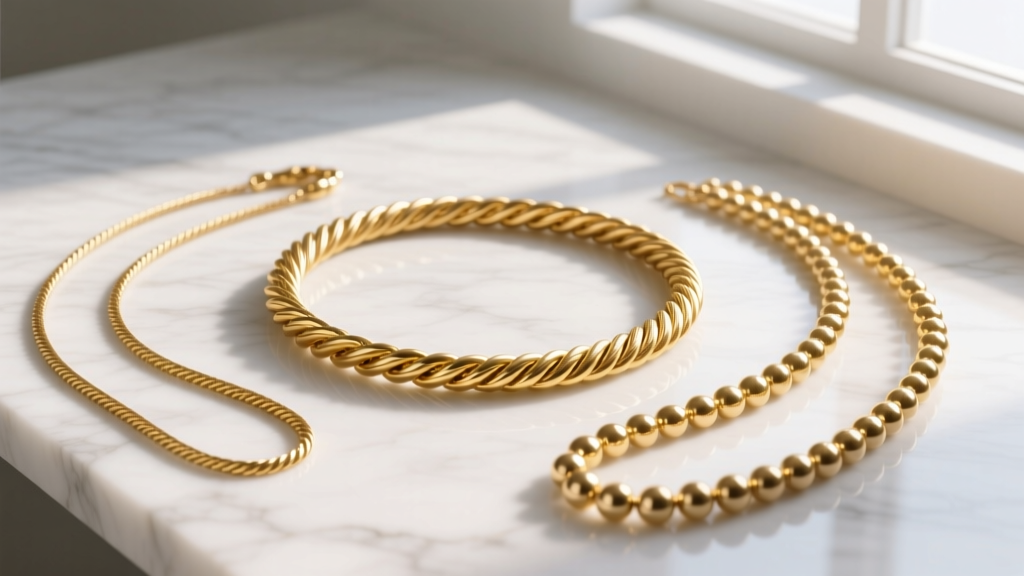
Not all chain weaves are created equal. The architecture of the chain links dictates how easily they will snag on one another. When layering a choker and necklace, the golden rule of texture mixing is: never pair two identical weaves together. Two cable chains will act like gears, their links perfectly aligning and locking into place. By mixing a smooth, flat chain with a textured, rounded chain, you drastically reduce the surface area available for interlocking.
| Chain Weave | Surface Profile | Tangling Propensity | Best Layering Role |
|---|---|---|---|
| Box Chain | Flat, smooth, geometric | Very Low | Secondary Necklace (18"+) |
| Singapore | Twisted, highly textured | Very High | Wear alone or as a rigid choker |
| Rope Chain | Helical, rounded, dense | Low | Base Choker (14"-16") |
| Cable Chain | Oval links, uniform | Moderate | Use only if links are soldered |
As noted by jewelry manufacturing experts at Rio Grande, the distinction between soldered and unsoldered links is critical. Unsoldered cable chains have microscopic gaps at the seam of each link. When layered, the links of a secondary chain will slip into these gaps, causing permanent tangles. Always verify that your layering chains feature fully soldered (closed) links.
Step 3: Balance the Weight and Clasp Hardware
The hardware at the back of your neck is just as important as the chains at the front. A heavy choker and necklace combination will cause lightweight clasps to shift to the front of your collarbone, creating an asymmetrical and uncomfortable fit.
Upgrading Your Jump Rings and Clasps
Most commercial jewelry comes equipped with 22-gauge or 24-gauge jump rings (the small circles that connect the chain to the clasp). These are too flimsy for layering. When two necklaces pull against each other, thin jump rings will warp into an oval shape, eventually snapping open and losing your jewelry.
- Upgrade to 18-Gauge or 20-Gauge Jump Rings: These provide the structural integrity needed to withstand the lateral tension of layered chains.
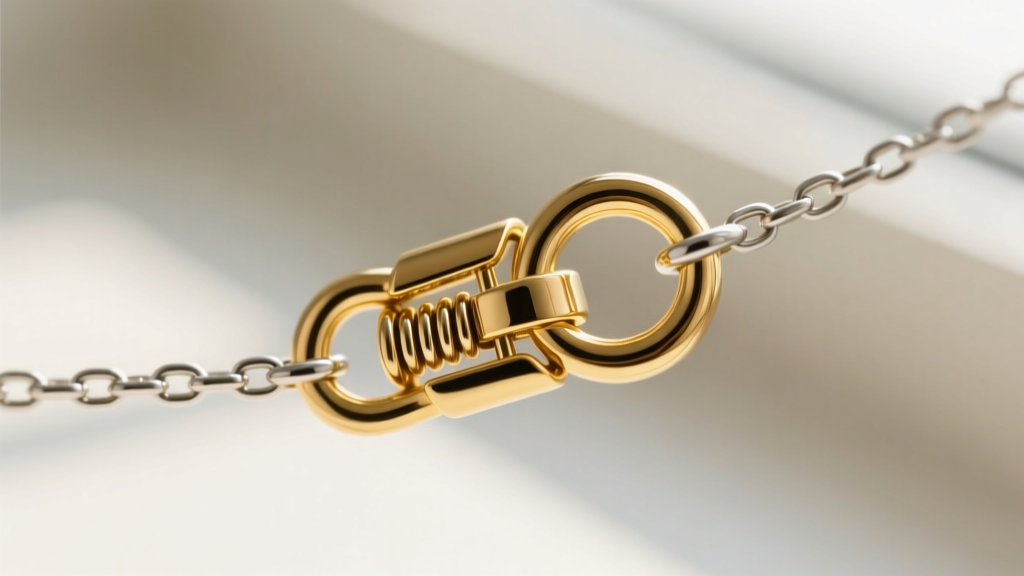
- Use Lobster Clasps Exclusively: Spring ring clasps lack the internal spring tension required for heavier layered setups. A solid 14k gold lobster clasp ensures a secure lock.
- Add a Counterweight: If your secondary necklace features a heavy pendant, have a jeweler solder a small metal counterweight tag near the clasp at the back of the neck. This keeps the pendant perfectly centered on your chest.
Step 4: Match the Layering to Your Neckline
The visual success of your choker and necklace pairing relies heavily on the geometry of your clothing. The negative space on your chest acts as a frame for the jewelry.
"The most elegant layering occurs when the jewelry mimics or perfectly contrasts the structural lines of the garment's neckline."
Neckline Pairing Guide
- The Crew Neck: A tight crew neck competes with a choker. Opt for a delicate 14-inch metal choker and let a heavier 20-inch pendant necklace rest over the fabric of the shirt. This creates depth rather than clutter.
- The V-Neck: This is the ideal canvas. Use a velvet or ribbon choker (15 inches) to anchor the collarbone, and follow the V-shape of the shirt with a 22-inch Y-necklace or lariat that draws the eye downward.
- The Scoop Neck: Mirror the curve of the neckline. Pair a rounded, rigid metal choker with a princess-length (18-inch) curved station necklace. Avoid sharp, geometric pendants that clash with the soft curve of the fabric.
- The Button-Down Shirt: Leave the top two buttons undone. Wear a micro-choker (13 inches) tight against the throat, and let a delicate 18-inch chain disappear beneath the fabric, revealing only the bottom arc of the chain.
Troubleshooting Common Layering Failures
Even with perfect measurements and textures, environmental factors can disrupt your layering. Here is how to troubleshoot the most common real-world issues.
Problem: The Chains Keep Slipping to One Side
The Diagnosis: Your neck is sloping, or the chains are too lightweight to anchor themselves against the natural movement of your body.
The Fix: Utilize a silicone O-ring or a specialized jewelry detangler clasp. These small, discreet findings connect the two chains together at the back of the neck, forcing them to move as a single, unified unit without restricting their individual drape at the front.
Problem: The Choker is Causing Skin Discoloration
The Diagnosis: Because chokers sit tightly against the pulse points of the neck, they are exposed to more sweat, perfume, and body oils than longer necklaces. If you are wearing gold-plated brass or sterling silver, the copper alloys will oxidize rapidly in this high-moisture zone.
The Fix: For the base choker layer, always invest in solid 14k gold, platinum, or implant-grade titanium (ASTM F136). These materials are biologically inert and will not react with the pH levels of your skin, even during high-humidity summer months.
Problem: The Pendant Keeps Flipping Over
The Diagnosis: The pendant bail (the loop connecting the charm to the chain) is too wide for the chain links, causing it to slide and invert.
The Fix: Have a jeweler install a hidden silicone stopper bead or a tiny rubber O-ring on either side of the bail. This centers the pendant permanently and prevents it from rotating, ensuring your layered look remains perfectly curated all day.


