How to Layer and Style Different Types of Necklace for Any Neckline
Master the art of layering with our step-by-step guide. Learn how to choose, mix, and match different types of necklace styles for any neckline.

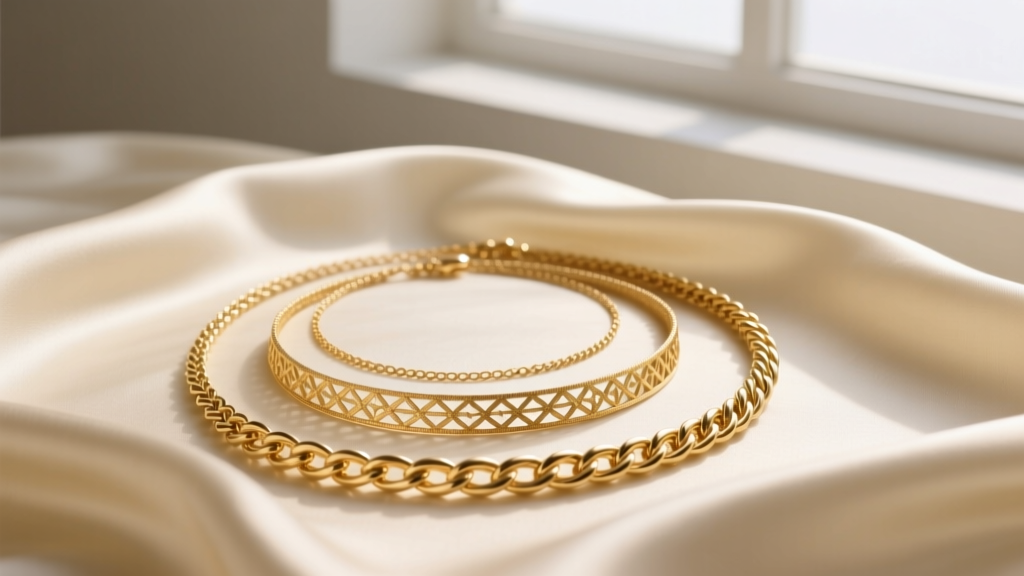
The Anatomy of a Perfect Layer: Understanding Necklace Lengths
Mastering the art of jewelry stacking begins with a precise understanding of standard necklace lengths and chain gauges. When exploring the various types of necklace silhouettes, it is crucial to recognize that a successful layer relies on a minimum two-inch gap between each chain to prevent friction and tangling. According to jewelry manufacturing standards outlined by Rio Grande, the structural integrity of a chain changes drastically depending on its length and thickness.
- Collar (12-14 inches): Sits tightly against the throat. Best suited for 1.5mm to 2.0mm widths in rigid or semi-rigid weaves like omega or herringbone.
- Choker (14-16 inches): Rests at the base of the neck. Ideal for delicate 1.0mm to 1.5mm cable or box chains.
- Princess (17-19 inches): The most versatile length, falling just below the collarbone. This is your primary canvas for pendants, supporting 1.2mm to 2.5mm chains.
- Matinee (20-24 inches): Drops to the center of the chest. Thicker weaves (3.0mm to 5.0mm) like figaro or rolo work beautifully here to anchor the layer.
- Opera (28-36 inches): Falls below the bust. Often used for dramatic, elongating effects or doubled over for a faux-choker look.
When combining these lengths, always pair a lighter, thinner chain on the shorter length with a heavier, thicker chain on the longer length. This creates visual hierarchy and prevents the heavier chain from pulling and warping the delicate links of the shorter piece.
Step-by-Step Guide to Matching Types of Necklace to Necklines
The neckline of your garment dictates the geometry of your jewelry. Selecting the right types of necklace styles requires analyzing the negative space around your neck and chest.
| Neckline Type | Ideal Necklace Type | Recommended Length | Best Chain Weave |
|---|---|---|---|
| Crew Neck | Statement Collar or Layered Chokers | 14" - 16" | Paperclip or Curb |
| V-Neck | Y-Necklace or Princess Pendant | 18" - 22" | Cable with Lariat Drop |
| Turtleneck | Long Matinee or Opera Chains | 24" - 32" | Rolo or Figaro |
| Scoop Neck | Graduated Layered Princess Chains | 16", 18", 20" | Box or Rope |
Tackling the V-Neck and Plunging Necklines
For V-necks, the goal is to mirror the garment's geometry. A princess-length pendant necklace (18 inches) with a distinct focal point, such as a teardrop gemstone or a vertical bar, draws the eye downward and elongates the torso. Avoid chokers here, as they visually chop the neck and clash with the deep plunge of the fabric.

Navigating High Collars and Turtlenecks
High necklines eliminate the skin exposure typically used to frame shorter chains. Instead, treat the fabric as a solid backdrop. Opt for matinee or opera lengths (24 to 32 inches) in bold, high-contrast metals. A 4.0mm yellow gold rolo chain layered over a black turtleneck creates a striking, modern aesthetic. Ensure the clasp is large enough to slide easily over the thicker fabric of the collar when removing the piece.
The 3-Step Layering Formula for Tangle-Free Stacking
Tangling is the most common failure mode in necklace layering, caused by chains of similar gauge and weave catching on one another. To build a tangle-free stack, follow this structural formula:
Step 1: The Anchor (Closest to the Skin)
Start with a 14-inch or 16-inch choker. Choose a chain with a flat profile, such as a herringbone or a flat curb chain. Because it sits flush against the skin, it is less likely to wrap around other chains. Ensure it has a secure lobster clasp; spring-ring clasps often fail under the tension of a tight choker.
Step 2: The Focal Point (The Middle Layer)
Move to an 18-inch princess chain. This layer should carry the visual weight of the stack through a pendant, charm, or distinct texture. A 1.5mm box chain is ideal here, as its square, interlocking links provide a sturdy base for pendant bails without easily kinking.
Step 3: The Elongator (The Outer Layer)
Finish with a 22-inch or 24-inch matinee chain. This piece should be the thickest in your stack (e.g., 2.5mm to 3.5mm). A rounded rope chain or a classic figaro provides excellent drape and weight, pulling the lower half of the stack taut and preventing the middle layers from bunching up.
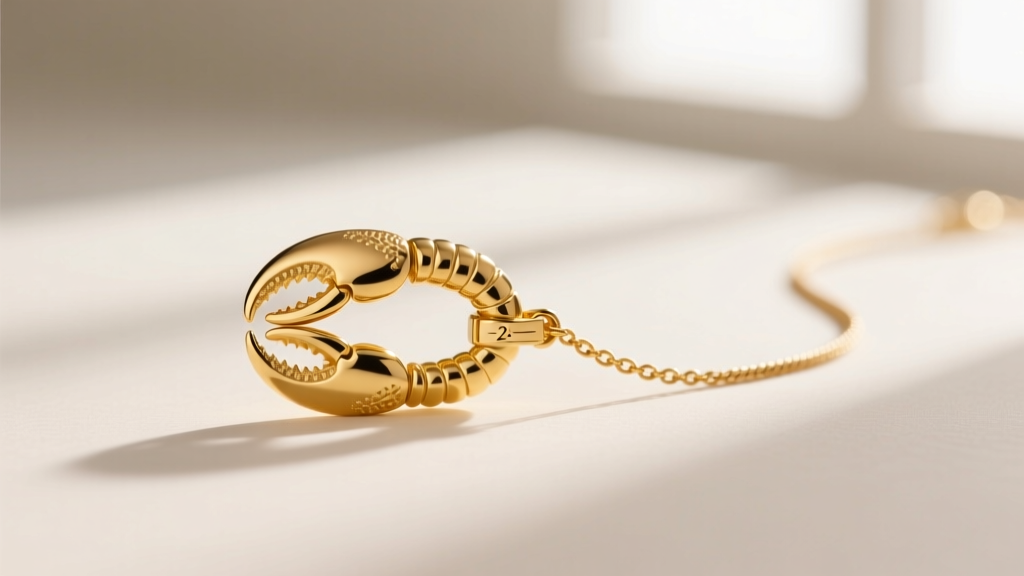
Material Mixing: How to Combine Metals Without Clashing
Mixed-metal layering is a dominant trend, but it requires an understanding of metallurgy to execute properly. The Gemological Institute of America (GIA) notes that the alloy composition of gold dictates not only its color but also its durability and reactivity.
When mixing metals, apply the 70/30 rule: let one metal dominate 70% of the stack, using the secondary metal for 30% of the accents. For example, pair a 14k yellow gold anchor chain and elongator (70%) with a rhodium-plated sterling silver focal pendant chain (30%).
Pro-Tip on Alloys: Avoid layering raw copper or low-karat rose gold (which contains high copper content) directly against silver chains. The galvanic reaction caused by sweat and skin oils can accelerate tarnishing on the silver links. Always ensure your silver pieces are heavily rhodium-plated, or stick to mixing 14k/18k yellow gold with platinum or white gold for a chemically stable stack.
Troubleshooting Common Layering Failures
Even with perfect length spacing, environmental factors and hardware choices can ruin a layered look. Here is how to troubleshoot the most common issues:
- The Spinning Clasp: If your clasp constantly migrates to the front of your neck, your chain is too light for the pendant, or the chain is too long. Add a 2-inch extender chain to the back, or use a small, discreet counterweight bead near the clasp to balance the tension.
- Chain Kinking: Snake and herringbone chains are notoriously prone to kinking if bent sharply. Never sleep in these chain types, and store them hanging vertically rather than coiled in a jewelry box. If a kink occurs, lay the chain flat on a hard surface and gently roll a smooth, heavy glass over the affected area to realign the links.
- Hardware Snagging: Lobster clasps with sharp, unpolished edges will catch on the delicate links of adjacent chains. Inspect the inside of the clasp lever with a jeweler's loupe; if it feels rough, a quick polish with a microfiber cloth or a professional buffing wheel will smooth the burrs and eliminate snagging.
By understanding the precise mechanics of chain weaves, metal alloys, and spatial geometry, you can confidently mix and match different types of necklace styles to create a curated, professional-grade stack that complements any wardrobe.


