How to Make a Buckeye Necklace: A Beginner's Guide to Good Luck
Learn how to make a buckeye necklace with our step-by-step beginner guide. Discover drying, drilling, and sealing techniques for lasting good luck jewelry.

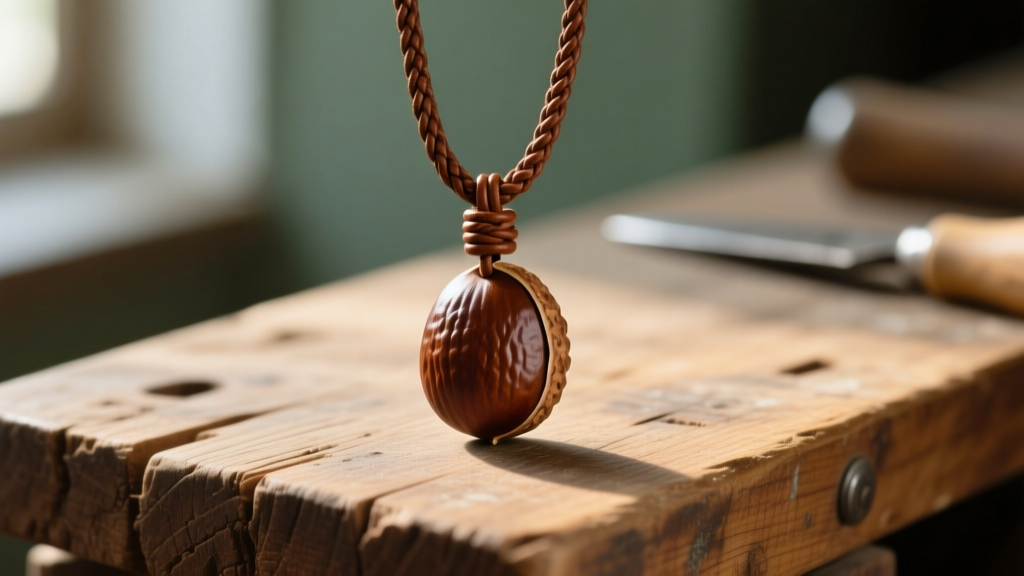
The Folklore and Appeal of Buckeye Jewelry
Carrying a buckeye in your pocket for good luck is a deeply rooted American tradition, particularly in the Midwest where the Ohio buckeye (Aesculus glabra) is a regional icon. Folklore suggests that keeping a buckeye nut on your person wards off rheumatism, prevents headaches, and attracts general good fortune. However, carrying a raw nut in your pocket often leads to it crumbling into a messy powder. Learning how to make a buckeye necklace transforms this fragile token of luck into a durable, wearable piece of rustic jewelry.
This beginner-friendly explainer will guide you through the exact processes of foraging, drying, drilling, and sealing buckeyes, ensuring your pendant lasts for years without cracking, rotting, or losing its natural luster.
Phase 1: Foraging and the Crucial Drying Process
You cannot drill or seal a fresh, raw buckeye. The high moisture content inside a freshly fallen nut will cause it to shrink, warp, and eventually rot from the inside out if sealed prematurely. According to the Ohio State University Extension, buckeyes typically drop from their trees in September and October.
Proper Harvesting and Curing
- Harvesting: Collect nuts that have naturally fallen and have partially split husks. Avoid nuts with visible exit holes, which indicate insect infestation.
- Husk Removal: Wear gloves to peel away the leathery, spiky outer husk. The sap can cause mild skin irritation in sensitive individuals.
- The Drying Phase: Place the raw nuts in a single layer on a mesh screen or inside a paper bag. Store them in a warm, dry, and well-ventilated area out of direct sunlight. Direct heat or sunlight will cause the outer shell to crack.
- Timeline: Allow the buckeyes to cure for 3 to 4 weeks. You will know they are ready when they feel exceptionally light, and the inner nut rattles slightly when shaken.
Essential Tools and Materials
Working with organic materials requires specific tooling to prevent splintering and structural failure. Below is the exact toolkit required for professional-grade results.
| Tool / Material | Specification | Purpose |
|---|---|---|
| Power Drill | Variable speed cordless | Allows slow, controlled RPMs to prevent burning the wood. |
| Drill Bit | 3/32" Brad-point bit | The brad tip bites into the shell cleanly, preventing the bit from wandering and causing blowout. |
| Clamp / Vise | Small bench vise or C-clamp | Secures the nut. Never hold a small round object in your hand while drilling. |
| Sealant | Water-based Polyurethane or Epoxy | Locks in moisture, prevents rot, and adds a protective gloss. |
| Cordage | 2mm Leather, Hemp, or Paracord | Provides a rustic aesthetic that complements the natural nut. |
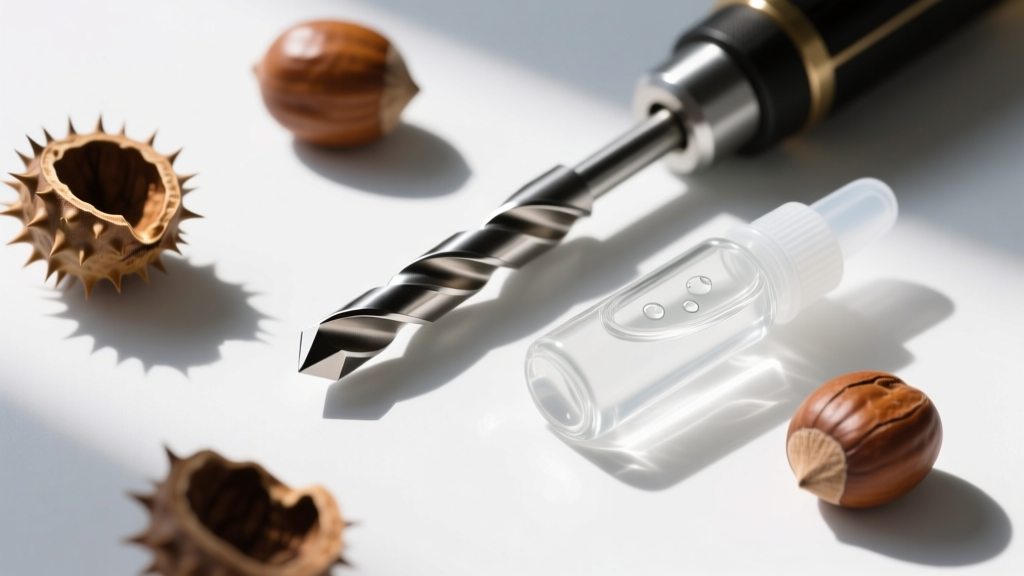
Phase 2: Drilling Without Splitting the Shell
The most common point of failure for beginners is the drilling stage. Buckeye shells are relatively thin but the inner core is dense. Applying too much pressure will shatter the nut.
The Two-Sided Drilling Technique
To achieve a clean hole without "blowout" (where the drill bit tears the wood as it exits the other side), you must drill from both ends.
- Secure the Nut: Place the dried buckeye in a padded vise or clamp it gently between two scrap pieces of wood. Do not overtighten, or you will crush the shell.
- Mark the Axis: Identify the flattest top and bottom points of the nut. Use an awl or a needle to score a small dimple where you want the hole. This gives your drill bit a track to follow.
- Drill Halfway: Set your drill to a low speed. Using your 3/32" brad-point bit, slowly drill into the top dimple. Stop when you are roughly halfway through the nut.
- Flip and Meet: Unclamp the nut, flip it over, and drill into the bottom dimple until the bit breaks through into the existing hole. This guarantees a perfectly clean exit.
Phase 3: Sealing for Longevity and Safety
Sealing your buckeye is not just about aesthetics; it is a matter of preservation and safety. Raw buckeyes contain aesculin, a mildly toxic compound that can cause gastrointestinal distress if ingested and may irritate the skin over prolonged contact. Sealing the nut encapsulates the organic material, rendering it completely safe for daily wear and protecting it from ambient humidity.
Choosing Your Sealant
- Brush-On Polyurethane (Matte or Gloss): Best for a natural, wood-like feel. Apply 3 to 4 thin coats, allowing 2 hours of drying time between each coat. Lightly sand with 400-grit sandpaper before the final coat.
- Clear Epoxy Resin Dip: For a high-gloss, glass-like finish that will never wear off. Mix a two-part jewelry resin, dip the drilled buckeye using a bent paperclip through the hole, and let it cure on a wire rack for 24 hours. This adds significant weight and durability to the pendant.
- Beeswax and Mineral Oil: For a purely natural, non-toxic seal. Melt beeswax with a dash of mineral oil and rub it into the shell. Note that this requires reapplication every 6 months and does not offer the same moisture barrier as polyurethane.
Phase 4: Stringing and Hardware Selection
Once your buckeye is fully cured and sealed, it is time to assemble the necklace. The hardware you choose dictates both the comfort and the lifespan of the piece.
For a rustic buckeye pendant, avoid delicate metal chains. The weight and organic texture of the nut pair best with fibrous or leather cordage. Sourcing high-quality findings from reputable jewelry suppliers like Fire Mountain Gems ensures your clasps and cord ends won't tarnish or break.
The Sliding Macramé Knot Method
The most beginner-friendly and adjustable way to string a buckeye is using a sliding square knot. This eliminates the need for metal clasps and allows the wearer to adjust the length from choker to chest-level.
- Cut a 40-inch length of 2mm hemp or leather cord.
- Thread the cord through the drilled buckeye and center it.
- Cross the left cord over the right cord.
- Take a separate 10-inch piece of cord and tie a series of square knots around the two main cord ends.
- After 4 or 5 knots, trim the excess and melt the ends (if using synthetic cord) or glue them (if using natural fibers) to secure the sliding mechanism.

Care, Maintenance, and Real-World Troubleshooting
Even properly sealed buckeye jewelry requires basic care to maintain its structural integrity over the years.
Expert Troubleshooting Tip: If your buckeye develops a tiny hairline crack after sealing, do not panic. Organic materials expand and contract with seasonal humidity changes. Simply take a toothpick, dip it in cyanoacrylate (super glue), and wick the glue directly into the crack. Once dry, buff it with a microfiber cloth. The glue will stabilize the crack and prevent it from spreading.
Routine Maintenance Checklist
- Avoid Prolonged Water Exposure: While polyurethane and resin are water-resistant, wearing the necklace in the shower or pool can eventually degrade the cordage and compromise the sealant at the drill holes.
- Condition Leather Cords: If you used a genuine leather cord, apply a tiny drop of leather conditioner every few months to prevent it from drying out and snapping.
- Storage: When not wearing your good luck charm, store it in a breathable cotton pouch rather than an airtight plastic bag, which can trap condensation.
Conclusion
Learning how to make a buckeye necklace is a rewarding intersection of nature foraging and rustic jewelry crafting. By respecting the drying timeline, utilizing the two-sided drilling method, and properly sealing the organic material, you elevate a simple woodland seed into a permanent, wearable talisman. Whether you are crafting a good luck charm for yourself or creating personalized gifts for friends, the techniques outlined above will ensure your buckeye jewelry stands the test of time.