How to Make the Money Necklace: Coin Pendant Guide
Learn how to make the money necklace with our expert buying guide. Discover the best coin grades, bezel mounts, and heavy-duty chains for custom pendants.

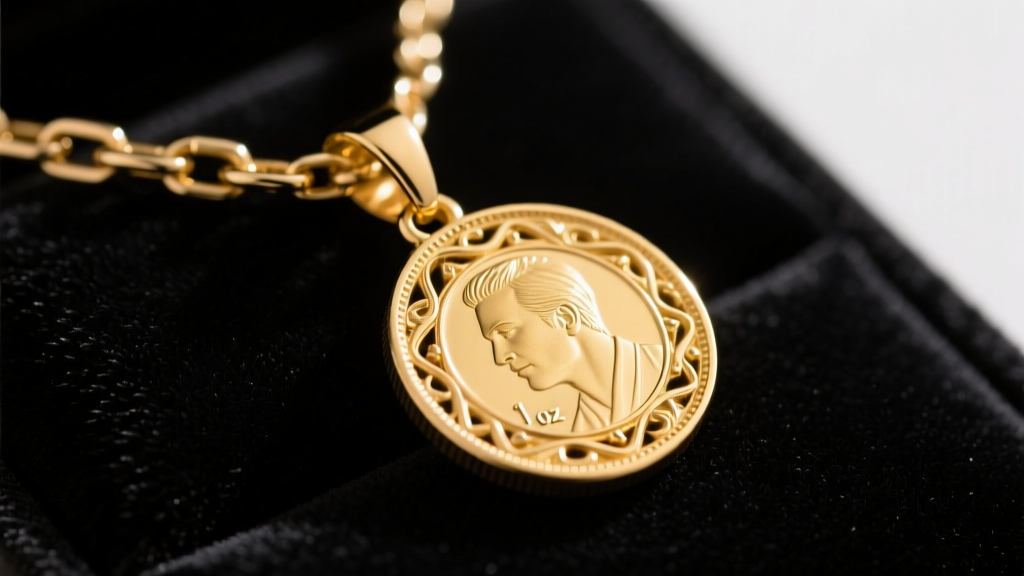
When collectors, investors, and jewelry enthusiasts ask how to make the money necklace, they are referring to the bespoke craft of transforming actual legal tender and precious metal bullion into a wearable, high-value pendant. Unlike mass-produced jewelry, a custom money necklace requires a deep understanding of numismatics, metallurgy, and jewelry findings. You are not just buying a pendant; you are engineering a wearable asset.
This comprehensive buying guide will walk you through the exact specifications, material grades, and structural requirements needed to build a custom coin necklace that is both secure and visually striking. From sourcing raw bullion to selecting the correct tensile-strength chain, here is everything you need to know before assembling your piece.
The Anatomy of a Custom Money Necklace
A properly constructed money necklace consists of three critical components that must be perfectly matched in terms of weight, diameter, and metallurgical compatibility. Mismatching these elements is the primary cause of pendant loss and chain fatigue.
- The Core (The Coin): The focal point, valued for its precious metal content, historical significance, or numismatic premium.
- The Housing (The Bezel): The metal mount that secures the coin without damaging its surfaces or obscuring its mint marks.
- The Suspension (The Chain): The structural link that must support the dynamic weight of the pendant during daily wear.
Step 1: Sourcing the Right Coins for Bezels
The most critical mistake beginners make when learning how to make the money necklace is attempting to drill a hole through a rare or valuable coin. Drilling destroys numismatic value and compromises the structural integrity of the metal. Instead, you must source coins specifically intended for bezel mounting. According to the Professional Coin Grading Service (PCGS), raw, uncirculated, or bullion coins are the best candidates for jewelry, as they do not carry the massive collector premiums of slabbed, high-grade numismatic pieces.
Bullion vs. Numismatic: What to Buy
For a money necklace, you want to buy bullion or semi-numismatic raw coins. Bullion coins are valued strictly by their precious metal weight plus a small mint premium. They are produced in massive quantities, meaning mounting them in a bezel will not anger collectors or destroy rare historical artifacts.
| Coin Type | Material & Purity | Diameter (mm) | Weight (grams) | Recommended Bezel Style |
|---|---|---|---|---|
| American Silver Eagle | .999 Fine Silver | 40.6 mm | 31.10 g | Sterling Silver Soldered |
| Gold Krugerrand (1 oz) | 22k Gold (.9167) | 32.7 mm | 33.93 g | 14k/18k Yellow Gold Snap-In |
| Morgan Silver Dollar | .900 Coin Silver | 38.1 mm | 26.73 g | Sterling Silver Screw-Top |
| Canadian Gold Maple Leaf | .9999 Fine Gold | 30.0 mm | 31.10 g | 18k Gold Soldered (Soft Metal) |
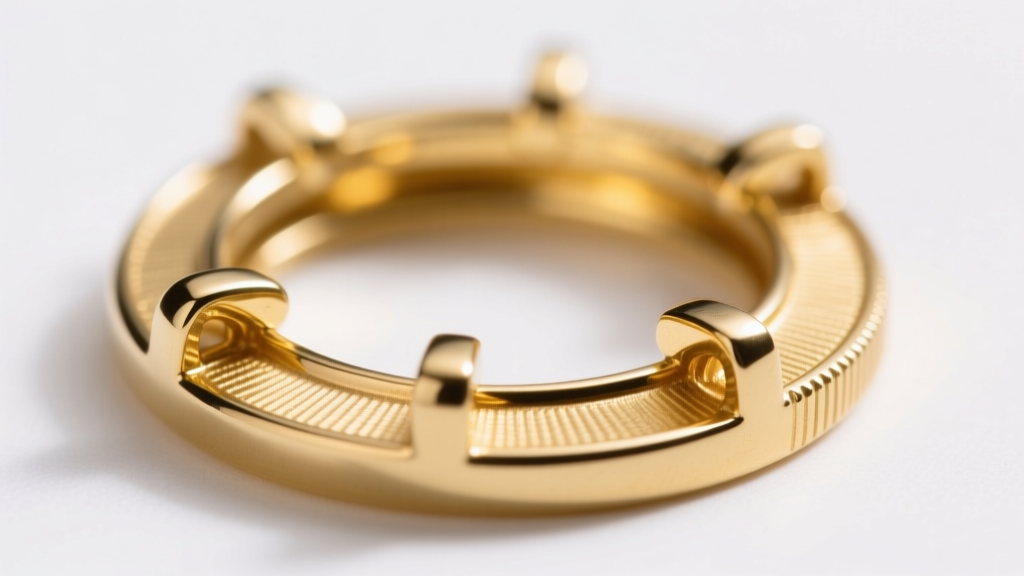
Step 2: Choosing the Bezel Mount
The bezel is the interface between your investment and the outside world. When browsing suppliers like Rio Grande or local jewelry findings wholesalers, you will encounter three primary types of bezel mounts. Choosing the right one depends on the coin's hardness and value.
1. Snap-In (Tension) Bezels
Snap-in bezels feature a flexible inner lip with small tension prongs. You place the coin inside and use a bezel pusher to snap the prongs over the coin's rim. Pros: No soldering required; allows for easy coin swapping. Cons: Over time, the tension can weaken, especially if the necklace is snagged. Best for harder coins like 22k Krugerrands or .900 silver Morgans.
2. Soldered (Permanent) Bezels
A jeweler solders a solid lip over the edge of the coin, permanently encasing it. Pros: Maximum security; the coin cannot fall out. Cons: Requires professional jewelry tools and heat control. Warning: Never use a soldered bezel on .9999 fine gold (like the Maple Leaf), as the extreme softness of the metal can cause the coin to warp or melt under a jeweler's torch.
3. Screw-Top (Threaded) Bezels
These feature a threaded backplate that screws into the front frame, sandwiching the coin securely without bending any metal over the rim. Pros: Excellent for protecting the coin's edge; easily removable. Cons: Threads can strip over years of wear if not lined with a Teflon washer.
Step 3: Selecting a Heavy-Duty Chain
A 1-ounce silver eagle weighs roughly 31 grams, but dynamic movement (walking, bending) can exert up to 5 times that force on the chain's weakest point. You must select a chain with a high tensile strength and a secure clasp mechanism.
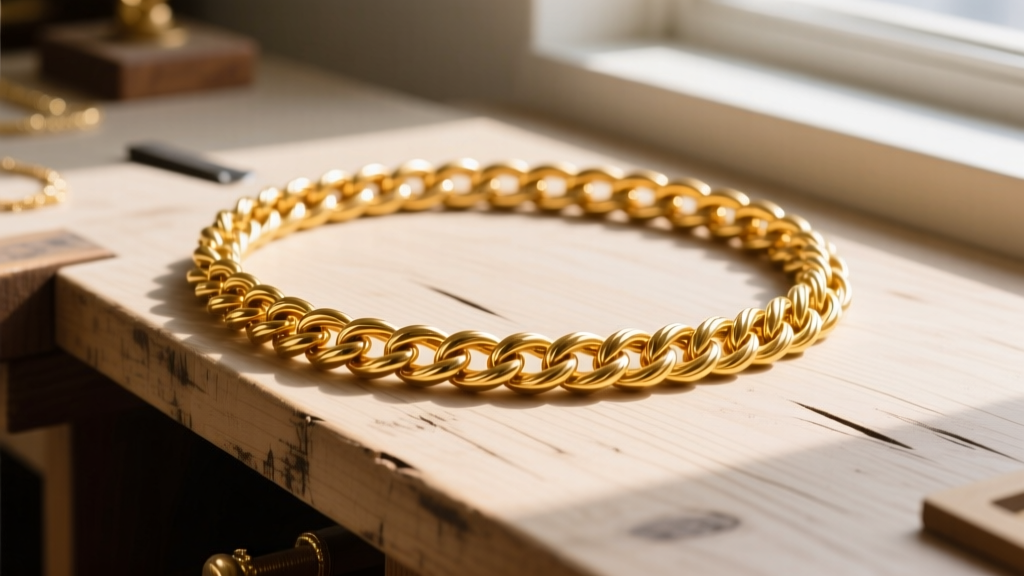
Chain Styles and Gauge Requirements
Avoid delicate chains like box cords, snake chains, or thin cable links. For a money necklace, you need structural integrity. According to data from APMEX and jewelry manufacturing standards, here are the minimum gauge requirements based on pendant weight:
- Fractional Coins (1/10 oz to 1/4 oz): Minimum 2.5mm gauge. Recommended styles: Curb, Figaro, or Wheat.
- Standard Coins (1/2 oz to 1 oz Silver): Minimum 3.5mm gauge. Recommended styles: Rope, Cuban Link, or Mariner.
- Heavy Coins (1 oz Gold or larger): Minimum 4.5mm to 6.0mm gauge. Recommended styles: Thick Cuban Link or Double Rope.
The Clasp: Where Chains Fail
Never use a spring-ring clasp for a money necklace. The internal spring mechanism is prone to failure under heavy loads. Always opt for a trigger lobster clasp (minimum 12mm in length) or a box clasp with a figure-eight safety latch. Ensure the jump ring connecting the clasp to the chain is soldered shut, not just pinched closed.
Assembly and Care Instructions
Once you have your coin, bezel, and chain, assembly requires a careful touch. If using a snap-in bezel, place the coin on a soft leather bench pad. Position the bezel over the coin and use a nylon-tipped bezel pusher to gently press the prongs over the rim. Work in a star pattern (top, bottom, left, right) to ensure even tension and prevent the coin from seating crookedly.
Preventing PVC Damage and Tarnish
Never store your money necklace in cheap plastic coin flips. Many older, inexpensive plastics contain Polyvinyl Chloride (PVC), which breaks down over time and leaves a green, corrosive film on silver and copper coins that is nearly impossible to remove without damaging the coin's luster. Store your necklace in an anti-tarnish cloth pouch or a specialized Mylar-lined jewelry box.
When cleaning the chain, remove the coin pendant first. Ultrasonic cleaners and harsh chemical silver dips will strip the natural toning off a vintage Morgan dollar and ruin its surface. Clean the chain separately with a mild dish soap and a soft bristle brush, and simply wipe the coin with a dry, lint-free microfiber cloth.
Final Verdict: Building a Legacy Piece
Learning how to make the money necklace is an exercise in balancing aesthetics with structural engineering. By sourcing raw bullion or semi-numismatic coins, matching them with the correct bezel tension, and suspending them on a properly gauged rope or Cuban chain, you create more than just an accessory. You create a wearable, liquid asset that combines the raw beauty of precious metals with the enduring craftsmanship of fine jewelry. Take your time sourcing the exact millimeter specifications for your bezel, and your custom money necklace will remain secure and stunning for a lifetime.


