How to Make a Necklace Longer: 5 Expert Extension Methods
Learn how to make a necklace longer with 5 expert methods. Discover chain extenders, clasp swaps, and DIY beading techniques for any metal or style.

The Frustration of the Wrong Length
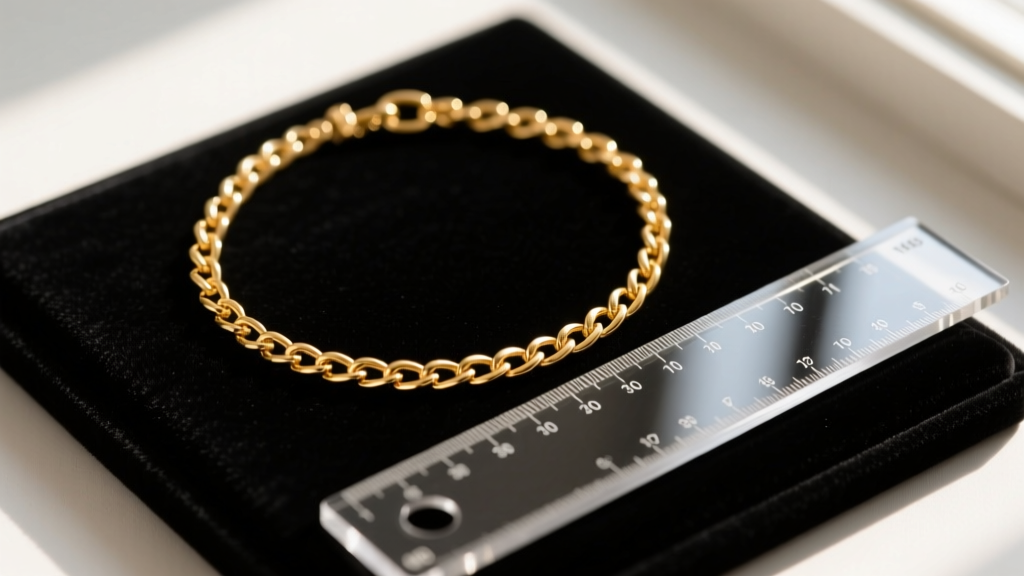
There is nothing more frustrating than finding the perfect pendant or chain, only to realize it sits awkwardly high on your collarbone. Standard jewelry lengths—like the 16-inch choker or 18-inch princess—do not account for individual neck circumferences or the varying necklines of your wardrobe. If you are wondering how to make a necklace longer without compromising its structural integrity or aesthetic, you have come to the right place. In this comprehensive guide, we break down five professional jeweler-approved methods to extend your necklaces, ranging from quick hardware swaps to permanent beading modifications.
Method 1: The Chain Extender (The Quick Fix)
The most non-destructive way to add length to a chain necklace is by attaching a commercial chain extender. These are short segments of chain (typically 2 to 4 inches) featuring a lobster clasp on one end and a small jump ring or charm on the other. You simply clip the lobster clasp into the existing end ring of your necklace, and hook your necklace's clasp into any link of the extender chain.
Choosing the Right Extender Material
When selecting an extender, always match the metal to your original necklace to prevent galvanic corrosion. If you attach a brass or base-metal extender to a sterling silver chain, the electrochemical reaction caused by skin contact and moisture will rapidly tarnish and degrade the silver. Look for stamped 925 sterling silver, 14k gold-filled, or solid gold extenders depending on your base chain.
Method 2: Swapping the Clasp for an Extension Chain
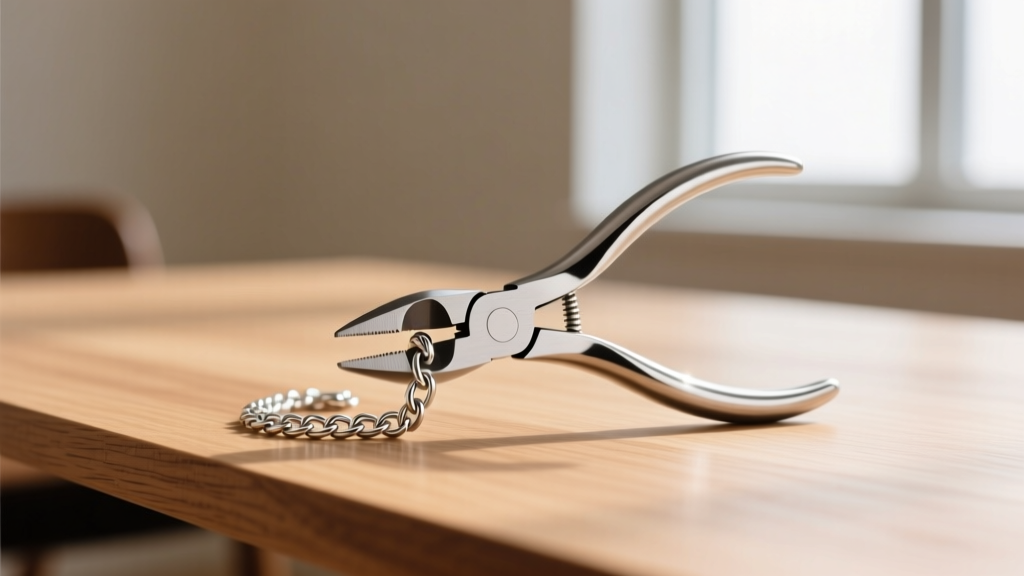
Sometimes, the clasp itself is the culprit. Heavy toggle clasps, ornate box clasps, or wide magnetic clasps can consume up to 1.5 inches of your necklace's total wearable length. By removing the bulky clasp and replacing it with a streamlined lobster clasp attached to a 3-inch cable chain, you can instantly make a necklace longer while reducing the weight at the nape of your neck.
Step-by-Step Clasp Replacement
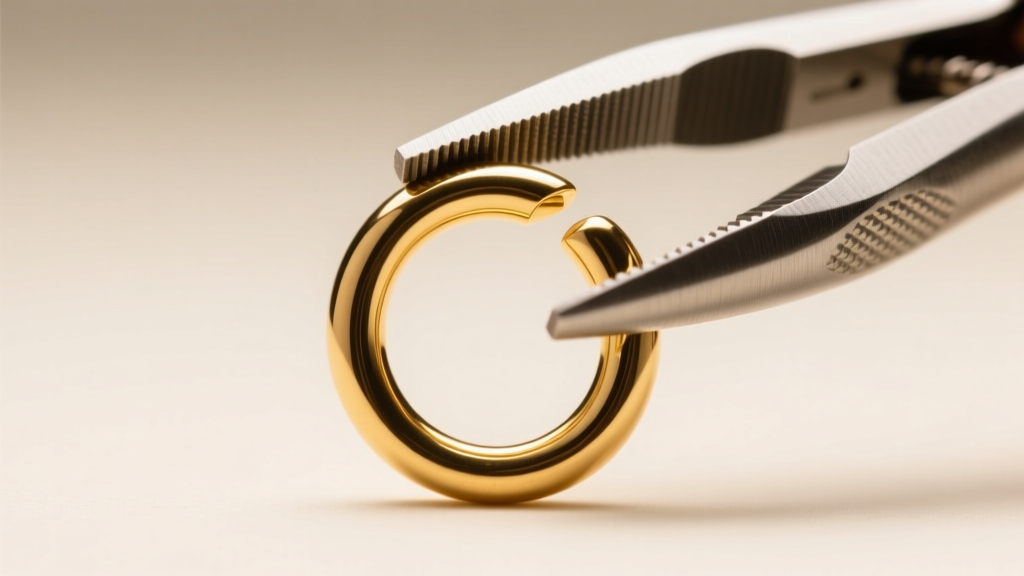
- Step 1: Use two pairs of chain-nose pliers to gently twist open the jump ring connecting the old clasp to the chain. Never pull the ring apart horizontally, as this warps the circle and weakens the metal.
- Step 2: Slide off the old clasp.
- Step 3: Slide on a new 12mm lobster clasp and a pre-soldered 3-inch extension chain.
- Step 4: Twist the jump ring closed, ensuring the ends meet perfectly flush so the chain does not slip through.
Method 3: Adding Jump Rings for Micro-Adjustments
If your necklace is only slightly too tight—perhaps it feels perfect in the winter but restricts your breathing in the summer heat—adding a cluster of heavy-duty jump rings is the ideal micro-adjustment. This method is highly effective for adding 0.25 to 0.75 inches of length.
According to Rio Grande's guide to jewelry findings, the gauge (thickness) of the jump ring is critical. For delicate chains (under 2mm wide), use 20-gauge or 22-gauge jump rings with a 4mm outer diameter. For heavier chains or pendant necklaces, you must step up to 18-gauge or 16-gauge rings to bear the tensile load. If the ring is too thin, the weight of the pendant will pull the ring open, resulting in a lost necklace.
Method 4: The Beading Wire & Crimp Technique (For Beaded Necklaces)
Extending a beaded necklace requires an entirely different approach, as you cannot simply add metal chain links without disrupting the drape. To make a beaded necklace longer, you must restring a portion of it using flexible beading wire.
Materials Needed
For most gemstone and glass beads ranging from 2mm to 4mm in size, a 0.019-inch diameter 49-strand beading wire (such as Soft Flex) offers the perfect balance of drape and tensile strength. You will also need 2x2mm sterling silver crimp tubes and a specialized crimping tool.
- Cut the necklace at the desired insertion point.
- Thread your new beads onto the wire to achieve the desired extra length.
- Loop the wire back through the crimp tube and the first two beads.
- Use the crimping pliers to fold and compress the tube, securing the wire permanently.
For a complete visual breakdown of crimping mechanics, Fire Mountain Gems' EncycloBEADia offers excellent tutorials on achieving a professional, seamless finish that will not fray over time.
Method 5: Layering with a Detachable Spacer (The No-Mod Fix)
If you own a high-end designer necklace and refuse to alter the original chain, utilize a necklace layering spacer or a detachable pendant converter. These devices feature two clasps connected by a rigid or semi-rigid metal bar. You clasp your existing necklace into the top loops, and then attach your pendant or a secondary chain to the bottom loops. This effectively drops your focal point 1 to 2 inches lower, creating the illusion and functional drape of a longer necklace without touching the original hardware.
Comparison Chart: Which Method is Right for Your Necklace?
| Method | Best For | Tools Needed | Est. Cost | Difficulty |
|---|---|---|---|---|
| Chain Extender | Standard cable/rolo chains | None | $5 - $15 | Beginner |
| Clasp Swap | Necklaces with bulky toggles | Chain-nose pliers | $10 - $30 | Intermediate |
| Jump Rings | Micro-adjustments (under 1 inch) | Two pairs of pliers | $2 - $5 | Intermediate |
| Beading Wire | Gemstone or pearl strands | Crimping tool, cutters | $15 - $40 | Advanced |
| Layering Spacer | Designer or fragile antiques | None | $20 - $60 | Beginner |
Pro Tips for Maintaining Structural Integrity
When altering jewelry, the weakest link determines the lifespan of the piece. Keep these professional jeweler tips in mind:
- Beware of Work Hardening: Every time you bend a jump ring back and forth, the metal 'work hardens' and becomes brittle. If you struggle to close a jump ring cleanly, discard it and use a new one rather than risking a snap.
- Soldered Rings for Heavy Pendants: If you are extending a chain that holds a heavy gemstone pendant, ensure the jump ring connecting the pendant to the chain is soldered closed. Extenders add leverage and swing, which can easily pry open unsoldered rings.
- Mind the Clasp Weight: Adding a heavy gold extender to a delicate 1mm chain will cause the necklace to constantly flip, with the heavy clasp migrating to the front of your neck. Always match the visual and physical weight of your extension to the base chain.
Final Thoughts on Necklace Alterations
Knowing how to make a necklace longer empowers you to salvage ill-fitting gifts, adapt vintage finds to modern silhouettes, and customize your jewelry box to your exact proportions. Whether you opt for a simple chain extender or decide to restring a beloved beaded heirloom, prioritizing metal compatibility and proper gauge thickness will ensure your extended necklace remains secure and beautiful for years to come.


