How Do You Make a Pearl Necklace for the Perfect Custom Gift?
Learn how do you make a pearl necklace tailored for any occasion. Discover pearl grading, knotting techniques, and occasion-matching gift tips.

The Art of Gifting: Why Handmade Pearl Necklaces Resonate
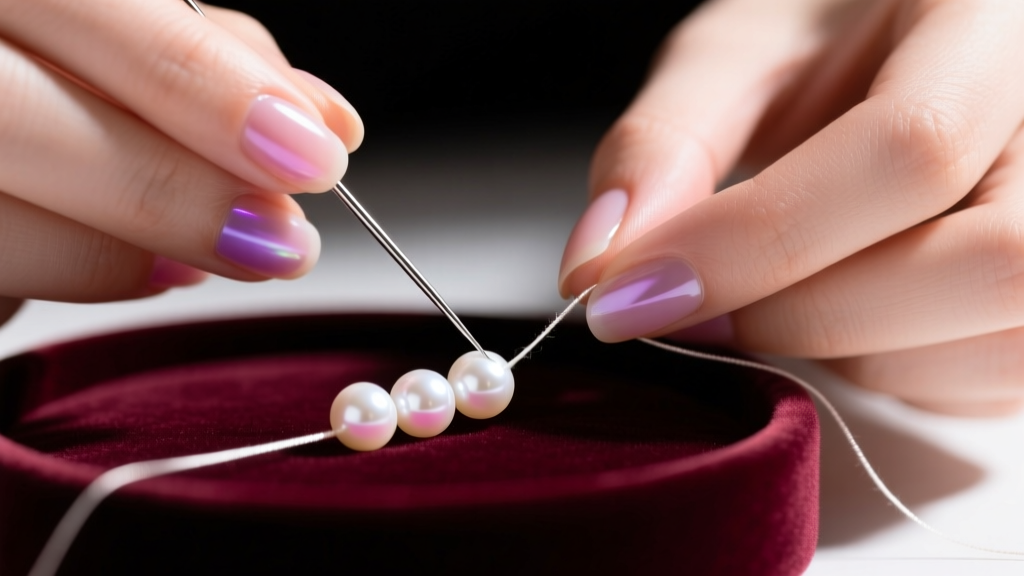
When it comes to milestone gifting, few items carry the emotional weight and timeless elegance of a pearl necklace. But instead of purchasing a mass-produced strand off the shelf, many jewelry enthusiasts and thoughtful gift-givers ask: how do you make a pearl necklace that feels deeply personal? Crafting a pearl strand by hand elevates the piece from a simple accessory to a bespoke heirloom. By selecting the exact pearls, choosing the right silk thread color, and hand-knotting each bead, you embed a level of intention and care that a retail purchase simply cannot match.
From the perspective of occasion matching, a handmade pearl necklace allows you to calibrate every detail—from the pearl's overtone to the clasp's metallurgy—to suit the recipient's lifestyle and the specific milestone being celebrated. Whether it is a bridal strand for a wedding day or a dramatic opera-length piece for a 30th anniversary, understanding the mechanics of pearl stringing is the first step toward creating the perfect custom gift.
Selecting the Right Pearls for the Recipient & Occasion
Before you can begin stringing, you must source the right pearls. The Gemological Institute of America (GIA) evaluates pearls based on seven value factors: size, shape, color, luster, surface quality, nacre quality, and matching (GIA Pearl Quality Factors). For a knotted necklace, matching is paramount; every pearl must exhibit consistent luster and diameter to ensure a cohesive drape.
| Pearl Type | Best Occasion | Average Size | Price Range (Per Strand) | Key Characteristics |
|---|---|---|---|---|
| Akoya | Weddings, Classic Anniversaries | 7.0mm - 8.5mm | $800 - $3,500+ | Mirror-like luster, perfectly round, white/cream with rose overtones. |
| Freshwater | Graduations, Birthdays, Everyday | 6.0mm - 9.0mm | $150 - $600 | Versatile shapes, natural pastel colors (peach, lavender), highly durable. |
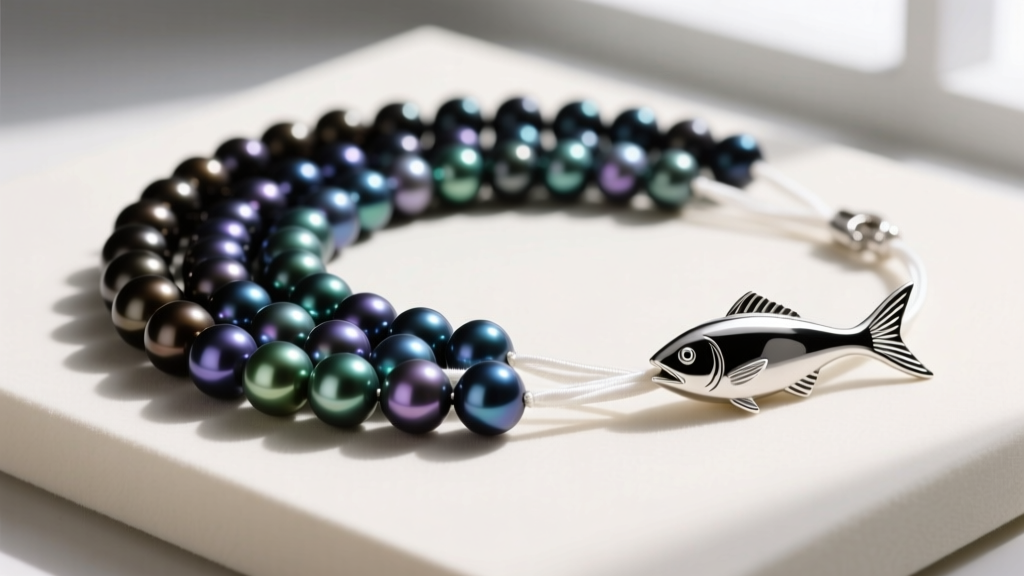
| Tahitian | Milestone Birthdays, Executive Gifts | 8.0mm - 12.0mm | $1,200 - $5,000+ | Dark body colors with peacock, aubergine, or pistachio overtones. |
| South Sea | High-End Anniversaries, Heirlooms | 10.0mm - 15.0mm | $5,000 - $20,000+ | Thick nacre, satin luster, luxurious white or golden hues. |
Expert Sizing Tip: When ordering loose pearls for stringing, ensure the drill holes are between 0.7mm and 0.8mm. This is the industry standard for fine pearls and dictates the thickness of the silk thread you will need (typically Griffin Size 2 or 3).
Essential Tools and Materials for Professional Results
To answer the question of how do you make a pearl necklace that withstands daily wear, you must invest in professional stringing materials. According to jewelry supply authorities like Fire Mountain Gems, using the correct thread and findings is what separates amateur crafting from fine jewelry making.
- Thread: 100% natural silk thread (like Griffin or Beadalon) is the gold standard. Silk has a natural stretch that allows knots to tighten securely, and it drapes beautifully. Pre-attached needles are highly recommended for beginners.
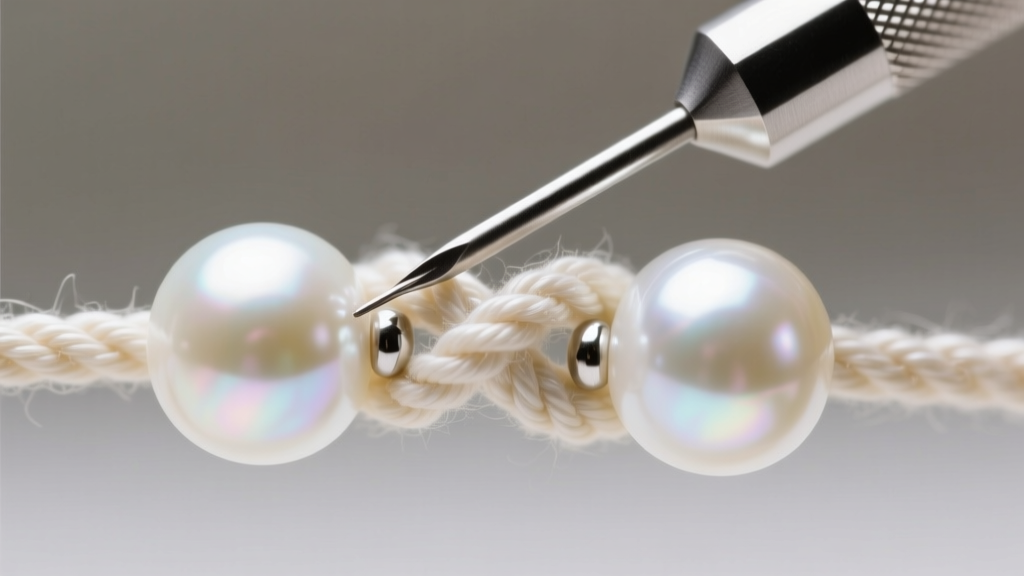
- Pearl Awl: A fine steel tool used to gently coax and tighten the silk knot flush against the pearl's drill hole.
- French Wire (Gimp): A microscopic coiled wire used to protect the silk thread from fraying against the metal clasp.
- Clasps: A sterling silver or 14k gold fishhook clasp or pearl safety clasp is traditional and secure.
- Bead Design Board: A flocked tray with measurement channels to lay out your strand before stringing.
Step-by-Step: How Do You Make a Pearl Necklace (The Knotting Method)
Hand-knotting between every pearl serves two critical purposes: it prevents the pearls from rubbing against each other (which can degrade the nacre over time), and it ensures that if the strand breaks, only one pearl is lost. Here is the traditional overhand knotting method.
1. Prep the Clasp and French Wire
Cut a 3-inch piece of French wire. Thread your silk needle through the ring of your clasp, then through the French wire. Loop the thread back through the clasp ring, creating a small loop encased in the coiled wire. Tie a secure surgeon's knot and seal it with a microscopic drop of flexible jewelry cement (like G-S Hypo Cement).
2. String the First Three Pearls
Slide your first three pearls onto the silk thread, pushing them down to the clasp. You do not knot the first three pearls immediately; instead, you will pass the needle back through them after the fourth pearl is strung to create a reinforced anchor loop.
3. The Overhand Knot Technique
After the anchor is secure, string one pearl. Create a loose overhand knot in the silk. Before tightening it completely, insert the tip of your pearl awl into the knot. Gently slide the awl down the thread until the knot rests perfectly flush against the pearl. Pull the thread taut while withdrawing the awl to lock the knot in place.
4. Finishing the Strand
Repeat the knotting process until all pearls are strung. For the final clasp attachment, thread the needle through the second clasp ring, add a tiny seed bead (to act as a spacer and tension point), and pass the needle back through the last three pearls. Knot tightly, apply cement, and trim the excess silk flush with the knot.
Matching the Clasp and Findings to the Milestone
The clasp is not just a functional necessity; it is a design element that should reflect the occasion. When gifting a handmade pearl necklace, consider the recipient's dexterity and the event's formality.
- Weddings & Formal Events: Opt for a 14k white gold or platinum fishhook clasp adorned with a single diamond or cubic zirconia. It adds a subtle flash of brilliance when the hair is swept up.
- Older Recipients (Anniversaries/Retirements): Arthritis can make tiny fishhook clasps frustrating. Upgrade the design to a high-quality magnetic clasp or a large toggle clasp. Ensure the magnetic clasp has a safety latch to prevent accidental drops.
- Modern/Contemporary Milestones: For a fashion-forward graduation gift, consider a bayonet clasp or a hidden box clasp that maintains the uninterrupted visual flow of the pearls.
Presentation and Gifting Etiquette for Handmade Jewelry
Because pearls are organic gems composed of calcium carbonate and conchiolin, they require specific care. When presenting your handmade gift, include a custom care card. Advise the recipient to follow the "last on, first off" rule: pearls should be put on after applying perfumes, hairsprays, and cosmetics, and removed first at night.
Package the necklace in a soft, anti-tarnish flannel pouch or a lined wooden box. Avoid airtight plastic bags, as pearls need a slight amount of ambient moisture to prevent the nacre from cracking or dulling over time. By providing these care instructions alongside your hand-knotted creation, you demonstrate a level of expertise and thoughtfulness that transforms a beautiful object into a cherished, multi-generational keepsake.


