How to Measure Necklace Length and Gauge for Proper Care
Learn how to measure necklace length, link gauge, and pendant bails to create a custom cleaning, polishing, and maintenance protocol for your jewelry.

The Intersection of Sizing and Jewelry Maintenance
When most consumers search for how to measure necklace dimensions, they are primarily concerned with aesthetic fit, neckline matching, and layering proportions. However, in the realm of professional jewelry conservation and daily maintenance, taking precise measurements is the foundational step of a proper care protocol. A necklace is not just a single object; it is a complex mechanical assembly of interlocking wires, clasps, and bails. Understanding the exact millimeter gauge of your chain, the inner diameter of your links, and the precise length of the piece dictates which cleaning chemicals are safe, whether the piece can survive ultrasonic cavitation, and what type of polishing brush will effectively remove sebum without causing micro-scratches.
According to the Gemological Institute of America (GIA), improper cleaning methods are a leading cause of premature wear and structural failure in fine jewelry. By shifting your perspective from purely aesthetic sizing to mechanical measurement, you can drastically extend the lifespan of your necklaces and pendants. This guide will teach you how to measure your jewelry with jeweler-grade precision and translate those numbers into a customized, safe maintenance routine.
How to Measure Necklace Length for Storage and Ultrasonic Cleaning
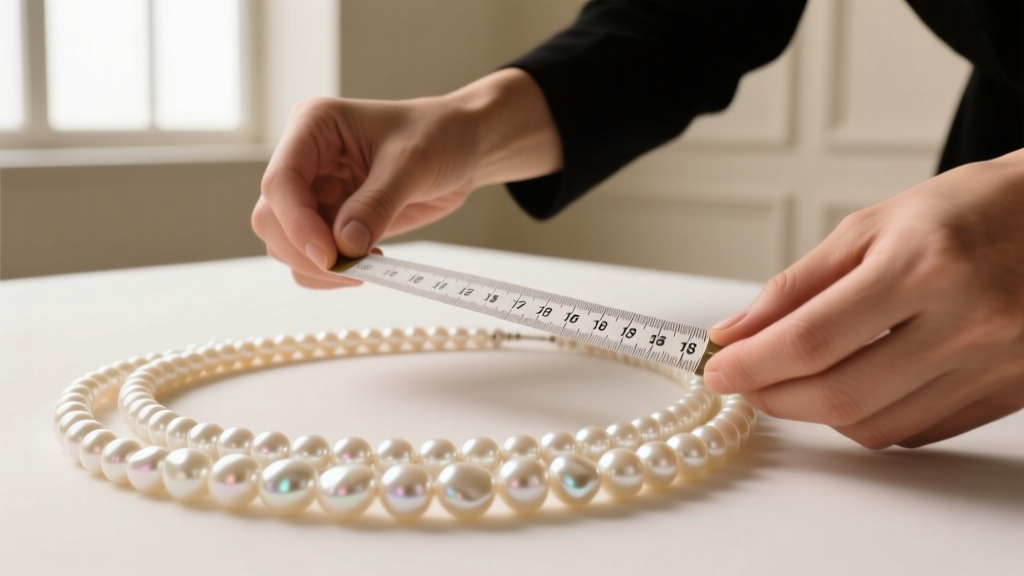
Length measurement is critical when determining how a necklace will interact with storage environments and cleaning tanks. While a standard flexible fabric measuring tape is sufficient for determining if a chain is 16, 18, or 24 inches, this measurement directly impacts ultrasonic cleaning safety.
Standard home ultrasonic jewelry cleaners have a tank width of roughly 4 to 6 inches. If you are cleaning an 18-inch or 24-inch chain, dropping it loosely into the tank allows the high-frequency sound waves (typically 40kHz to 45kHz) to tangle the chain. As the acoustic cavitation bubbles implode, they create microscopic shockwaves. If a long chain is tangled, these shockwaves can pull the links in opposing directions, work-hardening the metal and causing microscopic stress fractures, particularly in softer metals like 22k gold or sterling silver.
The Maintenance Rule of Thumb: If your necklace measures longer than 12 inches, it must be suspended from a specialized ultrasonic basket bridge or clipped to the rim of the tank so that only the soiled section (usually the bottom 3 inches where it rests against the skin) is submerged. This prevents tangling and limits unnecessary acoustic stress on the clasp and upper chain links.
Measuring Chain Gauge and Link Size: The Key to Chemical Safety
The most vital measurement for necklace care is the wire gauge—the thickness of the metal wire used to form the links. You cannot accurately guess wire gauge by eye; a 0.8mm cable chain looks remarkably similar to a 1.1mm cable chain to the untrained eye, but their structural tolerances to chemical dips and mechanical brushing are vastly different.
Micro-chains (under 0.9mm) have incredibly small surface areas where the links connect. Friction at these connection points is already high. If you use a stiff-bristled brush or a harsh chemical dip (like silver tarnish removers containing thiourea) on a micro-chain, you risk stripping the protective rhodium plating or wearing down the connection point until the link snaps. Conversely, heavy chains (over 2.0mm), such as Cuban links or thick Figaro chains, have large, flat surface areas that trap dead skin cells, lotions, and environmental grit. These require stiffer brushes and longer chemical soak times to penetrate the grime.
To measure link size, you must also determine the inner diameter (ID) of the link. The ID dictates the size of the cleaning brush bristles you should use. If the ID is 1.5mm, a standard 2.0mm toothbrush bristle will simply glide over the surface, failing to clean the inside of the link where tarnish and oils accumulate.
Step-by-Step Guide: Using Calipers for Precision Maintenance
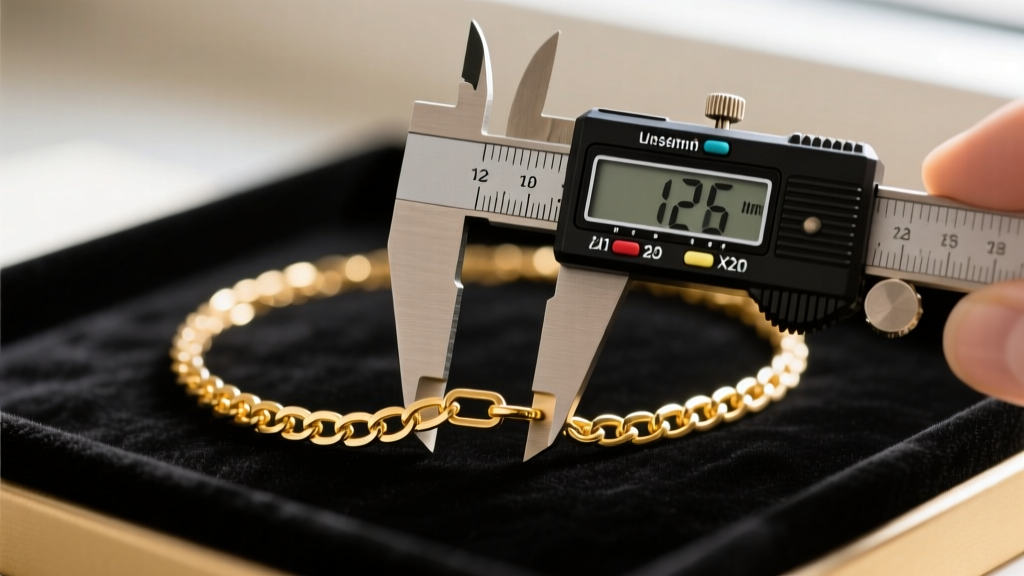
To properly measure your necklace for care purposes, discard the standard ruler and invest in a digital caliper (brands like Mitutoyo or Neiko offer excellent precision down to 0.01mm). Here is how to measure the three critical dimensions:
- Wire Gauge: Close the caliper jaws gently on the straightest part of a single link. Do not squeeze tightly, as soft gold and silver can compress. Record the millimeter thickness.
- Inner Diameter (ID): Use the upper, smaller jaws of the caliper. Insert them into the link and expand them until they touch the inner walls. This tells you the maximum brush bristle diameter you can use for deep cleaning.
- Outer Diameter (OD): Use the lower jaws to measure the outside of the link. Comparing OD to ID helps you calculate the exact thickness of the metal, which is crucial for estimating how many times a piece can be professionally polished before it becomes structurally compromised.
Cleaning Protocol Matrix by Gauge and Link Size
Use the data table below to determine the safest cleaning and maintenance protocol based on your caliper measurements. This framework is endorsed by conservation standards outlined by Jewelers of America.
| Wire Gauge (mm) | Chain Type Examples | Ultrasonic Safe? | Recommended Brush Bristle | Chemical Soak Limit |
|---|---|---|---|---|
| 0.5mm - 0.8mm | Cobra, Box, Micro-Pave | NO (High snap risk) | 0.05mm soft nylon or makeup brush | 2 mins max (mild soap only) |
| 0.9mm - 1.5mm | Cable, Rolo, Bead | YES (40kHz, suspended) | 0.10mm natural horsehair | 5 mins (ammonia-free solutions) |
| 1.6mm - 3.0mm+ | Cuban, Figaro, Rope | YES (40kHz, submerged) | 0.15mm stiff nylon or brass (gold) | 10 mins (heavy degreasers OK) |
Pendant Bail Measurements for Safe Restringing and Polishing
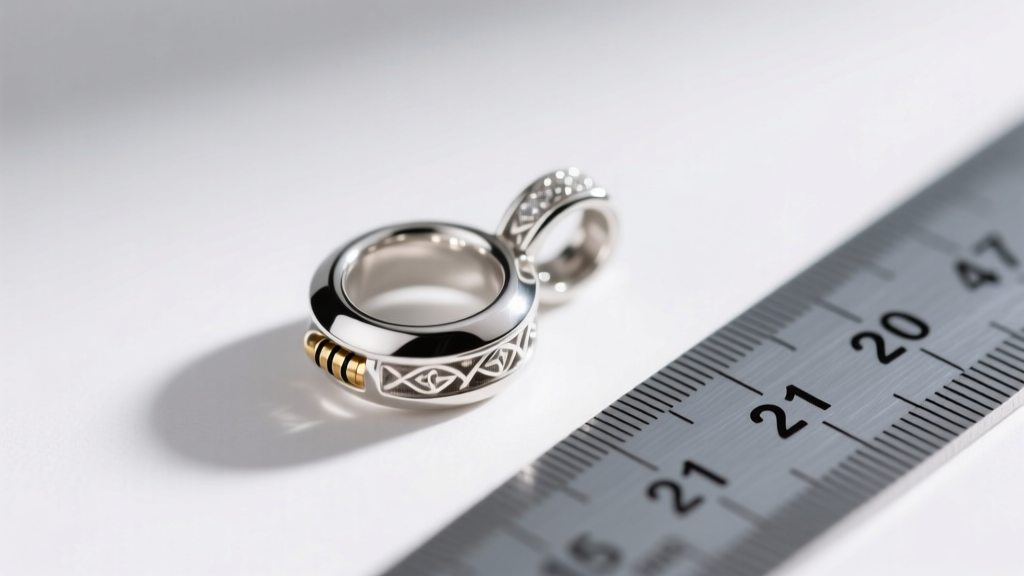
The bail—the loop that connects the pendant to the chain—is a major friction point. Over time, the constant rubbing of the chain against the inside of the bail acts like a microscopic saw, eventually wearing a groove into the metal. This is especially true if the chain gauge is disproportionately thick compared to the bail's inner hole.
When maintaining or restringing a pendant, you must measure the inner hole of the bail. If the bail hole measures 3.0mm, but you are threading it onto a 2.8mm rope chain, the lack of clearance means the chain cannot articulate freely. This restricted movement forces the metal to grind against the bail during normal wear. For optimal care and to prevent friction wear, there should always be at least a 0.5mm to 1.0mm clearance between the chain's outer diameter and the bail's inner diameter. If your measurements reveal a tight fit, it is time to have a jeweler replace the bail or switch to a thinner, more compatible chain.
Common Measurement Mistakes That Lead to Jewelry Damage
Even well-intentioned jewelry owners make critical errors when assessing their pieces for maintenance. Avoid these common pitfalls:
- Using a Standard Ruler for Wire Gauge: A standard ruler cannot accurately measure sub-millimeter differences. Guessing that a chain is 1.0mm when it is actually 0.7mm might lead you to use an ultrasonic cleaner, resulting in a shattered chain.
- Ignoring Clasp Spring Tension: While not a length measurement, testing the mechanical 'throw' of a lobster clasp or spring ring is vital. If the clasp lever does not snap back flush against the body within a millimeter of its release, the internal spring is failing. Lubricating it with a microscopic drop of synthetic watch oil can save the piece from being lost.
- Measuring Tarnished Links: Heavy silver sulfide tarnish can add up to 0.1mm of bulk to a link. Always clean the piece gently with a polishing cloth before taking caliper measurements to ensure you are measuring the actual metal, not the corrosion layer.
Expert Maintenance Checklist Based on Your Measurements
To synthesize this data into an actionable care routine, follow this checklist every six months:
- Step 1: Measure the total length. If over 12 inches, prepare a suspension clip for the ultrasonic tank.
- Step 2: Measure the wire gauge with digital calipers. Select your cleaning solution and brush stiffness based on the matrix provided above.
- Step 3: Measure the bail inner diameter. Ensure your current chain has at least 0.5mm of clearance to prevent friction sawing.
- Step 4: Inspect the clasp jump rings. Measure the gap; if the gap is wider than 0.2mm, the ring has stretched and must be squeezed shut with nylon-jawed pliers to prevent the chain from slipping out.
By treating the question of how to measure necklace dimensions as a mechanical diagnostic tool rather than just a styling exercise, you take total control of your jewelry's longevity. For further reading on advanced gemstone and metal conservation, the International Gem Society offers excellent resources on chemical interactions with specific metal alloys. Precision measurement is the ultimate form of preventative jewelry care.


