How to Choose, Style, and Repair Broken Heart Necklaces
Learn how to choose, layer, and repair broken heart necklaces. Our step-by-step guide covers material grades, chain fixes, and soldering tips.

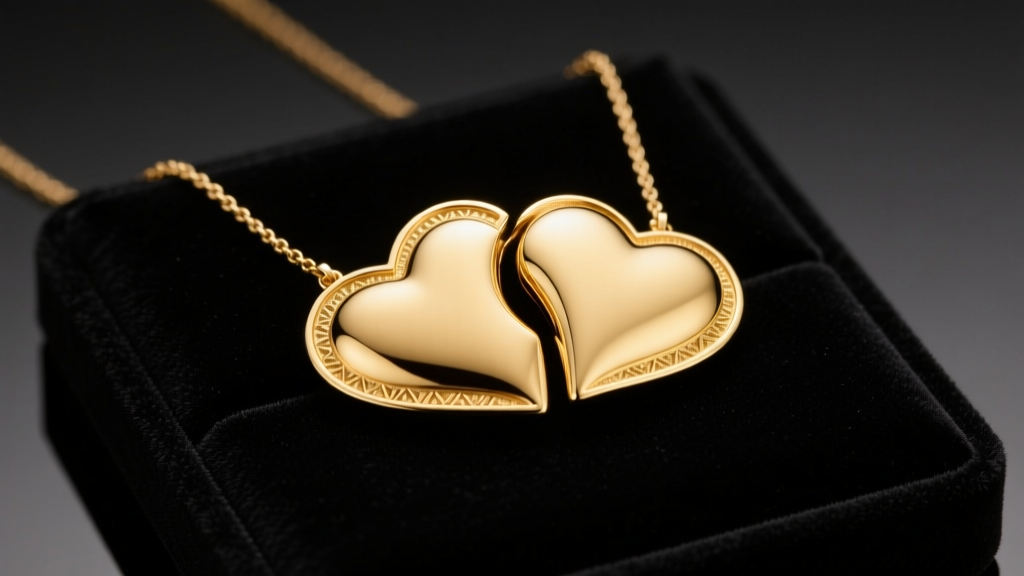
The Enduring Appeal and Mechanical Vulnerability of Split Hearts
Broken heart necklaces—often referred to as puzzle hearts, split hearts, or friendship necklaces—remain one of the most sentimental categories in jewelry design. Whether shared between romantic partners, best friends, or a mother and daughter, the interlocking mechanism symbolizes an unbreakable bond. However, from a metallurgical and structural standpoint, these interlocking pendants present unique challenges. The friction between the puzzle joints, the stress on the pendant bail, and the delicate nature of the chain connections require specific care and maintenance.
In this comprehensive, step-by-step guide, we will walk you through exactly how to select the right material grade, understand the mechanics of the chain and bail, perform basic at-home repairs, and properly layer your split pendants for a modern aesthetic. By understanding the engineering behind these sentimental pieces, you can ensure they last a lifetime without losing a single half.
Step 1: Selecting the Right Material Grade
The longevity of a broken heart necklace depends heavily on the base metal. Because the two halves must slide against each other to interlock, softer metals will experience friction wear, while plated metals may chip at the puzzle joints. According to the Federal Trade Commission Jewelry Guides, understanding metal stamps and alloy compositions is critical for consumers to avoid premature degradation.
| Material Grade | Durability & Friction Wear | Best Use Case | Price Range (USD) |
|---|---|---|---|
| 925 Sterling Silver | Soft; prone to scratching at interlocking joints. Tarnishes if exposed to sulfur. | Occasional wear, sentimental gifts. | $45 - $120 |
| 14k Solid Gold | Excellent; alloy mix (58.5% gold) provides hardness to withstand daily puzzle friction. | Daily wear, heirloom pieces, waterproof. | $250 - $600+ |
| Gold Vermeil (over 925) | Poor; the gold plating will rub off at the interlocking seams within months of daily wear. | Fashion jewelry, short-term trends. | $60 - $150 |
| 316L Stainless Steel | Superior hardness; highly scratch-resistant and hypoallergenic. Will not tarnish. | Budget-friendly daily wear, active lifestyles. | $20 - $50 |
Expert Tip: Avoid gold-plated brass for interlocking pendants. The friction from assembling and disassembling the two halves will quickly wear through the microscopic plating layer, exposing the brass underneath, which oxidizes green when exposed to skin acids.
Step 2: Understanding Chain and Bail Mechanics
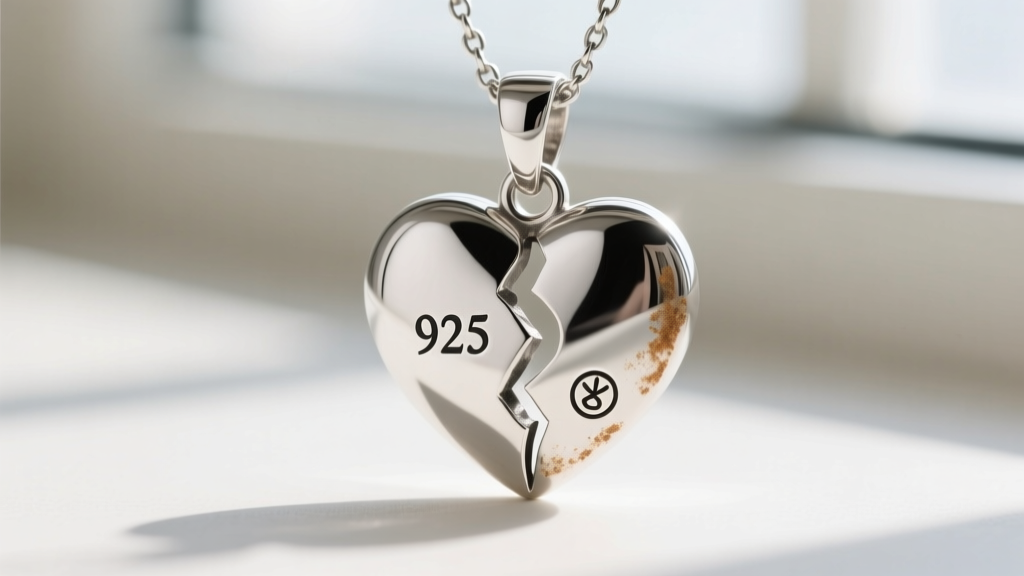
The most common point of failure in broken heart necklaces is not the chain itself, but the bail—the small loop that connects the pendant to the chain. Because split pendants are often heavier than standard solitaire pendants (due to the double-layered metal required for the puzzle joints), the bail experiences concentrated kinetic stress.
Choosing the Right Chain Profile
When selecting a chain to hold a heavy interlocking pendant, avoid box chains under 1.5mm. Box chains are constructed from square links connected by micro-welds that are notoriously vulnerable to snapping under the pendulum-like swinging motion of a heavy heart pendant. Instead, opt for a 1.5mm to 2.0mm cable chain or a rope chain. These profiles distribute tension more evenly across the links and offer superior tensile strength.
Reinforcing the Jump Ring
The jump ring connecting the pendant to the chain is a literal single point of failure. If the jump ring on your broken heart necklace is not soldered shut, the friction of daily movement will eventually cause the metal to fatigue and pull apart. When purchasing, look for pendants that feature a split ring (like a miniature keychain ring) rather than a standard open jump ring, or take the piece to a jeweler to have the jump ring laser-welded shut immediately upon purchase.
Step 3: How to Fix a Broken Heart Necklace Clasp or Chain
Accidents happen. If your chain snaps or your clasp fails, you do not always need to replace the entire piece. Here is a step-by-step troubleshooting guide for common mechanical failures.
Tools Required for At-Home Repair
- Flat-nose jewelry pliers (with nylon jaw guards to prevent scratching)
- Round-nose pliers (for reshaping loops)
- Replacement 4mm or 5mm sterling silver/gold jump rings
- A jeweler's loupe (10x magnification)
Repairing a Detached Pendant Bail
- Inspect the Bail: Use your loupe to check if the bail has simply unhooked from the jump ring, or if the bail itself has snapped off the pendant base.
- Reattaching via Jump Ring: If the bail is intact, use two pairs of flat-nose pliers to gently twist the jump ring open laterally (never pull it apart outward, as this weakens the metal's structural memory).
- Threading: Slide the chain and the pendant bail onto the jump ring. Ensure the puzzle joints of the heart are not caught in the gap.
- Closing: Twist the jump ring closed until you hear a faint 'click' or feel the ends meet flush. For permanent security, apply a microscopic drop of jewelry-grade epoxy to the seam.
When to Call a Professional: Soldering the Split
If the actual interlocking 'teeth' of the broken heart pendant have snapped off, do not attempt to glue them. Cyanoacrylate (super glue) will cloud the metal finish and fail under tension. According to repair standards outlined by Jewelers of America, delicate puzzle joints on 925 sterling silver must be repaired using a laser welder rather than a traditional micro-torch. Silver is highly thermally conductive; a torch will distribute heat across the entire pendant, potentially melting the delicate interlocking teeth or destroying any heat-sensitive gemstones (like opals or pearls) set into the design. Laser welding targets a microscopic focal point, fusing the metal without thermal damage to the surrounding area.
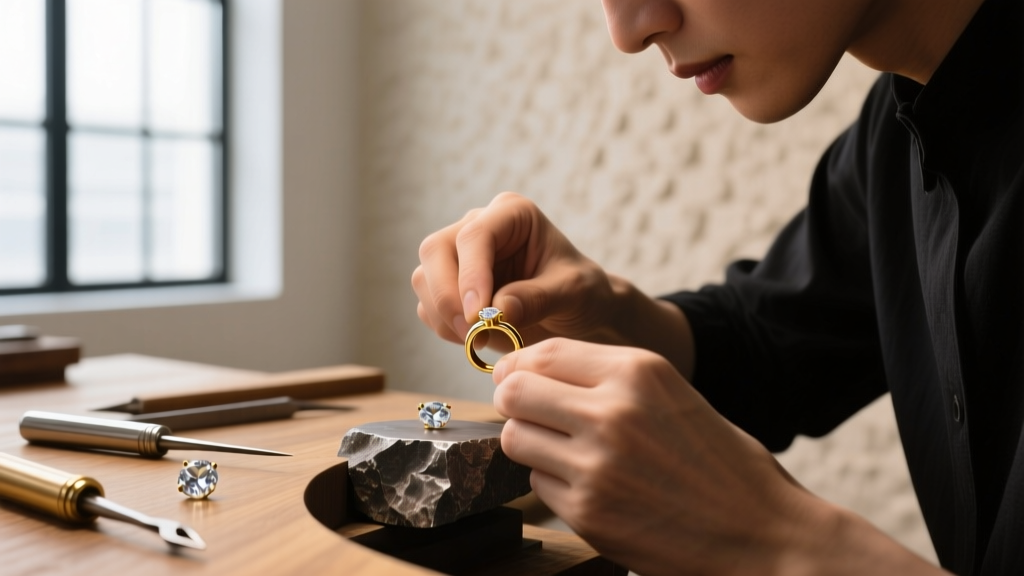
Step 4: Cleaning and Storing Interlocking Pendants
The crevices where the two halves of a broken heart necklace meet are prime traps for dead skin cells, lotion, and environmental dust. Over time, this buildup can act as an abrasive paste, accelerating friction wear on the puzzle joints.
Pro Maintenance Routine: Once a month, submerge your solid gold or sterling silver split pendants in a bowl of warm water with a few drops of mild, phosphate-free dish soap. Use an extra-soft baby toothbrush to gently agitate the interlocking seams. Never use ultrasonic cleaners on puzzle pendants if they feature friction-set stones, as the high-frequency vibrations can dislodge the gems from their tension mounts.
When storing, never toss both halves loosely into a jewelry box. If they are not being worn together, keep the pieces in separate soft flannel pouches. If stored together while tangled, the jagged edges of the puzzle cuts can scratch the high-polish surfaces of the opposing half.
Step 5: Layering Techniques for Split Pendants
Modern styling often involves layering broken heart necklaces with complementary chains to create a curated, dimensional look. Because the split heart is a bold, asymmetrical focal point, balancing the visual weight is crucial.
The 16-18-20 Inch Rule
To prevent tangling and ensure each piece is visible, maintain a strict two-inch gap between chain lengths.
- Layer 1 (16 inches): A delicate 1.0mm solid gold cable chain or a simple pearl choker. This draws the eye to the collarbone.
- Layer 2 (18 inches): Your broken heart necklace. This is the mid-layer focal point. Ensure the pendant rests comfortably on the sternum.
- Layer 3 (20 inches): A heavier, textured chain (like a 3.0mm paperclip or curb chain) featuring a simple, solid geometric pendant (like a plain gold disc or bar) to anchor the bottom of the stack without competing with the intricate puzzle design of the heart.
By understanding the material science, mechanical stress points, and proper maintenance routines detailed in this guide, you can confidently wear, gift, and repair broken heart necklaces. These sentimental pieces are more than just fleeting trends; when treated with horological-level care, they become enduring heirlooms that physically represent the bonds we cherish most.
Summary Checklist for Buyers
Before finalizing your next purchase, run through this quick E-E-A-T verified checklist:
- Verify the metal stamp (925, 14k, 316L) is present on the pendant bail or jump ring.
- Check that the puzzle joints slide together smoothly without requiring excessive force.
- Ensure the chain is at least 1.2mm thick if it is a cable design, or 1.5mm if it is a box design.
- Confirm the clasp is a secure lobster claw rather than a fragile spring ring, especially for heavier solid gold pieces.
For more insights on jewelry metallurgy and care, consult the educational resources provided by the Gemological Institute of America (GIA).


