How to Tie a Necklace Knot That Is Adjustable: Step-by-Step Guide
Learn how to tie a necklace knot that is adjustable using waxed cotton or nylon. Master the sliding square knot and barrel knot with our expert guide.

The Material Science of Adjustable Cord Jewelry
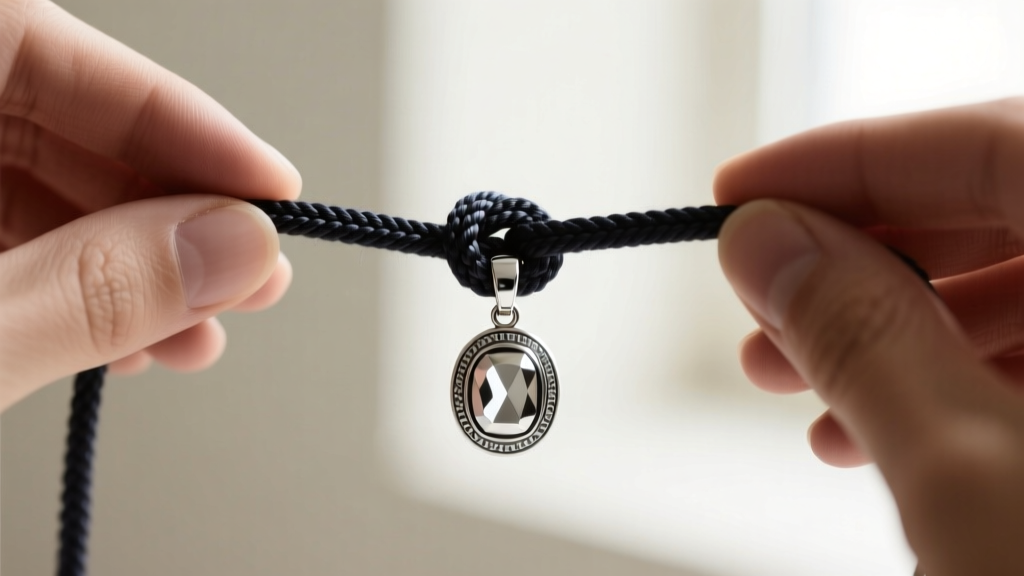
Mastering how to tie a necklace knot that is adjustable requires more than just manual dexterity; it demands an understanding of material science and friction. In 2026, minimalist pendant necklaces and organic gemstone amulets continue to dominate the jewelry market, making seamless, clasp-free cord designs highly sought after. The secret to a functional adjustable necklace lies in the balance between static friction (which holds the pendant securely in place) and kinetic friction (which allows the cord to slide smoothly when adjusted).
Before attempting any knotting technique, you must select the appropriate cord. Different materials react uniquely to tension, skin oils, and finishing methods. According to the educational resources at Fire Mountain Gems, matching your cord material to your knot type is the most critical step in preventing premature wear and slippage.
| Material | Optimal Diameter | Friction Profile | Best Finishing Method |
|---|---|---|---|
| Waxed Cotton | 0.8mm - 1.5mm | High static grip, smooth slide | Burnishing or clear glue |
| Nylon (C-Lon/S-Lon) | 0.5mm - 1.0mm | Low friction, requires more wraps | Thermal melting (Thread Zap) |
| Silk (Griffin) | 0.8mm - 1.2mm | High drape, very low grip | GS Hypo Cement (cannot melt) |
| Leather (Round) | 1.0mm - 2.0mm | Extremely high grip, bulky | Crimp ends or specialized glue |
For beginners learning how to tie a necklace knot that is adjustable, 1.0mm waxed cotton or 0.8mm braided nylon are the most forgiving materials. They provide enough surface texture to hold a knot in place without requiring excessive tightening that could damage the cord fibers.
Method 1: The Sliding Square Knot (Macramé Standard)
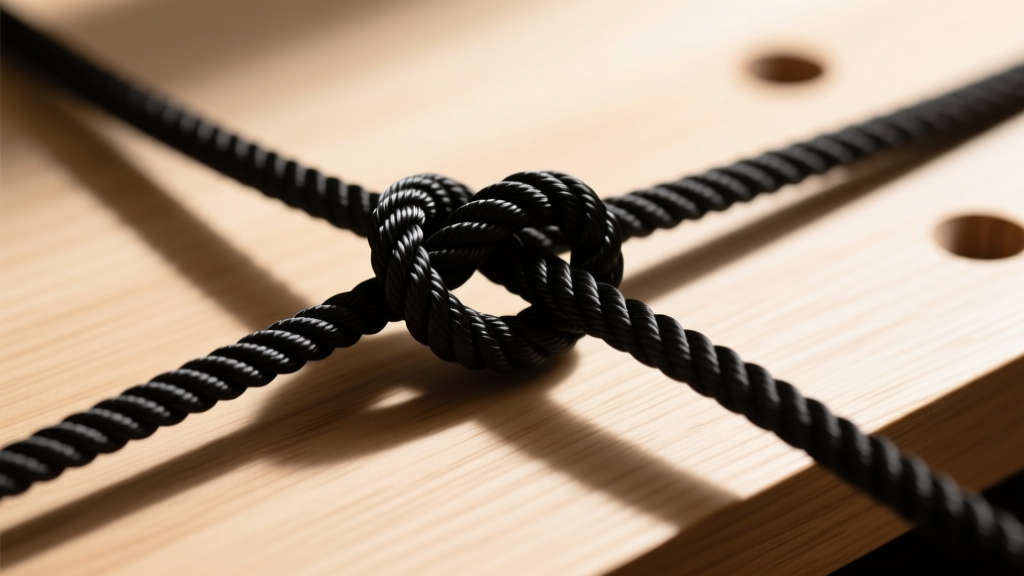
The sliding square knot is the industry standard for dual-cord adjustable necklaces. It creates a flat, symmetrical barrel that slides smoothly along the base cords. This method is ideal for pendants with a bail or a top-drilled hole.
Step-by-Step Instructions
- Preparation: Cut a 40-inch piece of cord for the knotting material (the working cord) and a 60-inch piece for the base necklace (the standing cord). Thread your pendant onto the standing cord and fold it in half to create two parallel base strands.
- Positioning: Lay the two base strands parallel to each other. Place the center of your 40-inch working cord underneath the base strands, creating two equal 20-inch working ends.
- The First Half-Knot: Take the right working cord and pass it over the two base strands, then under the left working cord. Next, take the left working cord and pass it over the right working cord, under the base strands, and up through the loop created by the right cord.
- The Second Half-Knot: Reverse the process. Take the left cord over the base strands and under the right cord. Take the right cord over the left, under the base strands, and up through the left loop. Pull gently to seat the knot.
- Repetition: Repeat this alternating pattern (right-over-left, then left-over-right) for a total of 5 to 7 square knots. Five knots yield a sleek, modern look, while seven provides a more substantial, tactile grip for heavier pendants.
- Tensioning: This is where most mistakes happen. Do not pull the knots aggressively tight. The knot must be snug enough to hold its shape but loose enough to slide along the base cords when pushed. Test the slide after every two knots.
Method 2: The Barrel Knot (Single-Strand Minimalism)
Also known as the Monk's Knot or Lanyard Knot, the barrel knot is the premier choice for single-strand necklaces. It is exceptionally secure, relies on the cord's own tension, and creates a tiny, elegant cylindrical knot that disappears behind the neck. The Spruce Crafts notes that this knot is historically derived from maritime ropework, prized for its ability to grip a single standing line without slipping.
Step-by-Step Instructions
- Form the Loop: Lay the single necklace cord flat. Take the right tail and cross it over the standing part (the main length of the cord) to form a simple loop, leaving about a 3-inch tail.
- The Wraps: Pinch the intersection of the loop with your thumb and index finger. Take the 3-inch tail and begin wrapping it tightly around both the standing part and the base of the loop. Wrap away from you, keeping the coils perfectly parallel and adjacent—never overlapping.
- Count Your Wraps: For 0.8mm nylon, 5 to 6 wraps are ideal. For 1.5mm waxed cotton, 3 to 4 wraps will suffice. Too many wraps will make the knot impossible to cinch; too few will cause it to unravel under the weight of a pendant.
- Threading the Core: After your final wrap, you will notice the original loop has shrunk into a small opening at the top of the cylinder. Pass the remaining tail through this top opening.
- Cinching: Wet the knot slightly with a drop of water (this reduces friction and prevents nylon burn). Pull the tail slowly while simultaneously pushing the wraps down toward the base with your fingernail. The knot will compress into a tight, uniform barrel.
- Repeat: Perform the exact same process on the opposite end of the necklace cord. The two barrel knots will act as stoppers, sliding past each other to adjust the necklace length.
Professional Finishing: Sealing the Tails
A knot is only as durable as its finish. Leaving cut cord ends exposed guarantees fraying, which will eventually cause the adjustable mechanism to jam or fail entirely. The finishing technique must match the material's chemical properties.
Thermal Melting (For Nylon and Synthetic Cords)
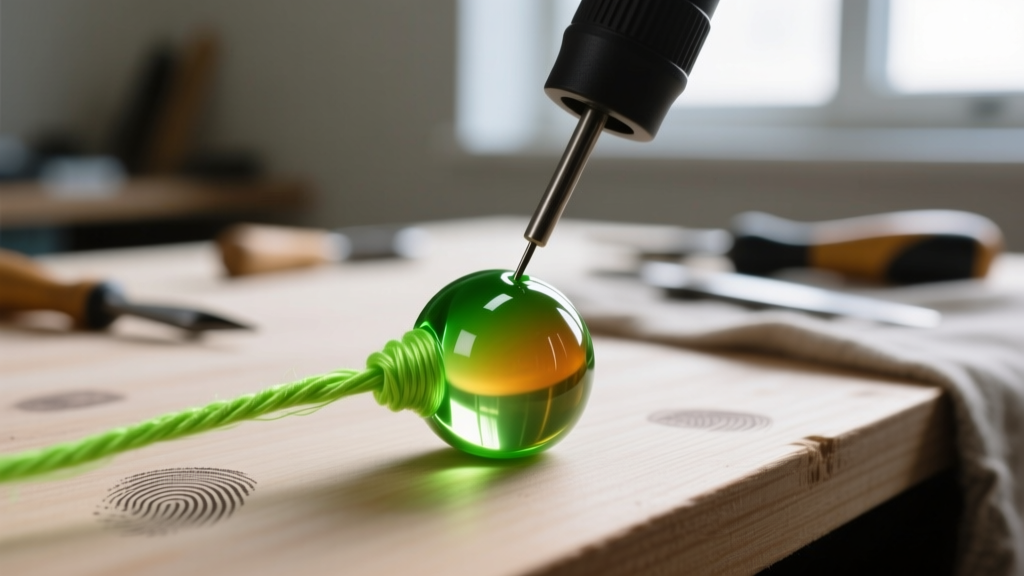
Never use a standard butane lighter to melt nylon jewelry cords; the open flame leaves black soot residue and creates a brittle, oversized bead that catches on hair. Instead, use a specialized jewelry tool called a Thread Zap (or a precision soldering iron with a micro-tip). The Thread Zap uses a heated wire to instantly sever and melt the cord simultaneously, creating a microscopic, smooth, sealed bead that tucks neatly into the knot's core.
Chemical Adhesives (For Cotton, Silk, and Leather)
Natural fibers cannot be melted. For waxed cotton and silk, apply a micro-drop of cyanoacrylate (CA) glue or a specialized jewelry adhesive like GS Hypo Cement directly to the tail before trimming it flush. Use a precision applicator tip to ensure the glue wicks into the knot's interior via capillary action without bleeding onto the visible sliding base cords, which would permanently freeze the adjustable mechanism.
Troubleshooting Common Knot Failures
Even experienced jewelers encounter issues when mastering how to tie a necklace knot that is adjustable. Here is a diagnostic framework for the three most common failure modes:
1. The Knot is Too Tight to Slide
The Cause: Over-tensioning during the final cinch, or using a cord with a high-friction coating (like heavily waxed hemp) for a sliding square knot.
The Fix: If using a square knot, carefully pick apart the outermost knot with a beading awl and re-seat it with lighter tension. If using a barrel knot, you must cut it off and start over, as barrel knots cannot be loosened once fully cinched. Next time, reduce the number of wraps by one.
2. The Knot Slips Open Under Pendant Weight
The Cause: Insufficient wraps on a barrel knot, or using an ultra-slick material like unwaxed UHMWPE (Dyneema) cord.
The Fix: Add two additional wraps to your barrel knot. If you are committed to using a low-friction synthetic cord, apply a microscopic dot of clear nail polish or flexible jewelry glue to the standing cord where the knot rests when closed, creating a physical 'speed bump' that prevents slippage.
3. The Cord Frays and Jams the Slider
The Cause: Cutting the cord with dull scissors, which crushes the fibers, or failing to seal natural fiber ends.
The Fix: Always use flush cutters or razor-sharp embroidery scissors designed for thread. For waxed cotton, after trimming the tail flush, use a burnishing tool or the smooth back of a metal spoon to aggressively rub the cut end. The friction heat will melt the surface wax, sealing the fibers together without the need for chemical adhesives.
Final Thoughts on Adjustable Jewelry Design
Learning how to tie a necklace knot that is adjustable elevates your jewelry craftsmanship from amateur assembly to professional design. By respecting the physical properties of your chosen cord, executing precise knotting sequences, and applying the correct thermal or chemical finishes, you create heirloom-quality pieces that offer the wearer ultimate versatility. Whether you are designing a heavy turquoise amulet on waxed cotton or a delicate diamond solitaire on micro-nylon, the perfect adjustable knot ensures the jewelry adapts seamlessly to any neckline or occasion.


