How to Get Knots Out of a Necklace Chain Without Breaking It
Learn how to get knots out of a necklace chain safely. Discover expert techniques, the best lubricants, and tools to untangle delicate jewelry.

The Frustration of the Tangle: Why It Happens
There are few things more universally frustrating in jewelry care than reaching for your favorite piece, only to find it has transformed into a microscopic bird's nest. If you are wondering how to get knots out of a necklace chain without snapping the delicate metal, you are not alone. Tangles are not just a nuisance; if handled improperly, they can lead to permanent kinks, stretched links, or broken clasps.
Before we dive into the exact untangling protocol, it is crucial to understand why certain chains tangle more than others. According to the Gemological Institute of America (GIA), the physical structure of the chain weave dictates its vulnerability. Chains that lay flat against the skin, such as herringbone or snake chains, are highly flexible in one direction but rigid in another. When subjected to the chaotic movement of sleep or storage, they easily twist into complex knots. Conversely, structural chains like box or rope weaves have interlocking geometries that naturally resist severe tangling.
The most problematic chains for knotting fall in the 0.8mm to 1.2mm gauge range. They are thin enough to slip through their own links but thick enough to create rigid, stubborn knots when pulled tight.
The Essential Untangling Toolkit
Do not rely on your fingernails or standard tweezers. Fingernails lack the precision to loosen a micro-knot, and standard tweezers often have serrated tips that will scratch soft precious metals like 14k or 18k gold. To properly address a knot, gather the following items:
- Sewing Needles or Straight Pins: Opt for 'Betweens' or 'Sharps' in size 8 or 9. These are stiff enough to apply lateral pressure without bending, and fine enough to slip between 0.8mm links.
- A Hard, Non-Porous Surface: A glass table, a ceramic tile, or a smooth acrylic tray. Never work on a wooden desk or a towel, as the microscopic texture will catch the loose links and create secondary tangles.
- Magnification and Lighting: A jeweler's loupe (10x magnification) or a well-lit desk lamp. You must be able to see the exact 'core' of the knot.
- Lubricant: (See the comparison chart below).
Step-by-Step: How to Get Knots Out of a Necklace Chain
Patience is your most valuable tool here. Follow this exact sequence to safely dismantle the knot.
Step 1: Unclasp and Isolate
Always unclasp the necklace before attempting to untangle it. Leaving the clasp closed creates a closed loop, which introduces tension and limits the angles from which you can manipulate the chain. If you have a pendant attached, assess if it can be safely removed. If the knot is wrapped tightly around the bail of a pendant, leave the pendant in place to avoid bending the bail wire.
Step 2: Apply Your Lubricant
Place the chain flat on your glass surface. Apply a minuscule amount of your chosen lubricant directly to the center of the knot. The goal is to reduce the friction coefficient between the metal links. If using baby powder, tap a small pinch over the knot and gently rub it in with your fingertip. If using oil, use the tip of a needle to transfer exactly one drop to the knot.
Step 3: Locate the Core and Loosen
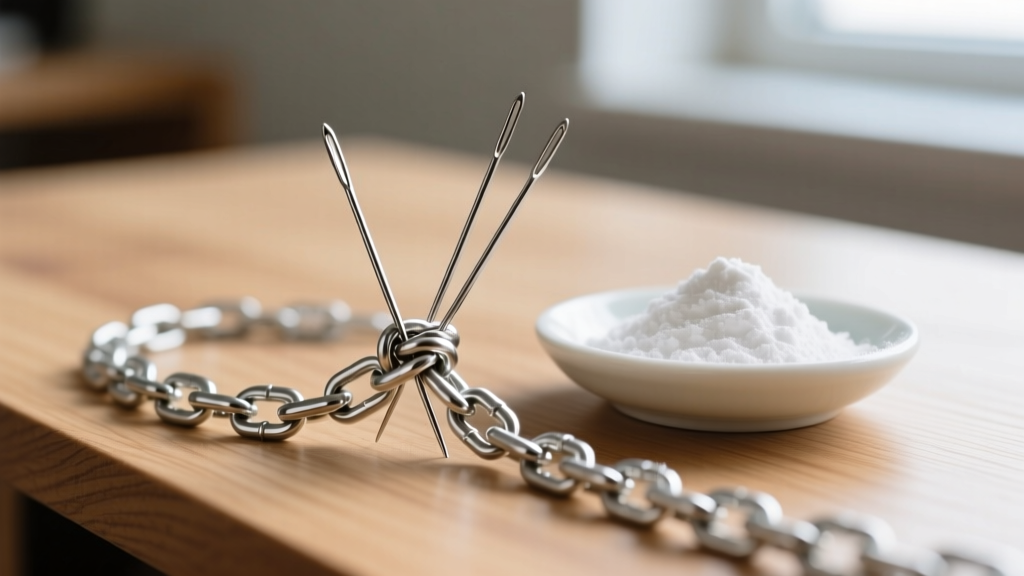
Look closely at the knot. There is always a central point where the chain first crossed over itself—this is the 'core.' Take your two sewing needles and gently insert the tips into the very center of this core. Do not pull outward. Instead, use a gentle vibrating or wiggling motion to create microscopic space between the links. You are trying to introduce air into the knot.
Step 4: Work from the Inside Out
Once the core has a tiny bit of slack, use the needles to push the outer loops inward toward the center, rather than pulling the ends outward. Pulling the ends acts like a Chinese finger trap, tightening the knot. By pushing the outer loops toward the lubricated center, you gradually collapse the knot's structure.
Step 5: Clean the Chain
Once the chain is free, you must remove the lubricant. For oil-based lubricants, soak the chain in a bowl of warm water with a few drops of mild, phosphate-free dish soap for 10 minutes, then gently agitate. Rinse with distilled water and pat dry with a lint-free microfiber cloth. The Jewelers of America recommends avoiding ultrasonic cleaners immediately after oil exposure, as the heat and vibrations can sometimes bake residual oils into porous gemstones if the chain wasn't thoroughly pre-cleaned.
Lubricant Comparison Chart: What Works Best?
Not all lubricants are created equal. The right choice depends on your chain material and your willingness to clean up afterward.
| Lubricant | Friction Reduction | Residue & Clean-Up | Best For |
|---|---|---|---|
| Baby Powder (Cornstarch) | High | Low. Brushes off easily; minimal washing required. | Gold and Platinum chains; knots with gemstone pendants attached. |
| Olive / Mineral Oil | Very High | High. Requires a thorough soap-and-water degreasing bath. | Severe, multi-loop knots in durable chains (e.g., sterling silver cable). |
| Windex (Glass Cleaner) | Medium | Very Low. Evaporates quickly; leaves a streak-free shine on metal. | Quick tangles in plain metal chains without porous stones. |
| Dish Soap (Undiluted) | Medium-High | Medium. Requires rinsing, but is safe for almost all jewelry. | Chains featuring delicate pearls or opals where chemicals must be avoided. |
Expert Warning: Never use WD-40 or industrial solvents on fine jewelry. These contain harsh degreasers and propellants that can strip the rhodium plating off white gold and permanently cloud the finish of softer gemstones like turquoise or lapis lazuli.
Critical Mistakes That Ruin Chains
When learning how to get knots out of a necklace chain, knowing what not to do is just as important as the untangling technique itself. Avoid these common failure modes:
- Kinking a Herringbone: Herringbone chains consist of flat, interlocking scales. If you fold or bend a herringbone chain sharply while fighting a knot, the scales will permanently crimp. This 'kink' cannot be repaired, even by a professional jeweler, as the structural integrity of the weave is destroyed.
- Pulling with Tweezers: Squeezing a knot with metal tweezers introduces severe compressive force. This will flatten round cable links and leave permanent gouges in high-karat gold (which is a very soft metal).
- Using Heat: Some internet hacks suggest using a hairdryer to 'relax' the metal. This is entirely false for jewelry-grade alloys and risks thermal shock to any diamonds or treated gemstones integrated into the pendant.
Preventing Future Tangles: Storage and Wear Protocols
Once you have successfully rescued your necklace, implement these storage strategies to ensure it never happens again.
The Straw Trick for Travel: When packing for a trip, unclasp the necklace and thread one end through a standard plastic drinking straw, then re-clasp it. The rigid straw prevents the chain from looping back on itself, making tangles physically impossible.
Individual Polybags: Store chains in small, 2x3-inch ziplock polybags. Squeeze the air out before sealing. This not only prevents tangling but also slows down the oxidation and tarnishing process for sterling silver by limiting exposure to ambient humidity and sulfur.
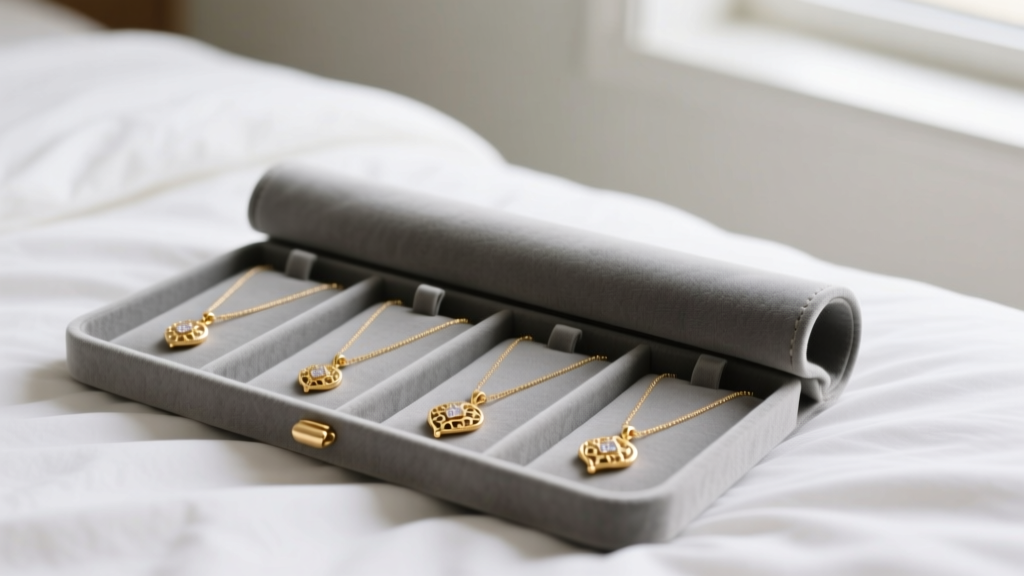
Velvet Rolls over Jewelry Boxes: Traditional jewelry boxes with open hooks often lead to 'chain drop,' where a necklace slips off its hook and pools into a tangled pile with others. Soft suede or velvet jewelry rolls with individual, snap-closure slots keep chains separated, flat, and secure.
When to Surrender to a Professional Jeweler
While 95% of knots can be solved at home with patience and a needle, there are specific scenarios where you should stop and take the piece to a professional bench jeweler:
- Micro-Pave Integration: If the knot has tightened around a micro-pave diamond setting, the pressure of the metal links can actually push the tiny beads holding the diamonds apart, leading to stone loss.
- Severe Herringbone Kinks: If a herringbone or omega chain has kinked inside the knot, a jeweler can sometimes use specialized rolling mills to gently compress and flatten the chain back into a wearable state.
- Clasp Damage: If the knot is located precisely at the spring-ring or lobster clasp mechanism, attempting to force needles into it can jam the internal spring, rendering the clasp useless.
By understanding the mechanics of your chain, utilizing the correct micro-tools, and applying the right lubricant, you can confidently salvage your favorite necklaces. The next time you face a tangled mess, take a deep breath, grab your sewing needles, and work the knot from the inside out.


