How to Layer and Care for a Diamond Bead Necklace
Learn how to expertly layer, style, and clean your diamond bead necklace. Discover chain pairings, neckline guides, and professional maintenance tips.

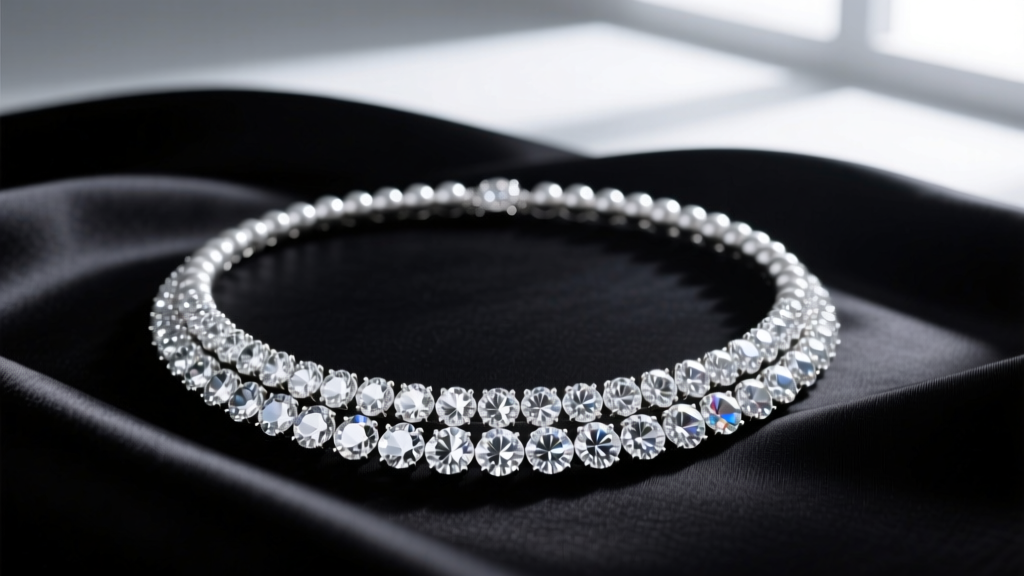
A diamond bead necklace—often referred to as a station necklace, tin-cup necklace, or diamond rondelle strand—is a cornerstone of fine jewelry wardrobes. Whether your piece features bead-set diamonds spaced along a delicate gold chain or continuous diamond briolettes, mastering how to style and maintain it is essential for preserving its brilliance and structural integrity. This comprehensive guide will walk you through professional layering techniques, precise neckline pairings, and the exact cleaning protocols recommended by gemologists to keep your diamonds firing with maximum light return.
Understanding the Anatomy of Your Diamond Bead Necklace
Before attempting complex layering or deep cleaning, you must identify the specific construction of your necklace. The setting style dictates both how the piece drapes and how it should be maintained.
- Bead-Set Stations: The metal is pushed over the girdle of the diamond using a burnishing tool. This creates a smooth, snag-free surface but offers slightly less light exposure than prong settings. These are ideal for everyday layering as they won't catch on adjacent chains.
- Prong-Set Stations: The diamonds are held by tiny metal claws. While this maximizes brilliance, the prongs can easily tangle with herringbone or snake chains during layering.
- Wire-Wrapped Briolettes: Often found in continuous diamond bead strands, the wire wrapping is delicate and prone to work-hardening and snapping if bent repeatedly.
Understanding these distinctions prevents accidental damage during styling and cleaning, ensuring the longevity of your investment.
Step-by-Step Guide to Layering Diamond Beads
Layering a diamond bead necklace requires a strategic approach to visual weight and physical spacing. The goal is to create a cascading effect without causing the chains to tangle or the diamonds to scratch one another.
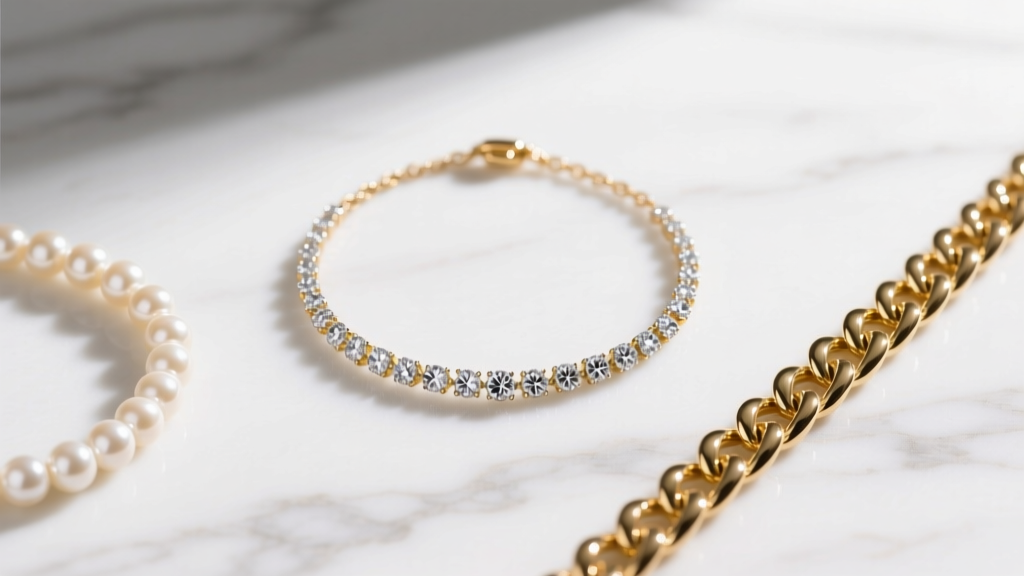
Step 1: Establish the Base Length and Spacing
The golden rule of necklace layering is the two-inch drop. If your diamond bead necklace is an 18-inch princess length, your base layer should be a 16-inch choker, and your third layer should be a 20-inch matinee. This precise spacing ensures the diamond stations remain visible and do not overlap with the clasps or pendants of adjacent chains.
Step 2: Mix Textures and Chain Types
To prevent tangling, avoid pairing your diamond bead necklace with chains that have similar link structures. If your diamond beads are set on a delicate cable chain, pair it with a solid, smooth chain like a herringbone, wheat, or box chain. The contrasting textures reduce the friction points where chains typically knot together. Furthermore, always ensure the clasps are of different sizes; a bulky lobster clasp on one chain and a small spring ring on another will naturally repel each other, reducing clasp-tangling.
Step 3: Balance the Visual Weight
Diamond beads carry significant visual weight due to their high refractive index. If your diamond bead necklace features large 5mm stations, balance it with a solid gold or silver chain of equal or greater physical thickness. Pairing heavy diamond stations with a micro-thin chain will make the ensemble look unbalanced and increase the risk of the thinner chain snapping under the kinetic movement of the heavier piece.
The Neckline Pairing Matrix
Styling a diamond bead necklace is heavily dependent on the geometry of your neckline. Use the matrix below to determine the ideal length and diamond spacing for your outfit.
| Neckline Type | Ideal Necklace Length | Diamond Bead Spacing | Styling Strategy |
|---|---|---|---|
| Crew Neck | 16 - 18 inches | Tightly spaced (1 inch) | Wear directly against the collarbone to frame the face; avoid long pendants that clash with the hem. |
| V-Neck | 18 - 22 inches | Widely spaced (3 inches) | Mirror the V-shape by allowing the lowest diamond bead to rest exactly one inch above the fabric's vertex. |
| Sweetheart | 16 inches (Choker) | Continuous beads | Keep the necklace high and tight to leave negative space between the jewelry and the bodice. |
| Button-Down Shirt | 20 - 24 inches | Station style (2 inches) | Wear the necklace inside the unbuttoned collar, letting the beads cascade down the sternum for a relaxed, editorial look. |
How to Clean and Maintain Diamond Beads at Home
Diamonds are oleophilic, meaning they naturally attract and hold onto oils from your skin, cosmetics, and lotions. A diamond bead necklace can lose up to 50% of its brilliance within a week of daily wear if not cleaned properly. However, the cleaning method must be tailored to the setting.
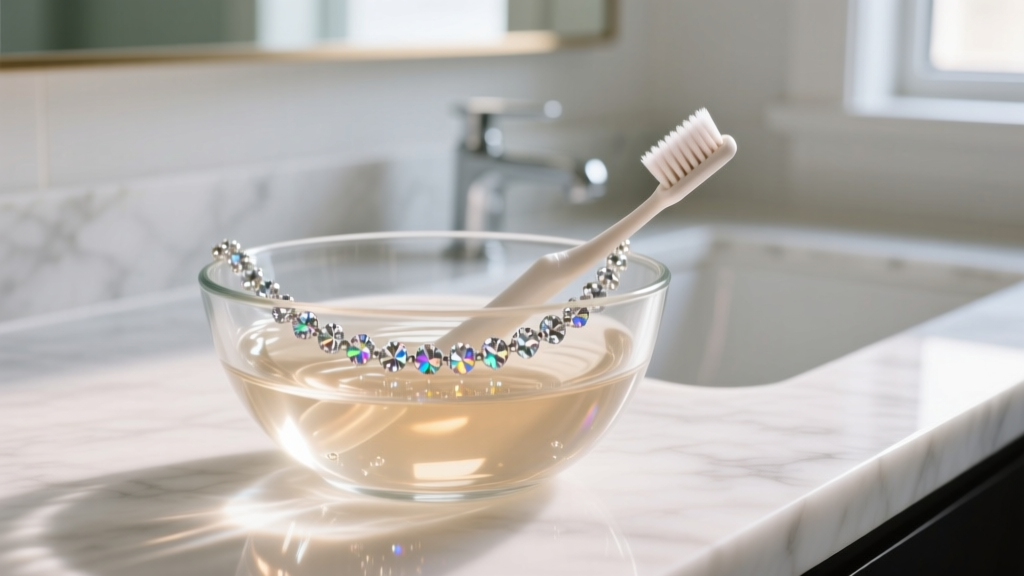
The Ultrasonic Warning
While ultrasonic cleaners are excellent for solid diamond solitaires, they can be disastrous for certain diamond bead necklaces. According to the Gemological Institute of America (GIA), ultrasonic vibrations can loosen bead settings, cause fracture-filled diamonds to cloud, and snap the delicate wire-wrapping on briolette beads. Always default to manual cleaning for station and bead necklaces.
Step-by-Step Manual Cleaning Routine
- Prepare the Solution: Mix one cup of lukewarm water (not hot, to avoid thermal shock) with three drops of mild, ammonia-free dish soap. Avoid harsh detergents or moisturizing soaps, which leave a filmy residue.
- Soak: Submerge the diamond bead necklace for exactly 15 minutes. This allows the surfactants to break down the lipid bonds holding skin oils to the diamond pavilions (the bottom facets).
- Agitate Gently: Use a brand-new, ultra-soft baby toothbrush. Brush the diamonds gently from the back (pavilion) to the front (crown). Pay special attention to the bead settings, where dirt accumulates against the metal lip.
- Rinse and Dry: Rinse thoroughly under a gentle stream of lukewarm water. Ensure the drain is securely plugged. Pat dry with a lint-free microfiber cloth, avoiding paper towels which can leave microscopic scratches on precious metal chains.
When to Seek Professional Jeweler Services
Home maintenance is vital, but it cannot replace professional oversight. The Jewelers of America recommends having fine jewelry inspected annually. For a diamond bead necklace, you should visit a bench jeweler every 12 to 18 months for the following services:
- Prong and Bead Tightening: Over time, the metal holding the diamond stations can wear down or lift. A jeweler will use a microscope to check each station and burnish the metal back into place.
- Chain Integrity Check: The jump rings connecting the diamond stations to the chain are high-stress points. A jeweler will solder any micro-fractures before they result in a broken strand and lost diamonds.
- Professional Steam Cleaning: For prong-set stations that are confirmed to be secure and feature untreated diamonds, a jeweler can use high-pressure steam to blast away microscopic debris that a toothbrush cannot reach.
By combining strategic layering techniques with meticulous, gemologist-approved cleaning routines, your diamond bead necklace will remain a versatile, radiant staple in your collection for decades to come.


