How to Make a Screen-Accurate Evil Dead 2 Necklace
Learn how to craft a screen-accurate Evil Dead 2 necklace with our step-by-step DIY guide, covering resin casting, patinas, and chain assembly.

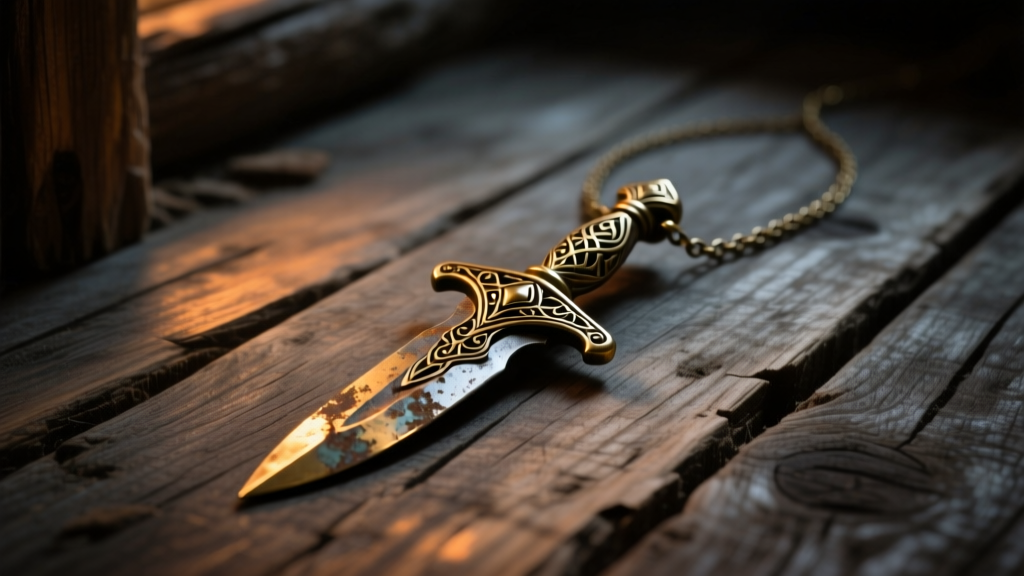
The Enduring Allure of Macabre Cinematic Jewelry
As we navigate the jewelry trends of 2026, the resurgence of 1980s practical-effects horror has firmly pushed macabre, cinematic jewelry into the mainstream. For horror aficionados and prop collectors, the ultimate holy grail of wearable fandom is an authentic evil dead 2 necklace. Whether you are aiming to replicate the rugged, occult-laden aesthetic of Ash Williams or craft a Kandarian-inspired talisman, creating a screen-accurate piece requires more than just buying a mass-produced trinket online. It demands a mastery of jewelry fabrication, mold-making, and chemical patination.
In this comprehensive, step-by-step guide, we will walk you through the exact process of sculpting, casting, and finishing a high-quality, horror-inspired pendant necklace. We will focus on creating a durable, wearable piece using professional-grade polyurethane resins and oxidized brass hardware, ensuring your necklace can withstand daily wear while maintaining its cursed, cabin-in-the-woods aesthetic.
Materials and Tools Required
Before beginning, you must assemble the proper materials. Skipping professional-grade supplies will result in a pendant that degrades quickly or causes skin irritation. Here is the master list for your workbench:
- Sculpting Medium: Chavant NSP Medium-Hard sulfur-free clay (sulfur inhibits silicone curing).
- Mold Rubber: Smooth-On Mold Star 16 FAST (1:1 mix ratio, 15-minute pot life).
- Casting Resin: Smooth-Cast 300 polyurethane resin for high-impact durability.
- Findings & Chain: 18-gauge solid brass cable chain, 12mm brass lobster clasp, and 6mm jump rings.
- Patina Chemicals: Liver of Sulfur (LOS) gel or dry lump form for brass oxidation.
- Safety Gear: NIOSH-approved half-face respirator with organic vapor cartridges, nitrile gloves, and safety goggles.
Method Comparison: Resin vs. Metal Clay vs. Lost-Wax
| Casting Method | Material Cost | Durability | Best For |
|---|---|---|---|
| Polyurethane Resin | $40 - $60 | High (Impact Resistant) | Beginners, intricate details, lightweight wear |
| Precious Metal Clay | $150 - $300 | Medium (Porous after firing) | Advanced jewelers wanting solid silver pieces |
| Lost-Wax Casting | $200+ (Equipment) | Very High (Solid Brass/Bronze) | Production runs, traditional metalsmithing |
Step 1: Sculpting and Molding the Base Pendant
The foundation of any great evil dead 2 necklace is the master sculpt. Using your Chavant NSP clay, warm the material with a heat gun until pliable. Sculpt your desired amulet shape—whether it is a jagged Kandarian dagger, a weathered Necronomicon face, or a crude cabin talisman. Keep the dimensions around 2 inches (50mm) in height and 0.5 inches (12mm) in depth to ensure it rests flat against the sternum without feeling like a pendulum.
Once the sculpt is complete, build a containment box using smooth acrylic sheets and hot glue. Ensure there is at least a 1-inch gap between the clay and the box walls. Mix your Mold Star 16 FAST silicone in a 1:1 ratio by volume. Stir slowly to minimize air bubbles, then pour the silicone in a high, thin stream from one corner of the box, allowing it to flow up and over the sculpt naturally. This technique, known as a 'high pour,' helps pop micro-bubbles before they can settle on the intricate details of your clay. Let it cure for 30 minutes at room temperature (73°F / 23°C).
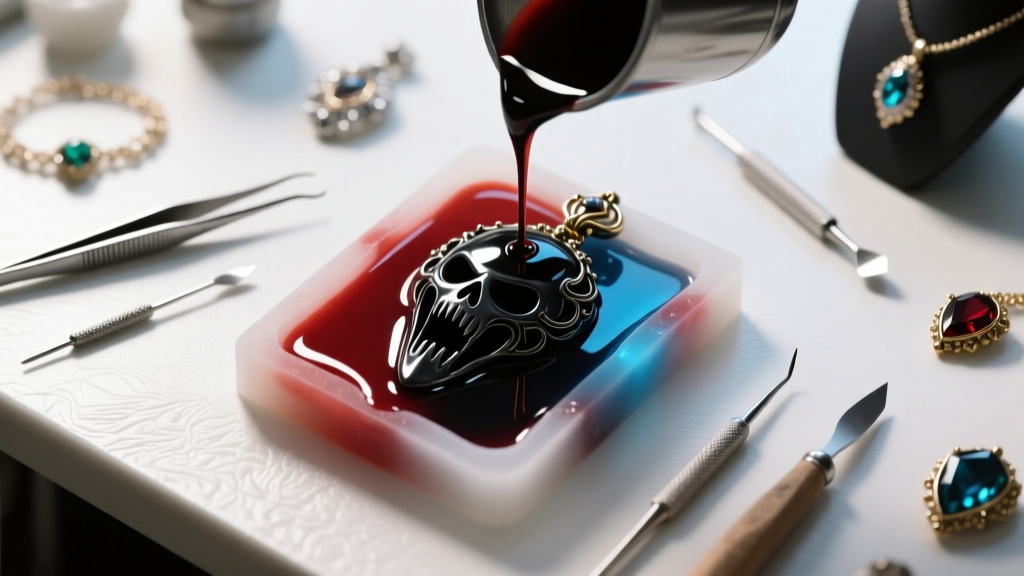
Step 2: Casting and Curing the Amulet
With your two-part silicone mold demolded and cleaned, it is time to cast the pendant. While resin is lightweight, we want the necklace to have a premium, heavy feel. To achieve this, we will use a slush-casting technique combined with a brass powder filler.
Mix your Smooth-Cast 300 resin in a strict 1:1 ratio by volume. For every 10ml of mixed resin, add 5 grams of fine brass powder. This not only adds significant weight to the final piece but also allows the resin to take on a metallic, oxidizable surface layer. Stir vigorously for 45 seconds. Pour the mixture into your silicone mold and tap the sides firmly to release trapped air. If you have access to a vacuum degassing chamber, place the mold inside and pull a vacuum of 29 inHg until the resin stops rising. Let the resin cure for 15 to 20 minutes. Once fully hardened, carefully pry the mold apart to reveal your raw pendant blank.
Step 3: Surface Preparation and Antiquing
Raw polyurethane resin with brass powder will look somewhat matte and yellowish out of the mold. To transform it into a cursed relic, we must manipulate the surface. Begin by sanding the pendant with 400-grit wet/dry sandpaper to knock down any flash or seam lines left by the mold. Follow up with 800-grit to smooth the high points where the 'metal' would naturally wear down from decades of use.
Applying the Liver of Sulfur Patina
To darken the recesses and give the pendant an ancient, tarnished look, we will use Liver of Sulfur (LOS). Because our resin is infused with brass powder, the LOS will react with the metal particles on the surface.
- Dissolve a pea-sized amount of LOS gel into one cup of warm (not boiling) distilled water. The solution will turn a murky yellow-green.
- Submerge the sanded pendant into the solution using brass tweezers. Do not use steel tweezers, as they will contaminate the chemical bath.
- Watch the piece closely. It will transition from gold to copper, then to bronze, and finally to a deep, iridescent black. Pull it out at the dark bronze stage (usually 45-60 seconds).
- Immediately plunge the pendant into a neutralizing bath of water and baking soda to halt the chemical reaction.
Once dry, use a piece of 0000 extra-fine steel wool to gently buff the raised edges of the pendant. This removes the black patina from the high points, leaving the deep crevices dark and ancient-looking, perfectly mimicking a centuries-old artifact.
Step 4: Chain Selection and Assembly
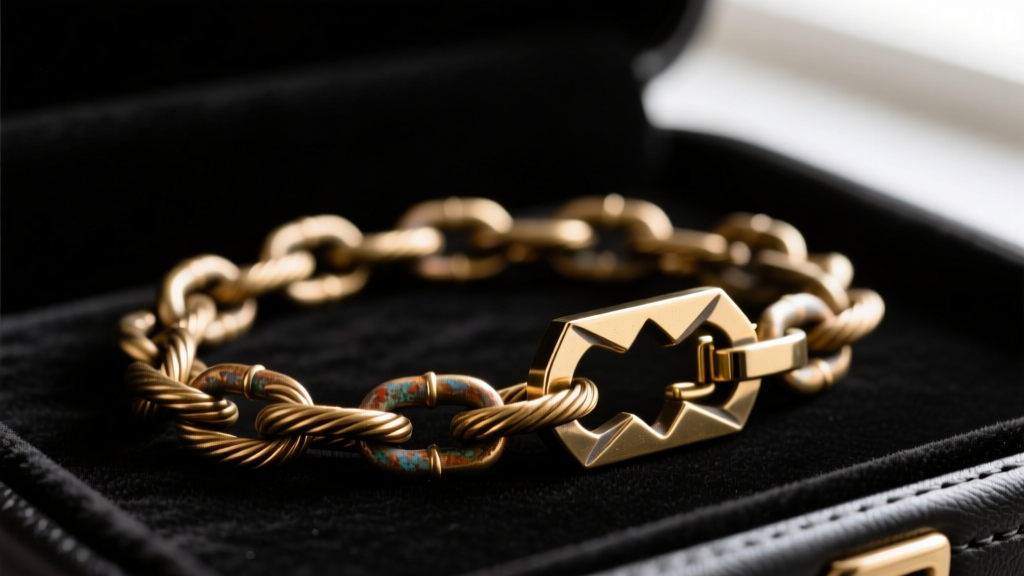
A heavy, detailed pendant requires a chain that matches its visual weight and structural demands. Flimsy, 22-gauge fashion chains will snap under the stress of a solid resin-and-brass amulet. For an authentic, rugged aesthetic, we recommend an 18-gauge solid brass cable chain. The 18-gauge wire thickness (approximately 1.02mm) provides excellent tensile strength while maintaining a vintage, utilitarian look.
Cut your chain to a 24-inch length. This longer drop ensures the pendant rests at the lower sternum, mimicking the way occult amulets are worn in horror cinema and allowing it to be layered over t-shirts or flannel. To attach the pendant, drill a 2mm pilot hole through the top bail of your casting. Thread a heavy-duty 6mm brass jump ring (made from 16-gauge wire) through the hole. Always use two pairs of flat-nose pliers to twist the jump ring open laterally—never pull it apart outward, which will warp the circle and weaken the structural integrity.
Maintenance and Wearability Tips
Because the pendant relies on a surface-level brass powder patina rather than solid cast metal, it requires specific care to maintain its dark, weathered finish. Avoid wearing your evil dead 2 necklace in the shower, swimming pool, or ocean. Chlorine and saltwater will aggressively strip the Liver of Sulfur patina, leaving the piece looking artificially bright and plasticky.
If the pendant loses its darkened crevices over time, simply re-dip it in a fresh LOS solution for 30 seconds and buff the high points again. Store the necklace in an anti-tarnish ziplock bag with a silica gel packet when not in use to prevent unwanted moisture buildup. With proper care and high-quality foundational materials, your DIY cinematic necklace will remain a staple of your macabre wardrobe for years to come.


