How to Layer Hypoallergenic Necklaces for Teens: A Complete Guide
Learn how to build and layer hypoallergenic necklaces for teens. Step-by-step guide on safe metals, chain lengths, and budget-friendly stacking.

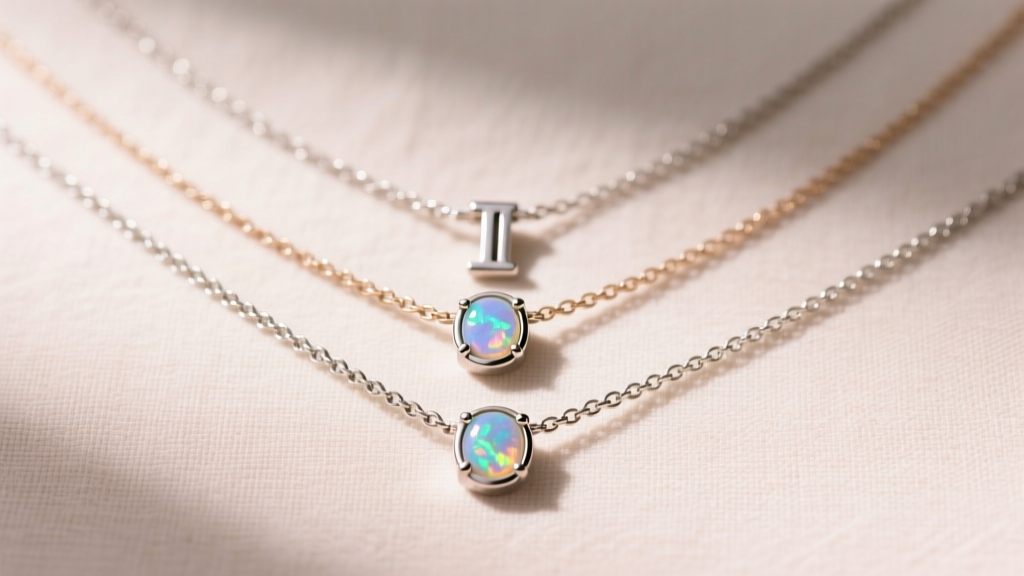
The Teen Jewelry Dilemma: Balancing Trends with Skin Safety
Building a curated jewelry collection during the teenage years is a rite of passage, but the fast-fashion accessory market is notoriously riddled with low-grade alloys that trigger contact dermatitis. When sourcing necklaces for teens, parents and young adults alike must navigate a minefield of misleading marketing terms like 'nickel-free' and 'hypoallergenic.' The reality is that many trendy, budget-friendly pieces contain high levels of copper, brass, and trace nickel, leading to the dreaded 'green neck' effect or severe allergic reactions.
This step-by-step guide will teach you how to build a durable, skin-safe, and stylish layered necklace stack. We will cover exact metal grades, chain gauge thicknesses, clasp mechanics, and the mathematical formula for perfect layering, ensuring your jewelry investment survives the chaotic, active lifestyle of a teenager in 2026.
Step 1: Decode the Metal (Avoiding the Green Neck Effect)
The 'green neck' phenomenon is not a myth; it is a basic chemical reaction. When copper or brass alloys mix with the natural acids, lotions, and sweat on a teenager's skin, it creates copper chloride, which stains the skin green. While harmless, it is highly undesirable. More concerning is nickel, a common hardening agent in cheap jewelry.
According to the Mayo Clinic, nickel allergy affects a significant portion of the population, often developing during adolescence after repeated exposure to piercing posts or cheap chains. The American Academy of Dermatology notes that once a nickel allergy develops, it is typically lifelong. Therefore, selecting the correct base metal is non-negotiable.
Metal Safety Comparison Chart
| Metal Grade | Nickel Content | Tarnish Resistance | Average Price Range | Best For |
|---|---|---|---|---|
| Implant-Grade Titanium (ASTM F136) | 0% | 100% Waterproof | $30 - $65 | Severe allergies, 24/7 wear, swimming |
| Niobium | 0% | 100% Waterproof | $25 - $50 | Highly reactive skin, colorful anodized pendants |
| 316L Surgical Steel | Trace (Bound) | High | $15 - $40 | Budget-friendly everyday wear (mild allergies only) |
| Sterling Silver (925) | 0% (Alloyed w/ Copper) | Low (Tarnishes) | $40 - $90 | Special occasions, requires polishing |
| Gold Vermeil (over Silver) | 0% | Medium | $55 - $120 | Trend-driven styles, avoid wearing in showers |
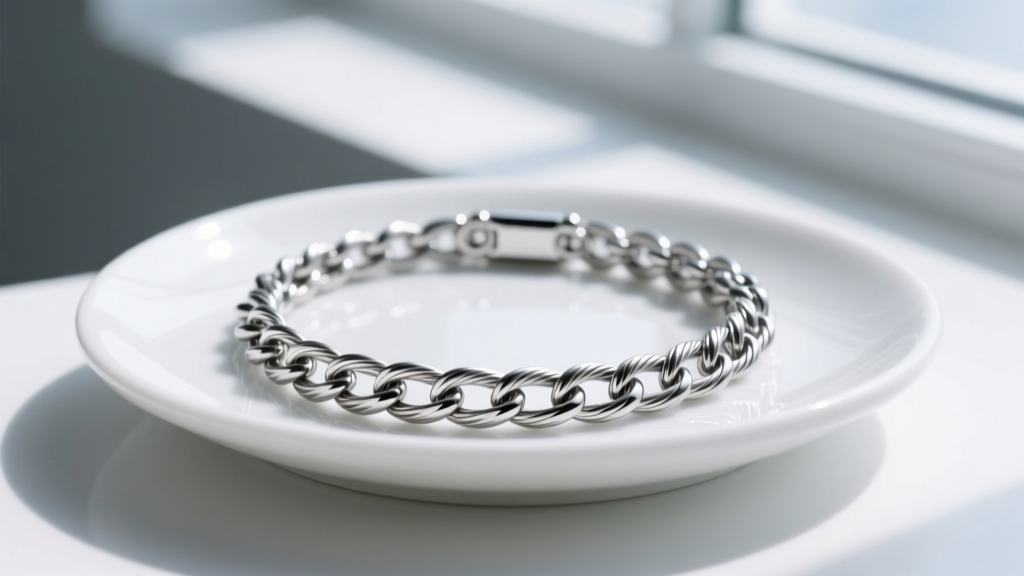
Step 2: Select the Base Chain (Gauge and Clasp Mechanics)
Teens are notoriously hard on their jewelry. Chains get caught on backpack straps, hoodie drawstrings, and sports equipment. Selecting the correct chain gauge (thickness) is critical for longevity.
- Avoid 20-gauge to 22-gauge (0.6mm - 0.8mm): These are incredibly fragile and will snap under minimal tension. They are suitable only for lightweight, temporary fashion pieces.
- Opt for 16-gauge to 14-gauge (1.2mm - 1.5mm): This is the sweet spot for teen necklaces. A 16-gauge titanium cable chain or rolo chain offers substantial tensile strength to survive daily wear without looking bulky or masculine.
The Clasp Conundrum: Lobster vs. Spring Ring
Never buy a necklace for a teen with a standard spring-ring clasp. Spring rings require a pinching motion and precise fingernail leverage to open. If a teen wears acrylic nails, press-ons, or simply has long natural nails, spring rings are incredibly frustrating and often lead to the jewelry being abandoned in a drawer. Always upgrade to a lobster claw clasp or a magnetic neodymium clasp, which can be operated with one hand and zero nail leverage.
Step 3: Add the Focal Pendant (Settings that Survive High School)
When adding a meaningful pendant—such as a birthstone, zodiac sign, or initial—the setting style dictates how well the piece survives the teenage lifestyle.
Expert Tip: Avoid traditional prong settings for everyday teen wear. Prongs catch on knit sweaters, scarves, and towel loops, which can bend the metal and cause the gemstone to fall out. Always choose bezel settings, where a smooth rim of metal completely encircles the stone, keeping it flush and snag-proof.
For gemstones, avoid soft, porous stones like opal, pearl, or turquoise if the teen plans to wear the necklace in the shower or pool. Chlorine and hard water will destroy them. Instead, opt for lab-created sapphires, cubic zirconia, or spinel, which rank high on the Mohs hardness scale and can withstand accidental impacts against lockers and desks.
Step 4: The Layering Formula (Lengths and Textures)
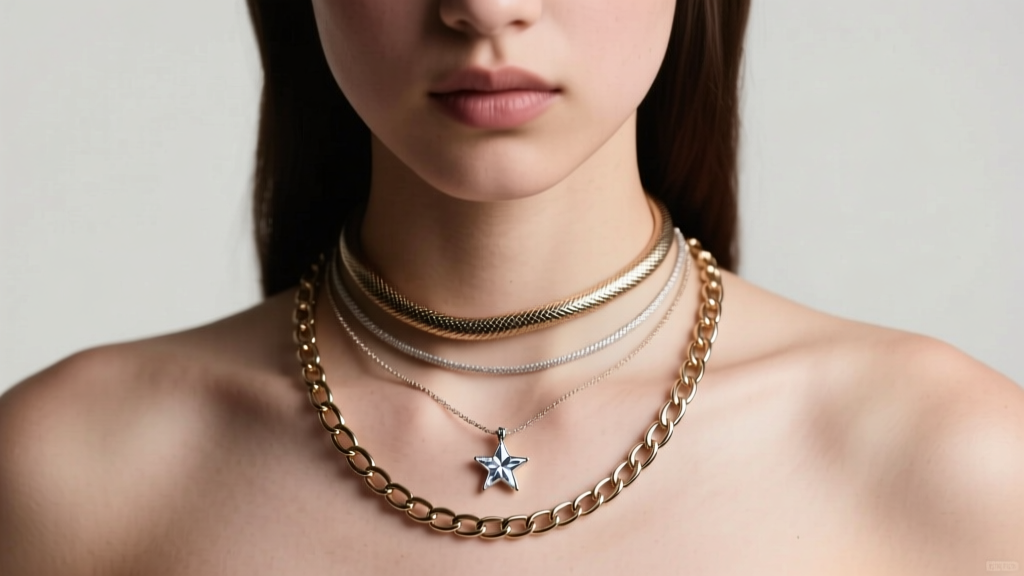
Layering necklaces for teens is all about creating visual depth without causing a tangled mess. The golden rule of layering is the 2-inch minimum gap. If the chains are too close in length, they will constantly twist around each other, causing friction and eventual breakage.
The Ultimate 3-Piece Teen Stack
- The Anchor (15 to 16 inches): A thicker, textured chain like a 14-gauge snake chain or a herringbone chain. This sits close to the collarbone and acts as the visual foundation. Keep it pendant-free.
- The Focal Point (18 inches): A 16-gauge cable or rolo chain featuring a single, meaningful bezel-set pendant. This draws the eye to the center of the chest.
- The Elongator (20 to 22 inches): A delicate 18-gauge bead chain or a lariat-style Y-necklace. This adds vertical movement and elongates the neckline, pairing perfectly with the oversized graphic tees and hoodies popular in teen streetwear.
Step 5: Troubleshooting Tangles and Maintenance
Even with the 2-inch rule, layered necklaces will occasionally tangle, especially when tossed into a gym bag or backpack. Here is how to handle maintenance and storage like a pro.
How to Untangle Chains Without Breaking Them
Do not pull tight knots with your fingers; the oils from your skin can make the metal slippery, and pulling will weaken the links. Instead, lay the necklace flat on a hard surface, sprinkle a tiny amount of baby powder or cornstarch over the knot to reduce friction, and use two straight sewing needles to gently tease the links apart from the center outward.
Storage and Tarnish Prevention
If you have chosen Sterling Silver or Gold Vermeil, tarnish is inevitable due to sulfur in the air and humidity. To combat this:
- Store the necklaces in individual, airtight ziplock bags.
- Drop a 3M anti-tarnish strip into each bag. These strips absorb sulfur gases and can keep silver bright for up to 12 months.
- Never store necklaces hanging on a traditional jewelry tree where they can swing and tangle. Lay them flat or use a velvet-lined roll with separate snap closures.
Final Thoughts on Building a Teen Capsule Collection
Investing in high-quality, hypoallergenic necklaces for teens might require a slightly higher upfront budget compared to mall-kiosk fashion jewelry, but the long-term payoff is immense. By prioritizing implant-grade titanium, 16-gauge thicknesses, bezel settings, and strategic 2-inch layering gaps, you provide a safe, durable, and effortlessly cool jewelry capsule that will easily transition with them from high school hallways to college campuses.


